This is a comprehensive guide to adding subtitles to videos on Mac. Learn why and how to create subtitles for videos quickly and easily.
Videos have long been a popular medium for communication, entertainment, and sharing information. Whether you are working on personal projects, professional endeavors, or simply creating content for online platforms, they can significantly elevate your message.
Video production involves the creation of compelling content that will captivate viewers and keep them engaged. One of the key elements is the inclusion of captions and subtitles. These elements serve to add an extra layer of depth to the video, helping viewers to follow along with the story, better understand the context, and more.
If you are a Mac user seeking a subtitle editor, this article is here to assist you. In this comprehensive guide, we'll explore why adding subtitles is crucial and provide you with practical tips on how to add subtitles to a video on your Mac.

Why You Should Add Subtitles to Videos
There are several compelling reasons to add subtitles to your video content, including:
-
Accessibility: Subtitles make your videos accessible to a wider audience, including individuals who are deaf or hard of hearing.
-
International Reach: Subtitles can help non-native speakers better understand your content. Subtitling in multiple languages can also help you reach an audience from around the world.
-
Silent Viewing: 75% of people watch videos without any sound, especially when in public spaces or at work. Subtitles allow these viewers to follow along and engage with your content.
-
SEO and Discoverability: adding subtitles to your video can improve its SEO, making it more likely to appear in search results and reach a larger audience.
5 Essential Tips to Add Captions to a Video
Before diving into the tools available for adding subtitles on Mac, let's review some essential tips that apply to all platforms:
1. Transcribe Your Video
Create a written version of all spoken words, as well as any significant sounds or background noises. This transcript serves as the foundation for your subtitles, allowing you to precisely synchronize the text with the audio content. Some AI generators can automatically transcribe video clips and transform them into accurate subtitles.
Break down the transcript into smaller chunks, with each sentence or phrase receiving its own line. This structure makes it easier to change the timing of each subtitle and make any necessary adjustments.
2. Keep Subtitles Concise
The text of your subtitles must be concise and readable. Viewers often prefer subtitles that are easy to follow without being overwhelming. Aim for shorter sentences or phrases that convey the essence of the spoken words while maintaining clarity.
Fonts and colors also play an important role in making subtitles easily decipherable. Select a clear font style and an appropriate size so viewers can read the text even on small screens or in lower resolution. The text color and background should provide adequate contrast without obscuring any other elements of the video.
3. Use Proper Punctuation and Grammar
No one likes to read subtitles full of typos and incorrect grammar. Although it may seem like a minor detail, proper punctuation, spelling, and grammar can make a huge difference in how viewers enjoy the video.
Review the subtitles for any errors yourself or use an online grammar checker to correct them properly. Don't forget about such general things like Oxford comma, word capitalization, and apostrophes, etc.
4. Consider Localization
If you have an international audience, consider localizing your subtitles by providing translations in different languages. This expands your reach and allows viewers from various regions to enjoy and understand your content.
You don't have to be precise with cultural references or slang, but try to provide as accurate translations as possible for the best results. If you're unsure of the accuracy, you can use online translators or hire a professional translator to help.
5. Test Your Subtitles
Different platforms may present the subtitles in different ways, so it is important to test how they and the video itself look across multiple platforms. This can help you address any issues before posting the video, ensuring that your viewers always have the best experience.
In addition, you should test the subtitles on various devices like PC, mobile, and tablet to make sure the text is legible on all screens.
3 Best Tools to Add Subtitles on Mac
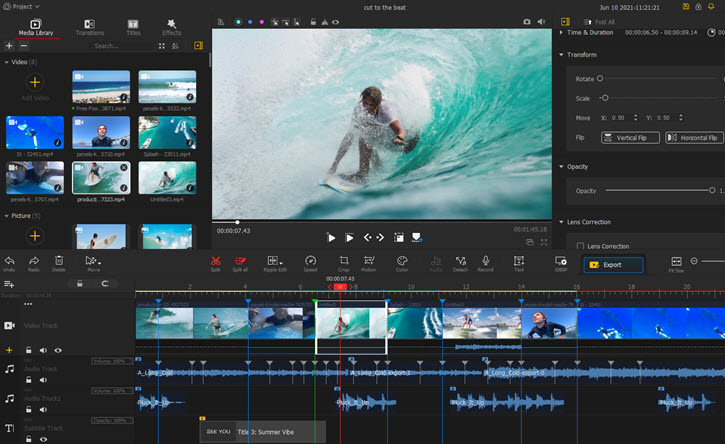
1. Movavi Video Editor

Movavi is a versatile and user-friendly video editor for Mac and Windows that allows you to add stylish, animated, and creative titles with a few clicks. To get started with the program:
- Import your video or drag-and-drop it onto the timeline.
- Click on the “Titles” tab and choose a suitable subtitle style.
- Drag the title on the timeline, and adjust the position where you want the subtitles to appear in the video.
- Double-click on the subtitle box to edit the text and customize the font, size, and color.
- Adjust the duration and timing by dragging the edges of the subtitle box on the timeline.
- Preview the result in the window in the upper-right corner.
2. VideoProc Vlogger
VideoProc Vlogger is another powerful Mac video maker that provides a variety of customization options for subtitling. To add subtitles using VideoProc Vlogger:
- Import your video and subtitle file (e.g., SRT) into the VideoProc Vlogger library.
- Drag the video onto the timeline, followed by the subtitle file.
- Adjust the position and duration of the subtitle track to align with the video's audio.
- Manually adjust colors, size, and other elements or use one of the given presets.
- Preview and make corrections if needed.
In addition, instead of uploading the subtitle file, you can just use the text tool to directly type in the subtitles and customize the style.
3. iMovie
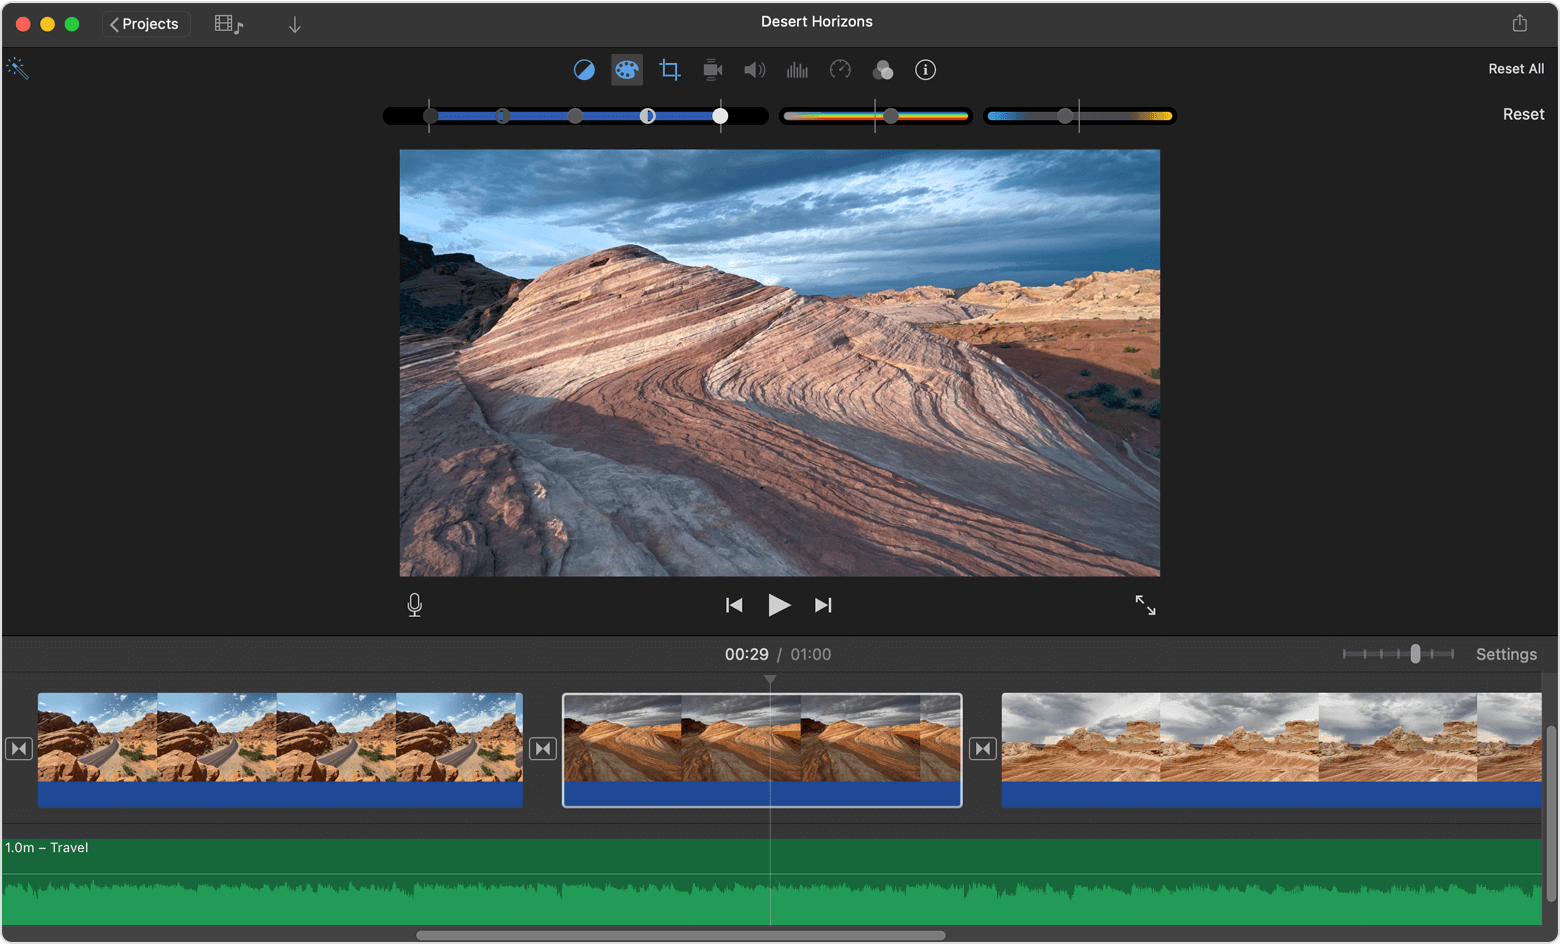
iMovie is a pre-installed video editing software for Mac, offering a simple way to add subtitles to videos. To add subtitles in iMovie:
- Import your video into the iMovie project.
- Select a suitable title style from the “Titles” tab.
- Align the title box position with the video.
- Click on the box to enter editing mode. Change font, size, position, and color of the text.
- Preview and save.
Conclusion
Adding subtitles to your videos is an essential step in ensuring that your content is accessible and engaging for a diverse audience. With some of the best Mac video editing software and tips provided in this guide, you'll be well-equipped to add subtitles to a video on Mac, regardless of the platform you want to share your video on.