

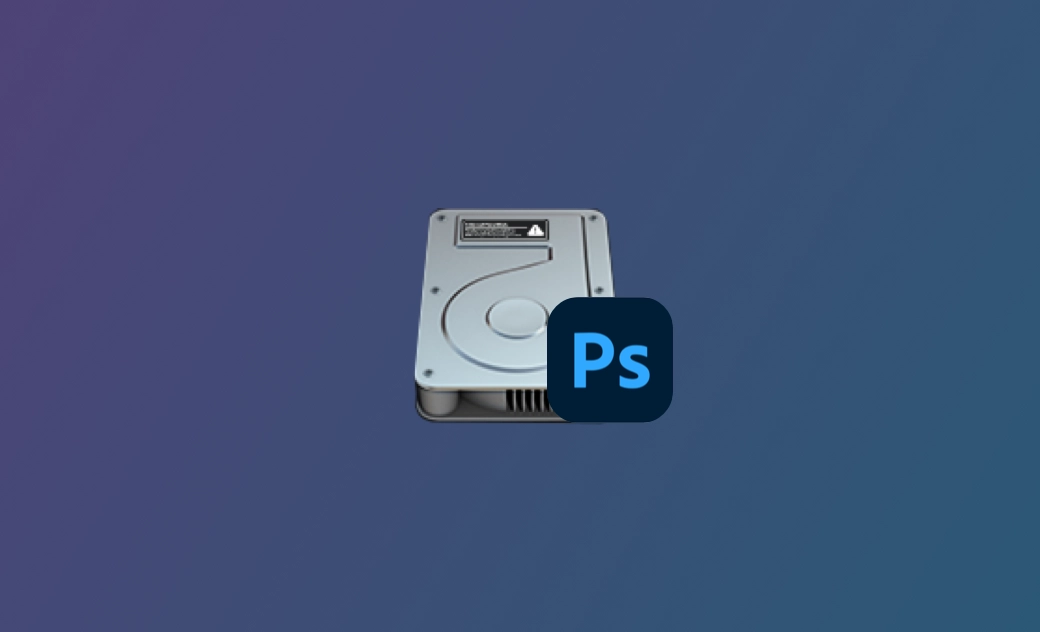
6 Fixes for Photoshop Scratch Disk Full on Mac (Tahoe)

If you’re reading this, you’ve probably encountered the ‘scratch disk full’ error in Photoshop on your Mac. A full scratch disk can prevent you from making edits, saving images, or even starting Photoshop.
Are you wondering why this problem occurs and how to fix it on your Mac? Continue reading this blog, and you'll discover all the answers you're seeking.
What Is the Scratch Disk in Photoshop?
Before we learn how to fix Photoshop's full scratch disk problem, let's first understand what a scratch disk is.
According to Adobe, a scratch disk is a hard drive or SSD used for temporary storage while Photoshop is running. Photoshop uses this space to store parts of your documents and their history that do not fit in your Mac’s memory or RAM. By default, Photoshop uses the hard drive (Macintosh HD) where macOS is installed as the primary scratch disk.


Reasons Behind the Full Scratch Disk Error in Photoshop
Temporary files are the primary reason for Photoshop's scratch disk becoming full. As we all know, Photoshop is a large design program. When you use Photoshop to create and edit images, it generates a large number of temporary files to improve performance. Over time, these files accumulate and consume a significant amount of space on the scratch disk.
Additionally, if the hard drive used as the scratch disk runs out of storage space, you may receive a prompt stating that the scratch disk is full. To check available storage space on your Mac, click the Apple Menu > System Settings > General > Storage.


Another reason behind the scratch disk full error is insufficient RAM for Photoshop. In this case, you may need to add more memory.
How to Clear the Scratch Disk in Photoshop on Mac
Now that we understand what a scratch disk is and why the scratch disk full error occurs in Photoshop, let's focus on the most crucial part: how to clear the scratch disk in Photoshop.
1. Clear Photoshop Cache
Photoshop features a built-in cleaning function allowing you to remove history and caches. Please note that this cleanup is irreversible, and all deleted history and caches cannot be restored.
Here's how to clear the caches in Photoshop:
Open Photoshop on your Mac.
Click the Edit button in the menu bar, hover your mouse over Purge, and select the item you want to clear or choose All to remove all caches in Photoshop.
A new window will appear, warning you that your deletion cannot be undone. Click the OK button if you are sure.


2. Free Up Disk Space
Adobe recommends reserving at least 20 GB of free space on your macOS hard drive when working with Photoshop. Depending on the type of files you are working with, you may need to allocate additional storage space to ensure Photoshop runs smoothly.
Various methods can help you free up your Mac disk space, including deleting unnecessary files, removing duplicates, uninstalling unwanted apps, and moving files you don't currently use to another disk.
We'd like to introduce you to a handy tool - BuhoCleaner, one of the best cleaners for Mac. Not only can this tool help you clear junk files from the system, users, and applications, but it can also speed up the process of finding and deleting large files and duplicates. Click the button below to give it a try.


3. Delete Photoshop Temporary Files
As you use Photoshop, it generates numerous temporary files. You can manually find and delete these temporary files using Finder. Typically, temporary files start with "pst", followed by a number, and end with a ".tmp" extension.
Here are the steps:
Here are the how-to steps:
- Click the Finder icon on the Dock.
- Type "Photoshop Temp" in the search box in the upper right corner of the Finder window.
- In the list that appears, locate the temporary files you want to remove and drag them to the Trash.


4. Change Photoshop Scratch Disk
If you haven't freed up enough disk space for Photoshop, consider selecting another disk as a scratch disk. If you don't have an alternative disk, you may need to add a new one to your Mac, and an SSD is an excellent choice.
Here's how to change the scratch disk in Photoshop:
- Click the Photoshop Menu > Preferences > Scratch Disks.
- Check the box to select or delete the disk as the scratch disk, and then click the OK button.
- Relaunch your Photoshop.


5. Change RAM for Photoshop
By default, Photoshop uses 70% of the memory space. You can adjust this value as needed. However, we strongly recommend not exceeding 85% to prevent poor performance in other applications due to insufficient memory.
- Click the Photoshop Menu, then select Preferences > Performance.
- Use the memory usage slider to adjust the amount of memory allocated to Photoshop.
- Click OK and then restart Photoshop.


6. Optimize Photoshop Space
You can optimize the space Photoshop uses by disabling auto-recovery saving and limiting history states.
- To stop the auto-recovery saving, click the Photoshop Menu > Preferences > File Handling and untick the box next to Automatically Save Recovery Information Every.


- Photoshop can save up to 1000 history states, with the default set to 50. To reduce this number, go to the Photoshop Menu > Preferences > Performance and adjust the number to your preference.


Conclusion
You have now learned how to resolve the scratch disk full error in Photoshop on your Mac. We hope you have successfully addressed this issue using the methods described above. If not, there are additional approaches you can explore, such as increasing your RAM, resetting Photoshop preferences, defragmenting your hard drive, and more.
Additionally, BuhoCleaner is a valuable tool for cleaning and optimizing your Mac. Feel free to give it a try.
Living in Chengdu, Kelly is an Apple technician focused on Mac, iPhone, and iOS repairs. Meanwhile, he's also a columnist at Dr.Buho, with a simple mission to help fix Apple things that are with software or hardware glitches.


