

Install macOS Golden Gate on an External Drive: Complete Guide

Installing macOS Golden Gate on an external drive is one of the safest ways to try the latest beta while keeping your current system intact. Follow this guide to prepare the drive, complete the installation, and start booting from it.
Want to try the latest macOS Golden Gate beta without risking your daily setup? Installing it on an external SSD is one of the safest ways to explore new features while keeping your existing macOS installation untouched.
It’s also a great option if you’re a developer or tester, or simply want a separate environment to experiment with beta software.
In this guide, I’ll show you exactly how to install macOS Golden Gate on an external drive, what you’ll need beforehand, and a few limitations you should know before getting started.
Can You Install macOS Golden Gate on an External Drive?
Yes. As long as your Mac supports macOS Golden Gate, you can install it on an external drive instead of your internal SSD.
During installation, simply choose the external drive as the destination. Once the installation is complete, you can select it as your startup disk whenever you want to boot into Golden Gate.
For the best experience, use an external SSD connected through USB-C or Thunderbolt. While a traditional hard drive also works, macOS will feel noticeably slower.
One important thing to remember is that an external startup disk isn’t universally portable. It’s generally intended for Macs with compatible hardware, so don’t expect to move the drive between different Mac models and have it boot flawlessly every time.
Which Macs Support Installing macOS Golden Gate on an External Drive?
If your Mac can run macOS Golden Gate, it can generally install the operating system on an external drive as well.
At the time of writing, Golden Gate supports these Macs:
- MacBook Air (Apple silicon)
- MacBook Pro (2020 or later)
- iMac (2021 or later)
- Mac mini (2020 or later)
- Mac Studio (2022 or later)
- Mac Pro (2023 or later)
If you’re using an Intel Mac that isn’t supported by Golden Gate, you won’t be able to install it on either the internal or external drive.
What Format Should the External Drive Use?
Before installing macOS, you’ll need to erase and format the drive.
Apple recommends:
- Format: APFS
- Scheme: GUID Partition Map
Although Mac OS Extended (Journaled) still works for mechanical hard drives, APFS is the better choice for nearly every modern SSD.
Before You Begin
A little preparation can save you a lot of trouble later.
Here’s what I recommend:
- Use a reliable external SSD with at least 64 GB of available space (128 GB or more is ideal).
- Connect the drive directly to your Mac instead of through an unreliable USB hub.
- Back up your Mac using Time Machine before installing the beta.
- Make sure you have a stable internet connection to download the installer.
- Keep your Mac plugged into power throughout the installation.
Back Up Your Mac with Time Machine
Before installing any beta version of macOS, it’s worth creating a full backup. If something goes wrong, you’ll be able to restore your files or even your entire system.
- Connect your backup drive.
- Open System Settings > General > Time Machine.
- Click Add Backup Disk.
- Select your drive and choose Set Up Disk.
- Follow the prompts.
- Click Back Up Now.


Prepare the External Drive
Once your backup is complete, erase the drive so macOS can install properly.


- Open Disk Utility.
- Choose View > Show All Devices.
- Select the physical external drive.
- Click Erase.
- Give the drive an easy-to-recognize name like macOS Golden Gate.
- Format it as APFS.
- Click the Erase button.
After that, leave the drive connected until the installation is completely finished.
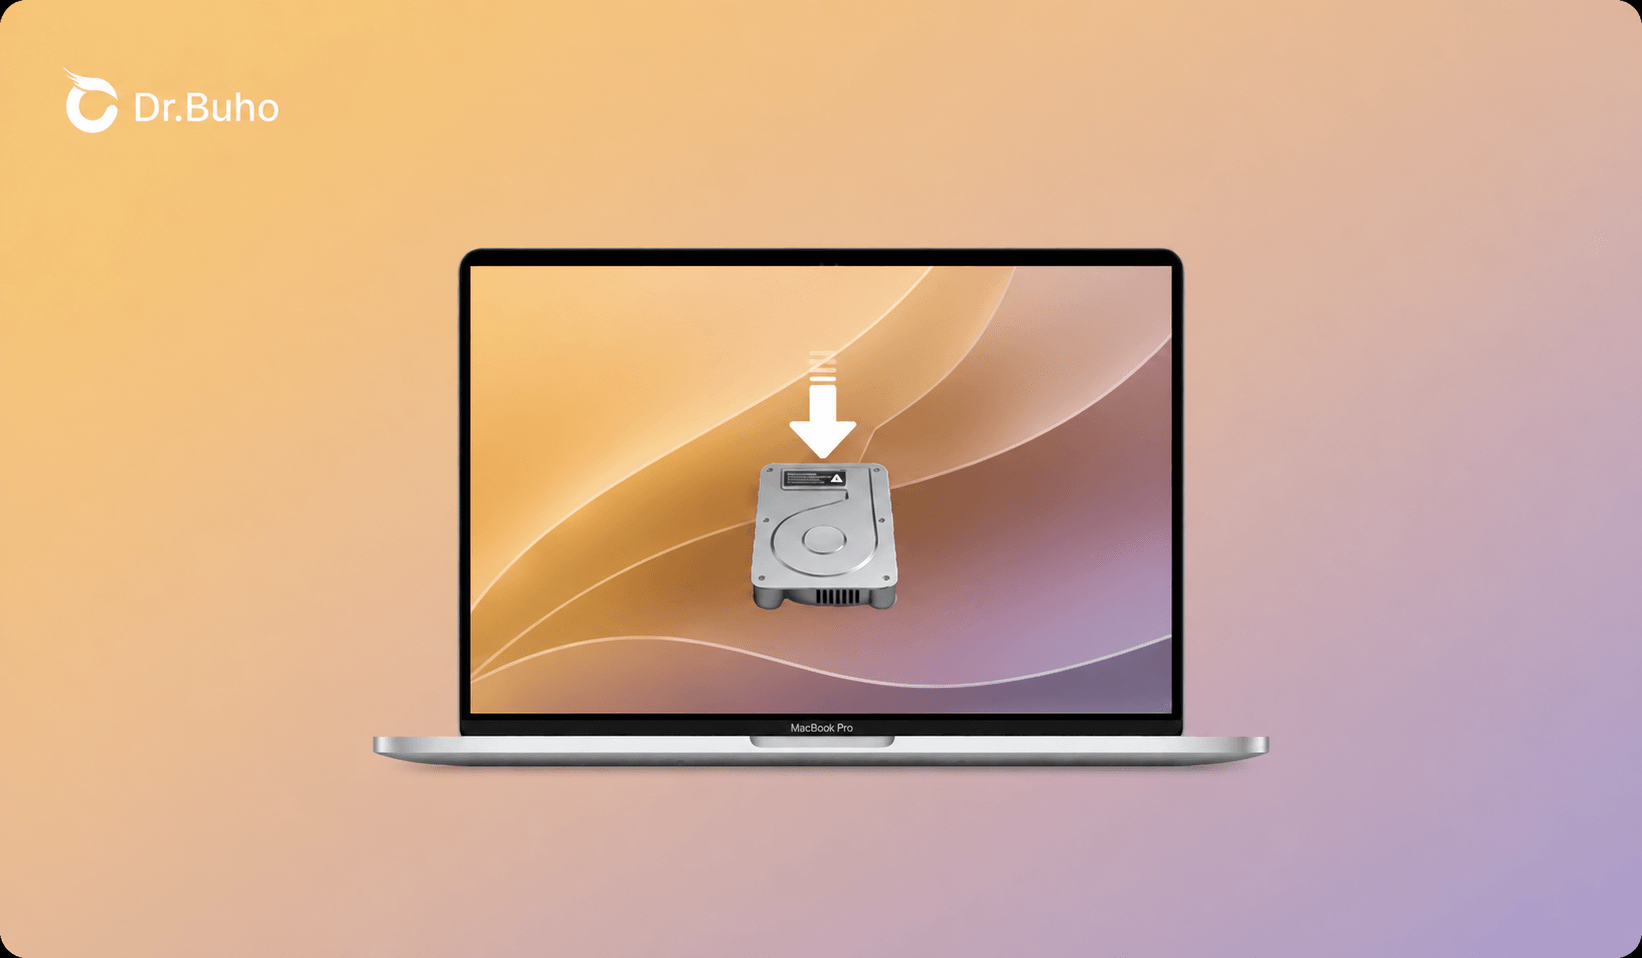
How to Install macOS Golden Gate on the External Drive
You will need a macOS Golden Gate installer. You can download it from Apple’s beta program or a trusted website like Mr. Macintosh.
Keep in mind that the installer is downloaded to your internal drive first, so you’ll need enough free storage before you begin.
If your Mac is running low on space, a cleanup tool like BuhoCleaner can help free up space by removing junk files, uninstalling apps you no longer use, and clearing other unnecessary data. This can make it easier to download and install the macOS Golden Gate installer.


Once the installer is ready:
- Open the macOS Golden Gate installer from the Applications folder.
- Continue through the setup screens.
- When asked where to install macOS, click Show All Disks if necessary.
- Select your external drive (macOS Golden Gate).
- Confirm the installation and wait while macOS copies files and restarts several times.


Don’t disconnect the drive or shut down your Mac during this process.
How to Boot from the External Drive
When installation finishes, complete Setup Assistant as you normally would.
To boot from the external installation later:
- Open System Settings > General > Startup Disk.
- Select your external drive.
- Click Restart.
Alternatively, you can choose the startup disk during boot using your Mac’s startup options.
What Doesn’t Work When Running macOS from an External Drive?
Running macOS from an external drive is surprisingly usable, but there are a few limitations.
Apple Intelligence
Some Apple Intelligence features require macOS to run from the internal SSD for security reasons.
Depending on the current version of macOS Golden Gate, features such as the new Siri experience and certain on-device AI capabilities may be unavailable when booted from an external drive.
Beta-Specific Issues
If you’re installing a beta build of macOS Golden Gate, you may encounter bugs that don’t exist in the final release.
For example, some beta versions have had issues where Startup Disk or the boot picker doesn’t correctly detect alternate startup volumes. If that happens, it doesn’t necessarily mean your installation failed—it’s simply a known beta limitation that Apple may address in later updates.
Final Thoughts
Installing macOS Golden Gate on an external drive is one of the safest ways to explore the latest beta without affecting your primary macOS installation.
Whether you’re testing new features, developing software, or simply curious about what’s new, an external SSD gives you the flexibility to switch between systems whenever you need.
Before you begin, make sure your Mac is compatible, back up your data, use a properly formatted SSD, and remember that some features, especially Apple Intelligence and beta functionality, may not behave exactly the same as they do on an internal installation.
Clare has been captivated by the world of Apple products since the launch of the iconic iPhone in 2007. With a wealth of experience, Clare is your go-to source for iPhone, iPad, Mac, and all things Apple.


