Summary: From this guide, you will learn how to back up your Mac with or without Time Machine. Read on for more details!
Nothing is more frustrating than losing important data on your Mac. To avoid this, the best course of action is to back up your Mac. If you've never backed up your Mac before, read this blog to learn how to do it with or without Time Machine.
![[Full Guide] How to Back Up a Mac with/without Time Machine](/astro-image?src=%2Fstr-apiv4%2Fuploads%2FHow_to_Backup_Your_Mac_d88923e580.png&w=800&q=90)
Before You Back Up Your Mac
Before creating a backup, it's advisable to delete unnecessary files on your Mac, as the initial backup process can be time-consuming.
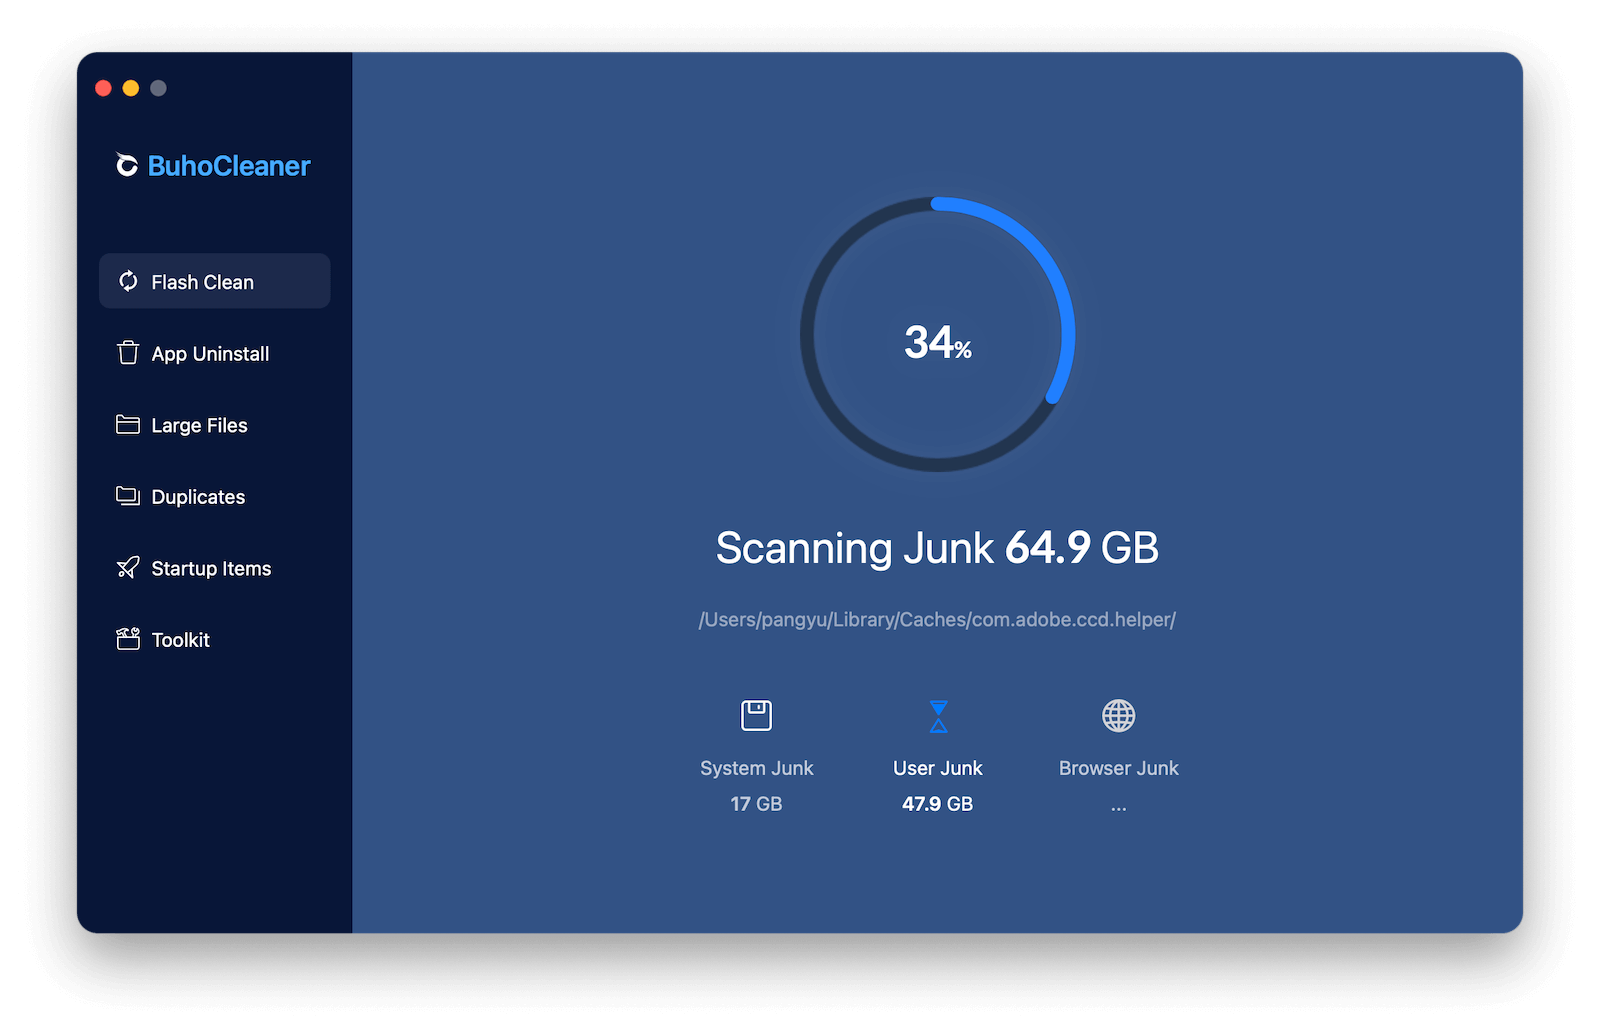
You can use Finder to delete files manually that you don't need. However, it is recommended to use BuhoCleanerto perform this task for you. This tool is designed for Mac cleanup and optimization, making it capable of cleaning your Mac in just a few clicks.
After clearing out all unwanted files, let's proceed to the actual backup steps.
How to Back Up Your Mac with Time Machine
When it comes to Mac backup, the first tool you may want to use is Time Machine, a built-in macOS backup tool. You can use it to back up files, movies, songs, photos, accounts, passwords, etc. However, it can't be used to back up your macOS.
Tools Needed:
- Time Machine
- An External Drive (2 times the size of your Mac hard drive)
Here's how to use Time Machine to back up your Mac:
-
Erase or Format Your External Drive
- Connect your external drive to your Mac.
- Launch Disk Utility via Spotlight, Launchpad, or Finder.
- Click the View arrow and select Show All Devices.
- Select your external drive in the sidebar and click the Erase button.
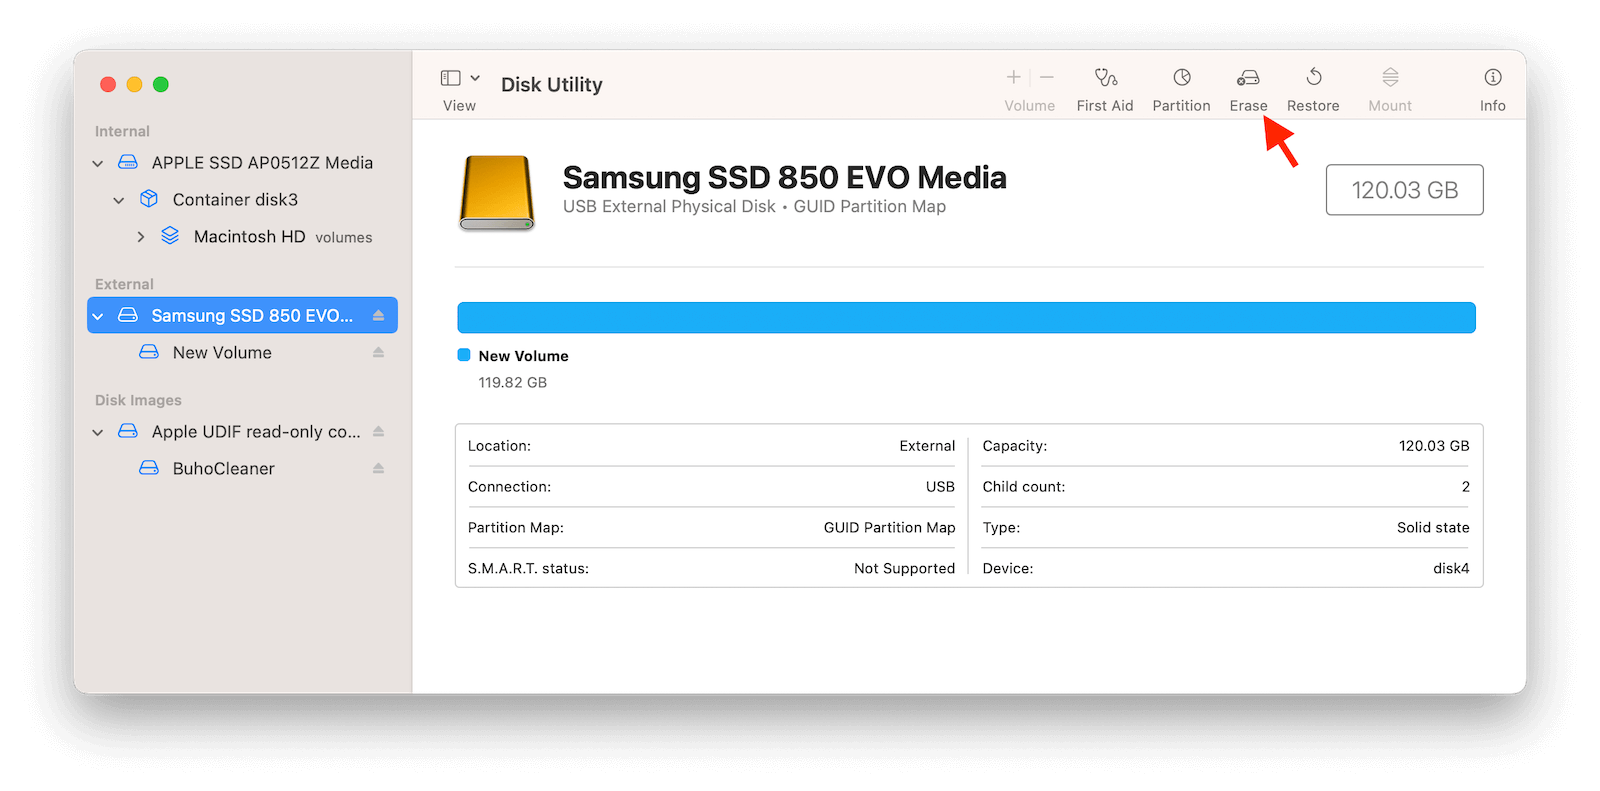
- If necessary, name your device and select the format you need.

- Click Erase > Done.
-
Back Up Your Mac with Time Machine
- Click the Apple Menu and select System Settings > General > Time Machine.
- In the Time Machine panel, click the Add Backup Disk button, choose the drive you formatted to store your backup, and then click the Set Up Disk button.
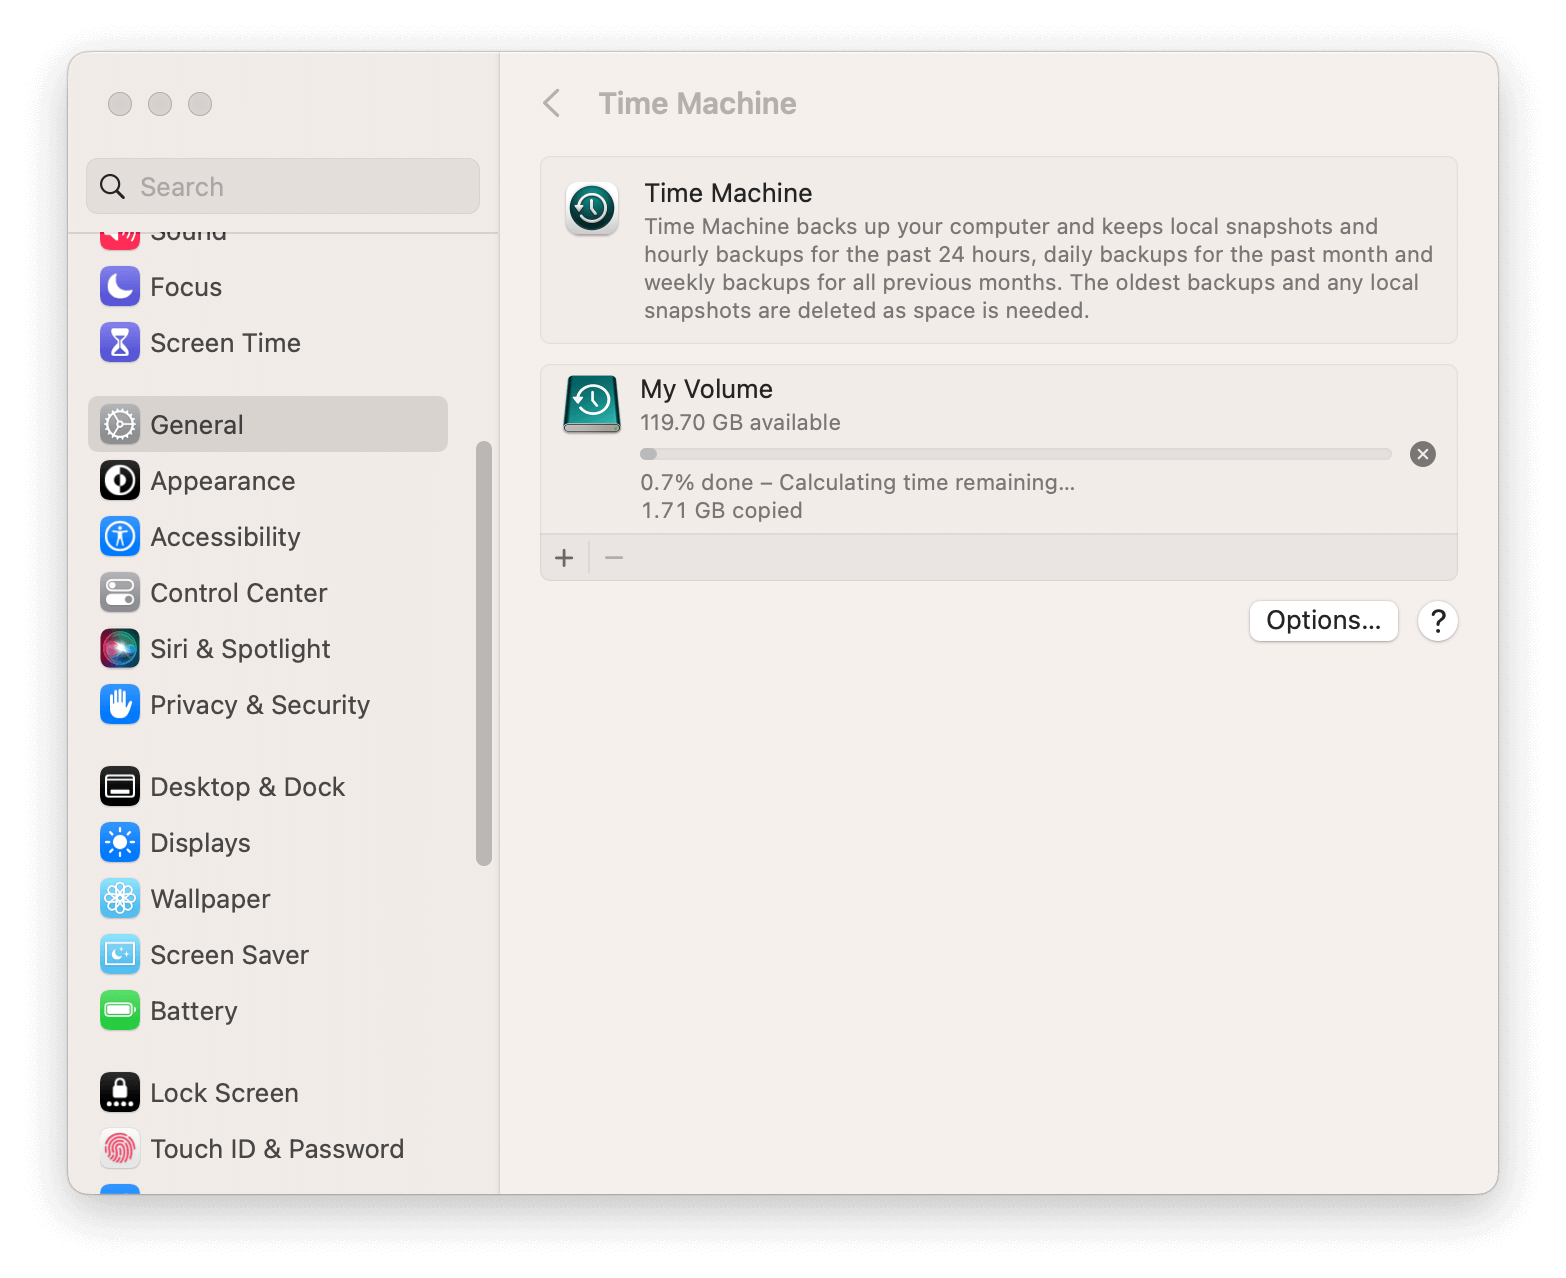
- Time Machine will automatically back up your Mac, requiring no further user intervention. Backups occur on an hourly, daily, and weekly basis. In the event that your disk becomes full, Time Machine will automatically delete the oldest backups.
- If you're having issues with Time Machine backup, check out this guide for help.
How to Back Up Your Mac without Time Machine
As you can see, using Time Machine to back up your Mac requires an external drive. But what if you don't have one?
Don't worry; here are two methods that allow you to back up your Mac without using Time Machine.
Method 1. Back Up Your Mac with iCloud
If you don't have an external drive available, using iCloud to back up your Mac is the best bet.
iCloud is a cloud computing service provided by Apple Inc. It allows users to store and synchronize various types of data, including photos, videos, documents, contacts, and more, across multiple devices such as iPhones, iPads, Macs, and other Apple devices.
Here's how to back up your Mac using iCloud:
- Click the Apple Menu and select System Settings > Apple ID > iCloud.
- Turn on iCloud Drive.
- Click Options, check the box next to anything you want to store in iCloud Drive and click Done.
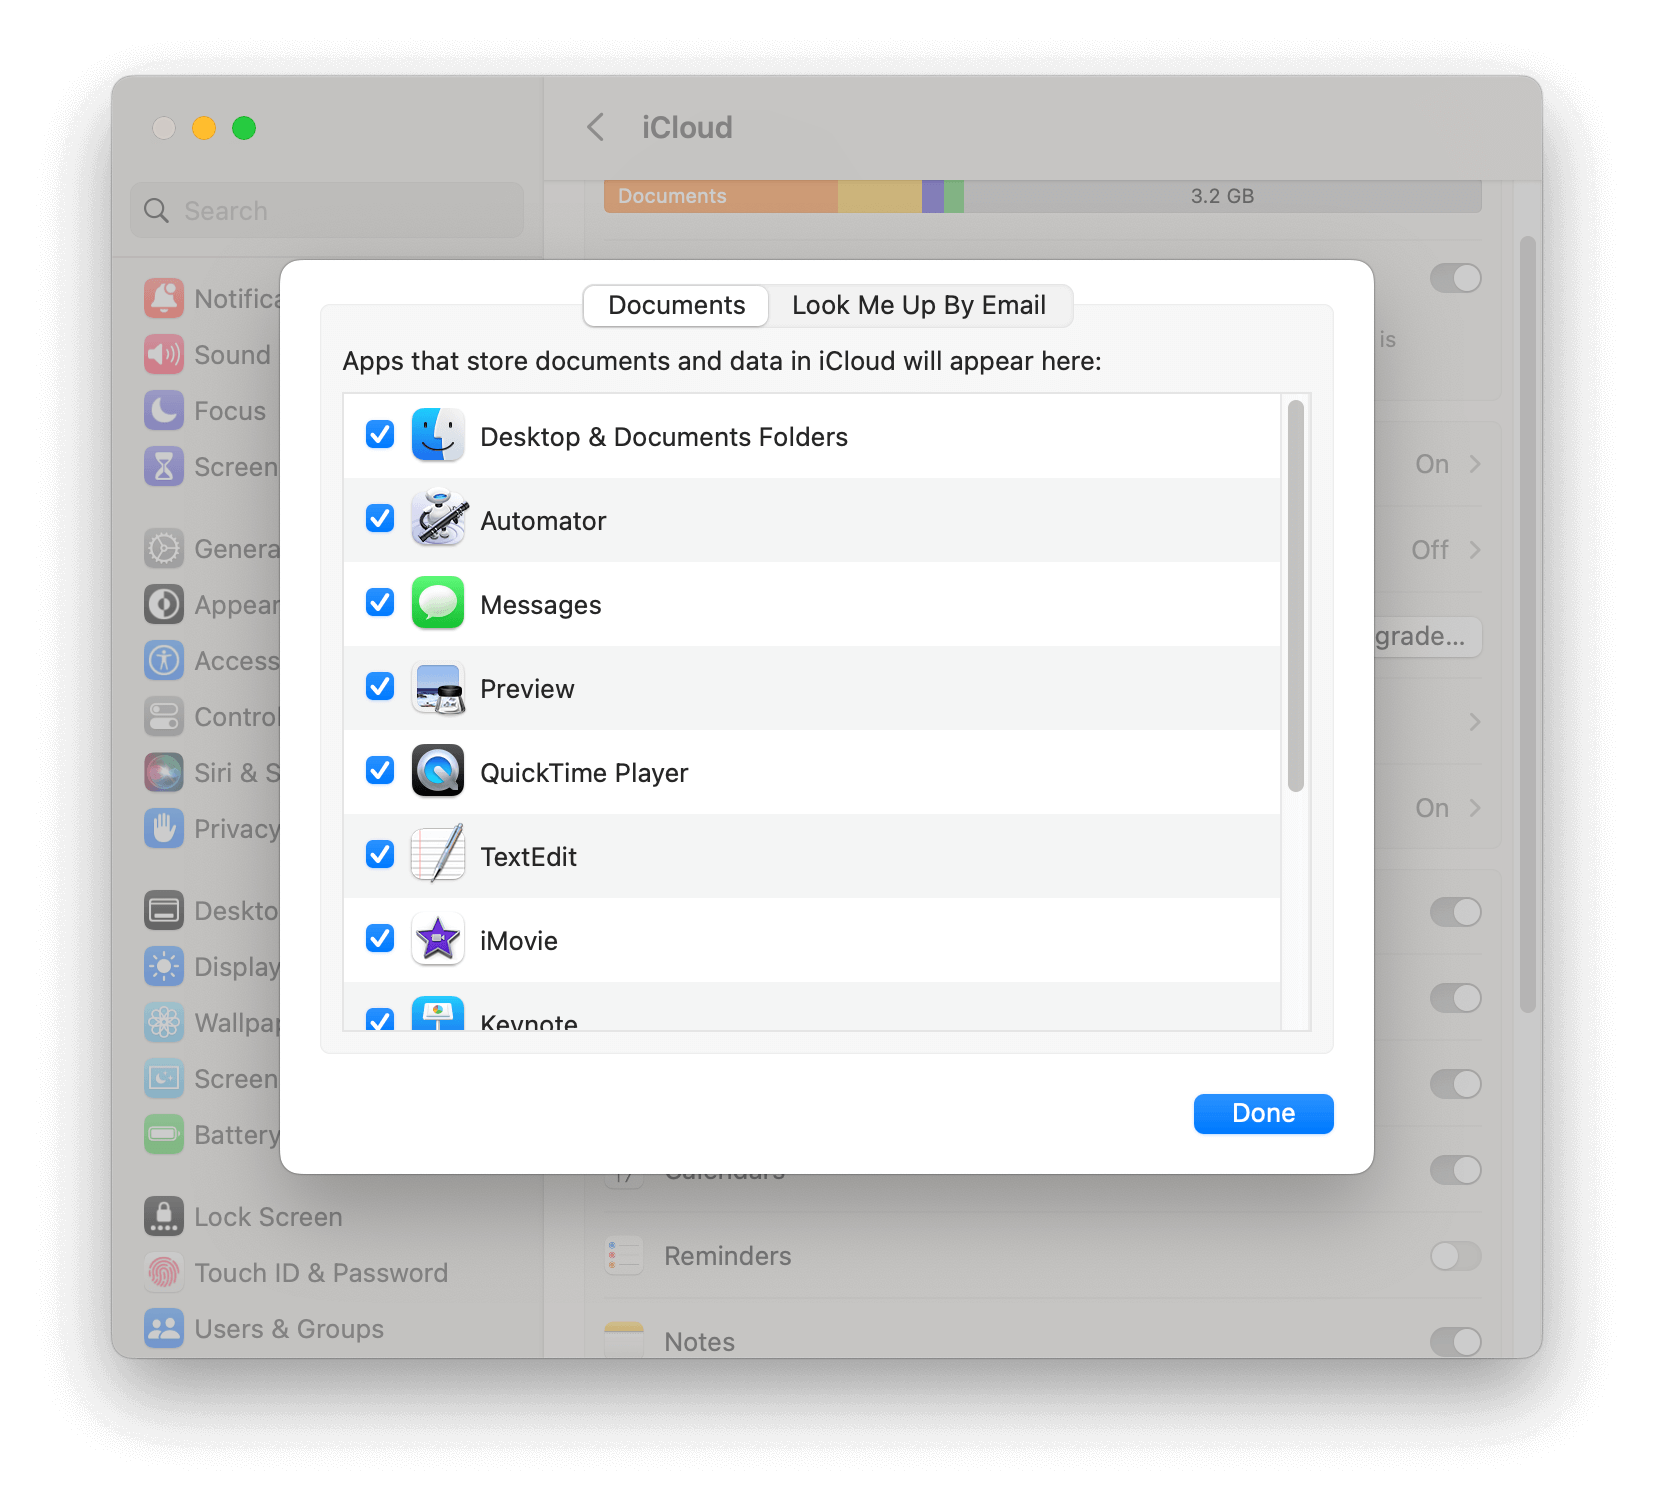
It's a good idea to check the Optimize Mac Storage option in the Apple ID window. If you enable this feature, everything in iCloud Drive will be stored on your Mac when there's enough storage space. Old files will only be stored in iCloud when additional space is needed.
Method 2. Back Up Your Mac with Backup Software
iCloud provides only 5 GB of free storage space. If you have a large amount of data to back up, consider upgrading your plan to iCloud+ or using a powerful backup tool for Mac.
Numerous backup tools are available online. Here, we will take SuperDuper, one of the best Mac backup software options, for example. This tool is simple and easy to use, making it convenient for backing up your Mac.
Tools Needed:
- SuperDuper!
- An External Drive (1.5 - 2 times the size of your Mac hard drive)
How to Back Up Your Mac with SuperDuper!:
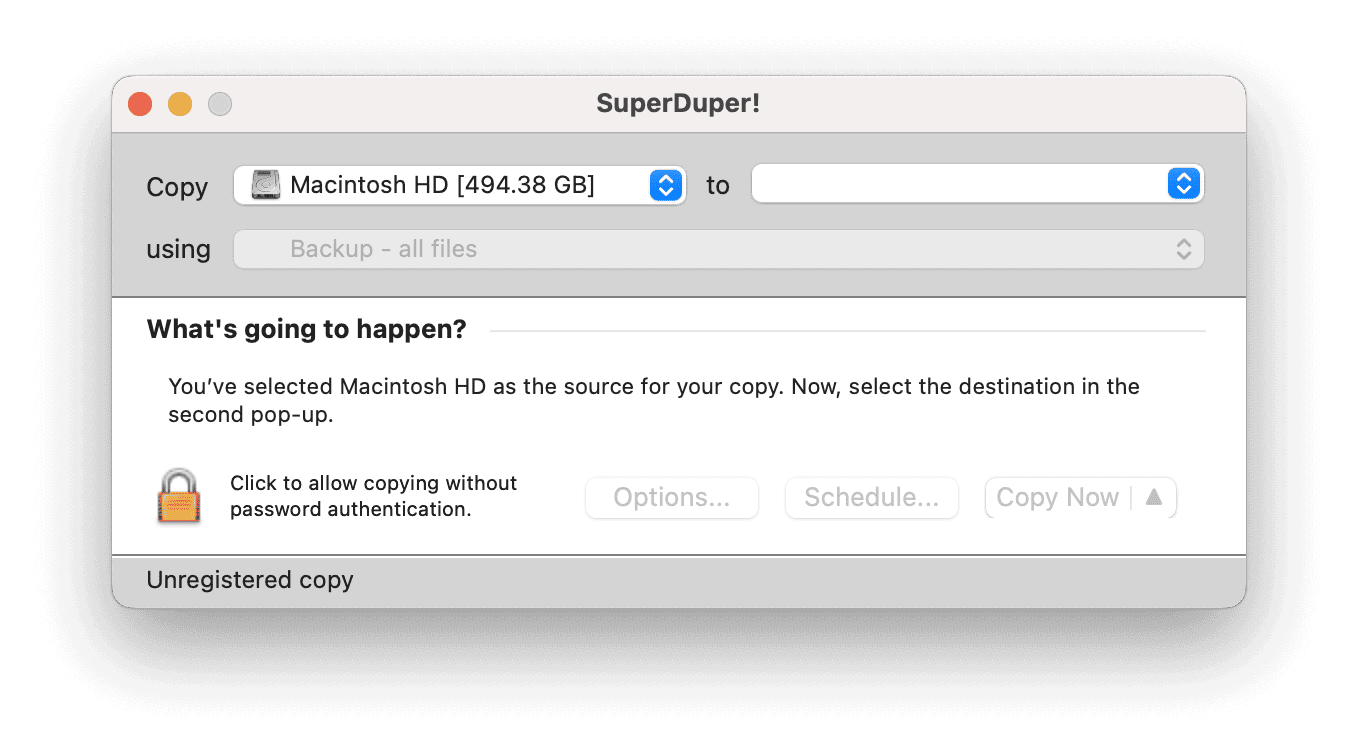
- Download, install, and launch SuperDuper! on your Mac.
- Select the volume you want to copy and the hard drive you want to save the backup to.
- Choose Backup - all files or Backup - user files. (The Backup - all files option is more recommended. If the volume you are copying is a startup disk, the backup you make is a bootable clone.)
- Click the Options button to tell SuperDuper! how to perform your backup.
- Click the Copy Now button to start your backup.
FAQs about Backing Up Mac
-
Why Is My Mac Not Backing Up to Time Machine?
- Your disk is not properly connected to your Mac.
- Your external hard drive is full.
- You have selected the wrong disk.
- You don't have the necessary permissions to back up your Mac to the target disk.
- Local snaptshots conflict with Time Machine backup.
-
Does Time Machine Back Up the Whole Mac?
Yes, Time Machine automatically backs up your entire Mac. However, a Time Machine backup cannot be directly booted up. If you want to make a bootable backup, see how to clone Mac hard drive.
Conclusion
In this guide, we explored three tools for backing up your Mac. The official method is to use Time Machine. However, if Time Machine isn't suitable for you, consider using iCloud or a third-party backup tool.
No matter which method you choose, it can effectively protect your data from loss.