

How to Organize Files and Folders on Mac - 7 Easy Ways

This post provides a full guide to cleaning up your Mac desktop by organizing files and folders. Keep reading to discover practical tips and methods to make your Mac more efficient!
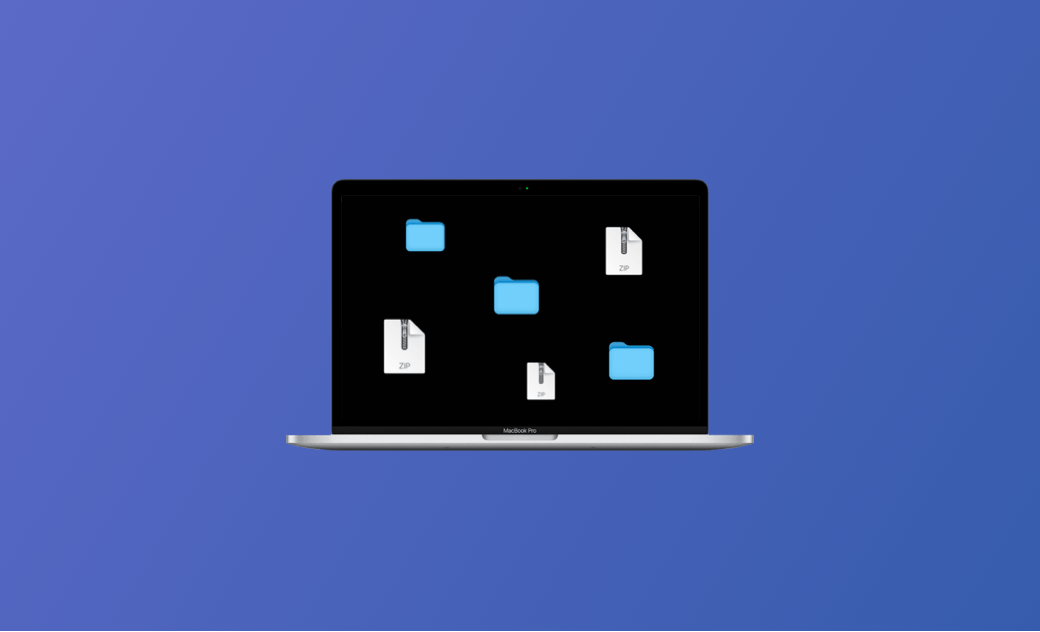
A cluttered Mac desktop can be frustrating. Trying to locate a specific file or folder often feels like searching for a needle in a haystack, and the real challenge comes when you need something urgently. Beyond the inconvenience, it can also affect your focus and mood. This is why organizing your files and folders is essential.
Fortunately, there are simple and effective ways to tidy up your Mac. By applying the strategies in this guide, you can save time, reduce stress, and enjoy a cleaner, more productive workspace.
Before Organizing Files and Folders on Mac
Before diving into organization methods, it’s important to handle duplicate files and photos. These duplicates can clutter your desktop and make organization more difficult. If your Mac doesn’t have duplicates, you can skip ahead to the main organizing strategies.
There are three main ways to find and delete duplicate files and photos, but the most efficient method is to use a dedicated duplicate finder. BuhoCleaner is a professional tool designed to quickly locate and remove duplicates. By using it, you can clear out unnecessary files and create a clean starting point for organization.


How to find and delete duplicate files on your Mac using BuhoCleaner:
- Download, install, and launch BuhoCleaner.
- Click Duplicates > + > select Home Folder / Photos Library or Choose Custom Folder.
- Wait for the scan to complete.
- Review the duplicates or similar photos you don’t need, then click Remove.
Once duplicates are cleared, your Mac will be ready for more structured organization.
7 Ways to Organize Files and Folders on Mac
With a clean slate, organizing your Mac desktop becomes much easier. Below are seven effective ways to get started, and you can pick the methods that best suit your workflow. Each method builds on the previous one, helping you gradually gain control over your files and folders.
1. Enable “Use Stacks”


For many users, the idea of automatically arranging files seems impossible—but macOS makes it simple. The Use Stacks feature is a quick and convenient solution to consolidate desktop files with a single click. Grouping files neatly on the right side of your screen, it instantly transforms a messy desktop into an organized workspace.


Stacks are highly customizable. You can organize them by Kind, Date Last Opened, Date Added, Tags, and more. This flexibility allows you to tailor the desktop organization to your personal workflow.
2. Create New Folders
Create New Folder with Selection
As time goes on, desktop folders can multiply. Merging related items into a single folder not only saves space but also makes files easier to locate.
- Select one folder/file/photo you want to merge.
- Hold Command and select additional items.
- Right-click and choose New Folder with Selection (x Items).


Create New Empty Folders
If your desktop contains numerous files, photos, videos, or music, creating empty folders for grouping them is highly effective. Assign clear names such as "Photos" or "Work" to each folder to simplify navigation and maintain consistency.
3. Use Tags
Tags provide another level of organization, allowing you to visually group files and folders. You can use built-in macOS colors or create custom tags with descriptive names.
- To add built-in tags:
Right-click a file, folder, or photo and select a tag color.
- To create custom tags:
- Open Finder.
- Go to Finder Menu > Settings > Tags > click + > name your tag > right-click to choose a color.


- To delete a custom tag: right-click > Delete Tag “xxx”.
- To make a tag quickly accessible in Finder: drag it to the area below.
Tags make it easy to quickly identify file types, priorities, or projects at a glance.
4. Customize View Options
Fine-tuning Finder’s view options enhances visibility and accessibility. Adjust icon size, grid spacing, text size, and label positions. Enabling Show item info allows you to see how many items each folder contains, making organization and navigation effortless.


5. Use iCloud Drive
iCloud Drive takes organization to the next level by syncing your Desktop and Documents folders across all Apple devices. Once enabled, any changes you make on your Mac will automatically appear on your other Macs, iPads, or iPhones. This reduces repetitive effort and ensures your files are always up to date.
Here's how to enable iCloud Drive:
- Open System Settings > Apple ID > iCloud Drive.
- Enable Sync this Mac.
- Enable Desktop & Documents Folders.


Related article: How to Back Up Your Mac to iCloud Drive
6. Use Smart Folders
Smart folders automatically collect files that meet certain criteria. They help you save time by organizing files according to type, date, or other attributes.
To create a smart folder:
- Open Finder > File Menu > New Smart Folder.
- Click +, select criteria and click Save.
- Rename the folder and then check Add To Sidebar.
7. Favorite Your Folders
Frequently accessed files and folders can be added to Favorites for instant access. Simply drag items to the left sidebar under Favorites, making it easy to open them whenever needed.
Some Useful Tips for Better Organization
To keep your Mac organized in the long term:
- Name files and folders consistently.
- Regularly remove duplicates.
- Organize files chronologically.
- Lock important files to prevent changes.
- Prefix file names with date or theme.
- Group files by categories such as work, study, personal, to-do, in progress, completed, etc.
The Bottom Line
With these seven methods and six additional tips, organizing files and folders on your Mac becomes straightforward. By combining these strategies, your desktop will be cleaner, your workflow more efficient, and locating files will no longer be a headache. Start applying these methods today and enjoy a clutter-free Mac experience!
Clare has been captivated by the world of Apple products since the launch of the iconic iPhone in 2007. With a wealth of experience, Clare is your go-to source for iPhone, iPad, Mac, and all things Apple.


