

7 Fixes for "SearchPartyUserAgent High CPU Usage on Mac"

It’s frustrating to find SearchPartyUserAgent taking up almost 100% CPU on your Mac. Why does this occur, and how can it be fixed? Find the answers here!
Recently, some users have noticed that SearchPartyUserAgent can cause unusually high CPU usage on their Macs.
But what exactly is SearchPartyUserAgent? Why does it use so much CPU, and is it possible to disable it completely? In this post, we’ll answer all these questions.
What Is SearchPartyUserAgent on Mac?
SearchPartyUserAgent is a legitimate macOS system process that powers Apple’s Find My network. For example, it supports offline device tracking, such as locating lost AirTags, iPhones, or Macs without an internet connection.
Typically, it runs silently in the background. You may only notice it when it scans or syncs intensively, consuming significant CPU resources on your Mac.
Can You Completely Disable SearchPartyUserAgent on Your Mac?
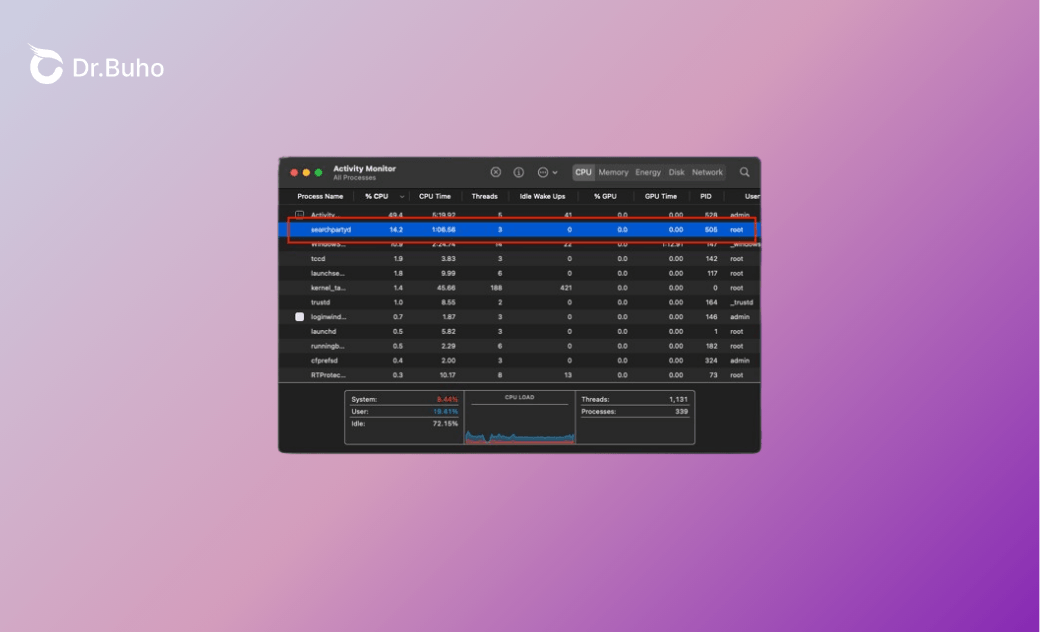
No, you cannot completely disable SearchPartyUserAgent on your Mac. It is a core system process integral to Apple’s Find My network, and it will automatically restart after a reboot. However, you can force quit it via Activity Monitor.
Although you cannot fully disable it, you can take other actions to reduce CPU spikes and get temporary relief. In the following sections, we’ll offer several solutions to address the high CPU usage issue.
Why Does SearchPartyUserAgent Use So Much CPU?
After learning the basics of SearchPartyUserAgent, you may wonder why it sometimes consumes nearly 100% of your CPU.
- It is processing a large number of Find My network activities, such as scanning for multiple devices or AirTags linked to your Apple ID (now called Apple Account).
- It gets stuck in continuous Bluetooth scanning loops, repeatedly checking for nearby devices.
- It encounters sync issues caused by macOS update glitches.
- Your Mac is kept awake without sleep, preventing the process from idling properly.
- Multiple nearby Bluetooth devices trigger excessive communication attempts.
- It is affected by third-party app conflicts or corrupted caches.
How to Fix SearchPartyUserAgent High CPU on Mac
Here are 7 proven solutions to reduce high CPU usage caused by SearchPartyUserAgent.
Temporarily Disable Find My Mac
To stop constant background scanning, you can temporarily disable Find My Mac, especially when Bluetooth is active.


- Launch System Settings and click your name.
- Navigate to iCloud > See All > Find My Mac.
- Turn it off by entering your Apple ID password.
- Restart your Mac.
Remove Unused Devices or AirTags
SearchPartyUserAgent continuously scans all devices linked to your Apple ID, even those out of range or no longer in use. This increases cryptographic processing, location reporting, and server syncing, which raises CPU usage.


To remove unused devices or AirTags:
- Sign in to iCloud.
- Navigate to Find My > Devices.
- Select “Remove This Device” for unused items.
Turn Bluetooth Off and Back On
To break the Bluetooth scanning loop, the quickest fix is to turn Bluetooth off and then back on. SearchPartyUserAgent relies on Bluetooth Low Energy signals, which can sometimes get stuck in a loop when signals are weak.

- Turn off Bluetooth via Control Center.
- Force quit SearchPartyUserAgent in Activity Monitor.
- Wait a few minutes, then turn Bluetooth back on.
You can also clear Bluetooth cache via Terminal:
- Open Terminal using Spotlight.
- Run:
sudo rm /Library/Preferences/com.apple.Bluetooth.plist - Restart your Mac.
Fix Third-Party Conflicts or Corrupted Caches
SearchPartyUserAgent depends on the Find My network to scan for nearby devices. However, corrupted caches can cause it to enter endless scan or sync loops, leading to high CPU usage.
These issues may come from macOS, security tools, firewalls, VPNs, or Bluetooth services. They can block iCloud communication and trigger repeated retries.
You can manually clear caches, but it can be time-consuming. Tools like BuhoCleaner can help remove caches more efficiently. It can clean system and user caches, browser data, large files, duplicates, and startup items. It also includes a dedicated uninstall mode to remove apps and their leftovers.
- Download and launch BuhoCleaner.
- Use Flash Clean to scan your Mac.
- Preview and remove unwanted files.


Update macOS to the Latest Version
Sometimes, CPU spikes are caused by system bugs. Apple typically fixes these in later macOS updates, improving performance and resolving issues with Find My and Bluetooth.

To update macOS:
- Open System Settings.
- Go to General > Software Update.
- Follow the on-screen instructions.
Enable Auto Sleep on Your Mac
If your Mac is set to stay awake—such as when “Prevent computer from sleeping” is enabled—SearchPartyUserAgent may get stuck in a loop and consume high CPU.

- Open System Settings.
- Go to Lock Screen.
- Set sleep or display timeout options.
Scan for Adware and Malware
If CPU usage remains high, scan for adware or malware. These often enter through bundled downloads or untrusted sites and can consume system resources by showing ads, redirecting traffic, or collecting data.
Run a full scan using built-in tools like XProtect or a trusted third-party app. Removing malicious or unnecessary processes can significantly reduce CPU usage.
Conclusion
High CPU usage from SearchPartyUserAgent is usually caused by continuous scanning loops. Factors such as corrupted caches, app conflicts, or malware can trigger this behavior. By applying the solutions above, you can effectively reduce CPU usage and restore normal performance on your Mac.
Clare has been captivated by the world of Apple products since the launch of the iconic iPhone in 2007. With a wealth of experience, Clare is your go-to source for iPhone, iPad, Mac, and all things Apple.


