Struggling with XProtectService causing high CPU usage on macOS? Discover possible causes and quick fixes in this guide.
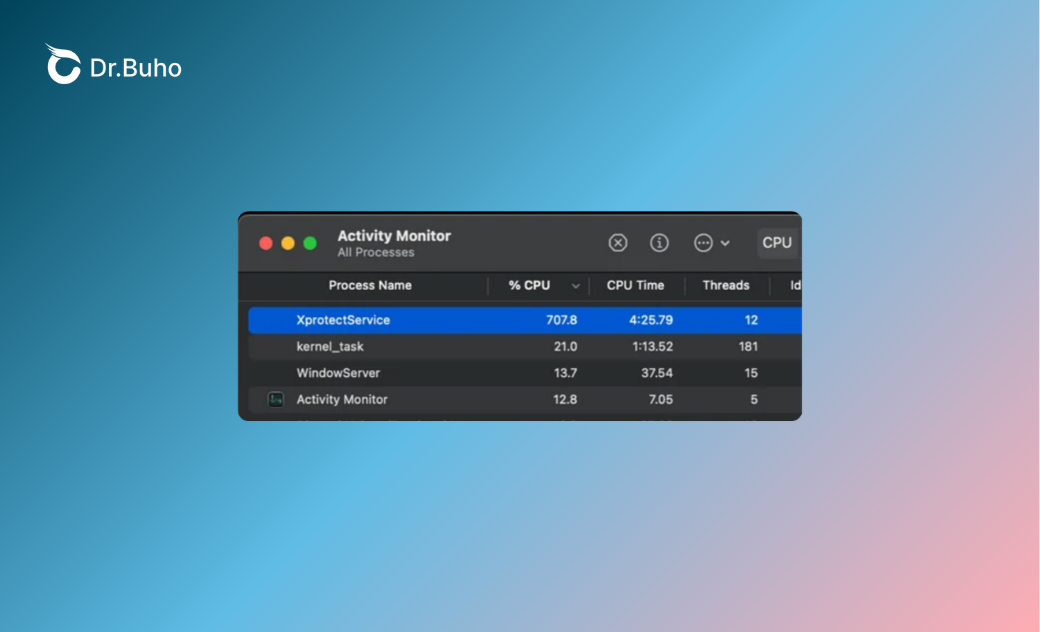
Recently, a user on the Apple Support Communities reported that XProtectService was consuming a high amount of CPU according to Activity Monitor. It was the top process, causing the Mac to heat up quickly. The user tried quitting it from Activity Monitor, but it kept restarting.
This issue affects many Mac users. You might wonder why XProtectService is using so much CPU. In this guide, we’ll explore the possible causes and provide quick fixes.
What Is XprotectService?
XProtectService is Apple’s built-in malware protection, running silently on macOS 10.6 and later. It scans downloaded files and apps for malware in the background, updating its malware definitions automatically—so you usually don't even notice it.
Why Is XProtectService Taking up So Much CPU on Mac?
XProtectService may spike CPU usage due to several reasons:
- Your macOS or XProtect definitions are outdated. Older macOS versions may repeatedly check against an incomplete threat database, causing prolonged scanning loops.
- System files are corrupted or damaged, leading to repeated failed scans and endless processing cycles.
- Large or complex files, such as media files, disk images, bundled apps, or large datasets, can trigger extensive scans.
- Conflicts with third-party apps, like other security tools or incompatible antivirus software.
- Malware or undetected threats that force XProtect to work overtime.
- App updates, such as Office or Teams, can trigger spikes.
- After a long period of inactivity, XProtect may perform a full scan on new or modified files.
8 Fixes for the "XProtectService High CPU on Mac" Issue
Here are 8 practical steps to address the issue. You don’t have to try them all—start with the simpler steps and move on only if needed.
1. Restart Your Mac
Restarting is often the simplest and fastest fix. It stops all running processes and clears temporary data. If XProtectService is stuck in a scanning loop, a restart can break the cycle.
- Click the Apple menu in the top-left corner.
- Select Restart.
2. Quit Conflicting Third-Party Apps
Sometimes other apps can cause XProtect to overwork. Antivirus programs, VPN clients, and poorly coded extensions can lock files or trigger repeated scans. Quitting these apps can immediately reduce CPU usage.
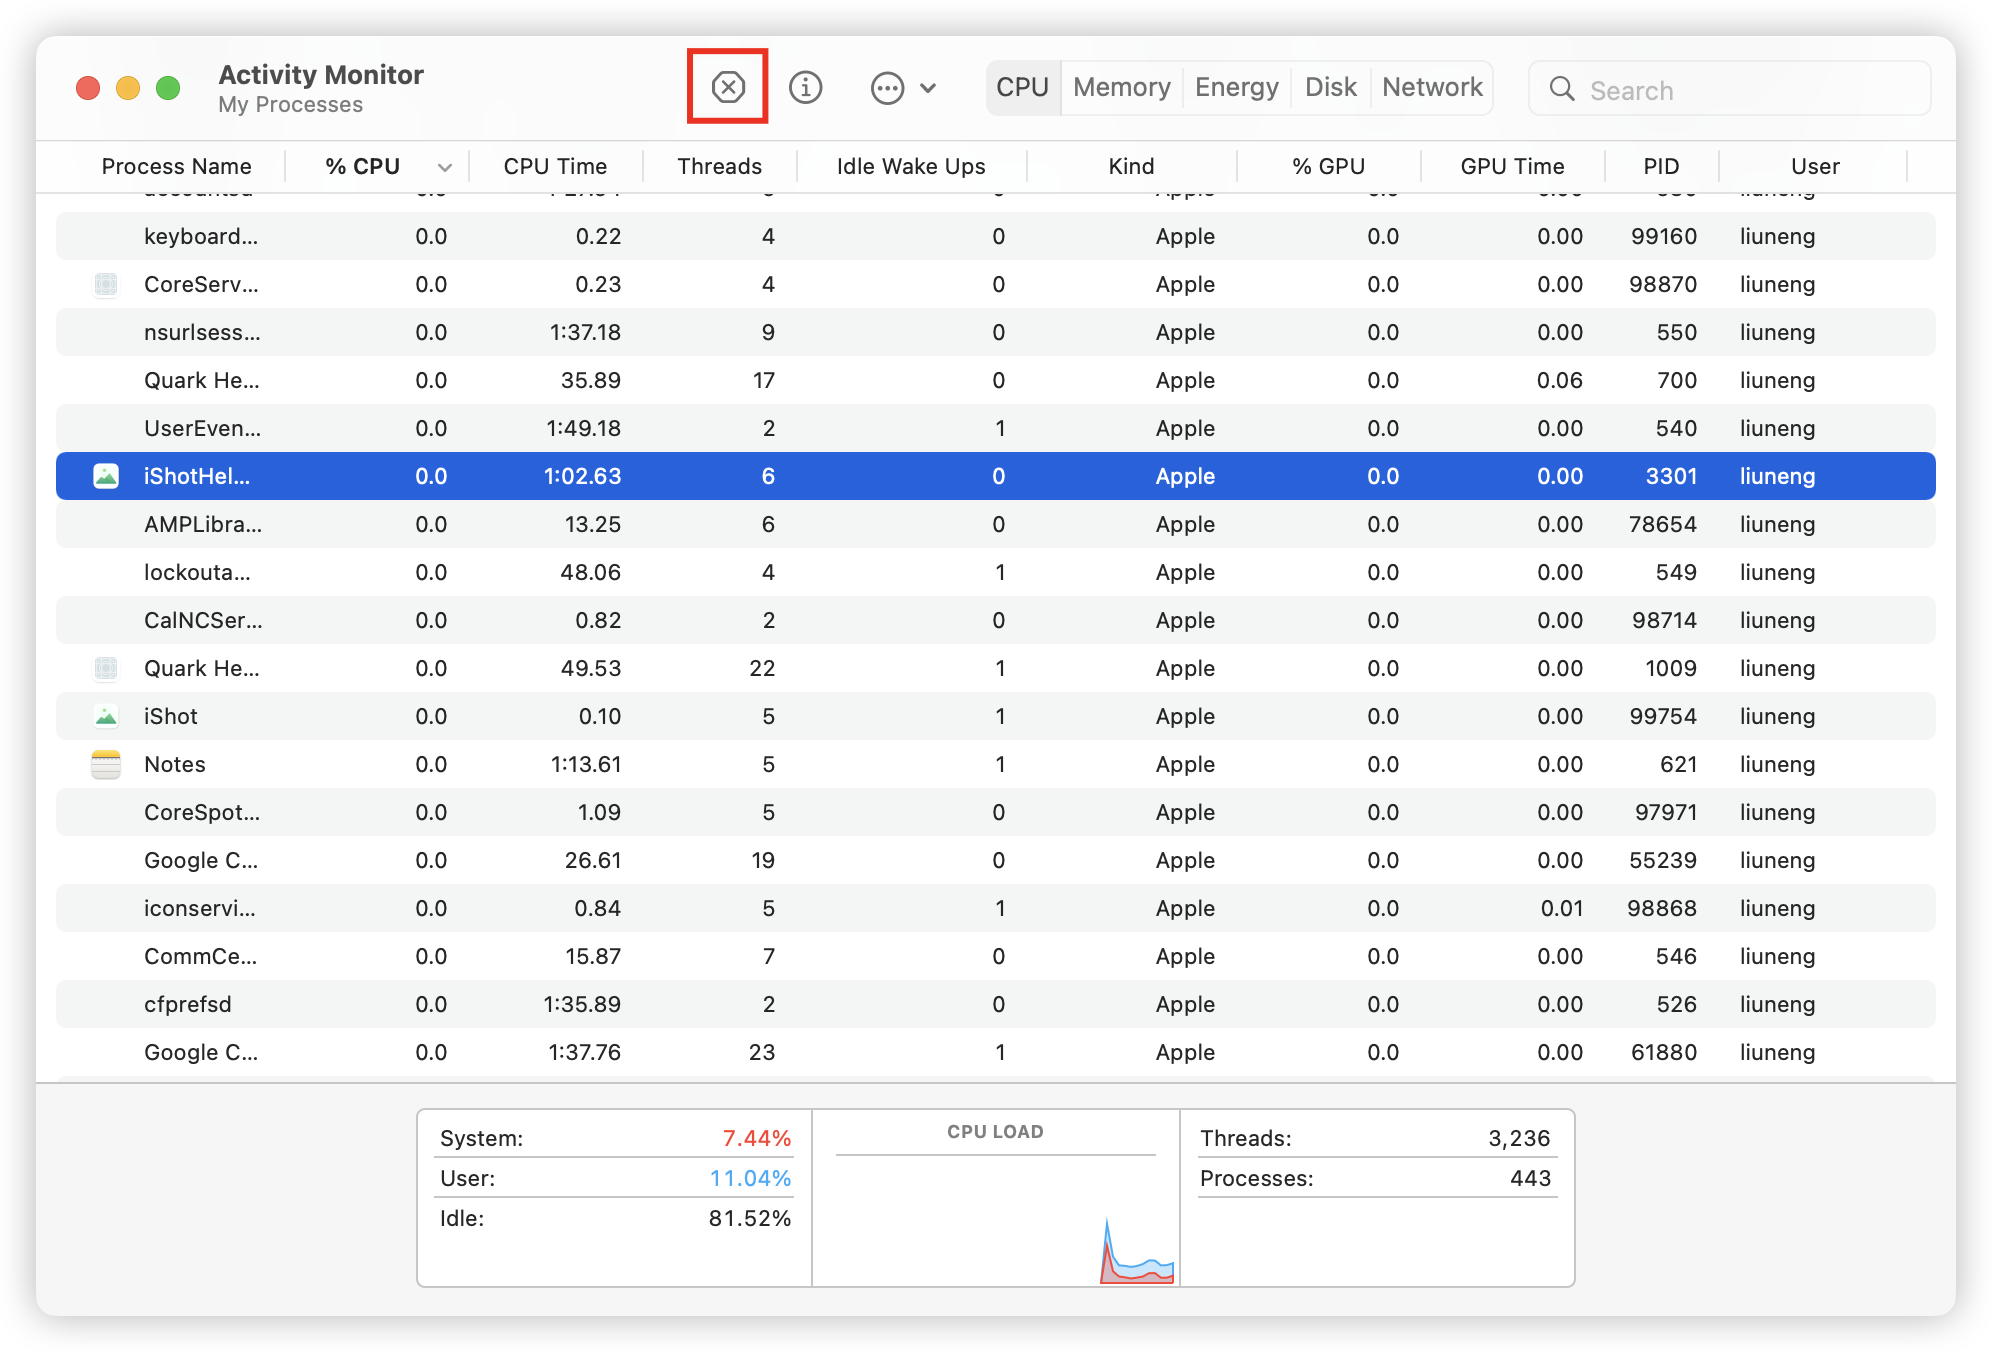
- Open Activity Monitor.
- Find and select apps that may conflict.
- Click the X button to quit them.
3. Uninstall Conflicting Software
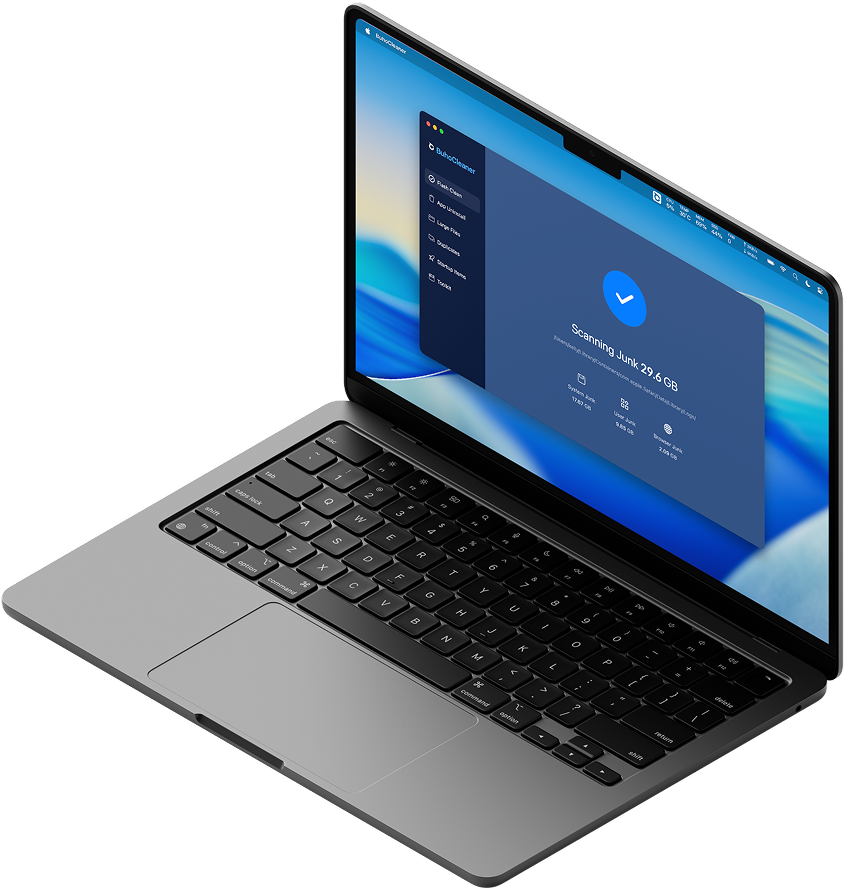
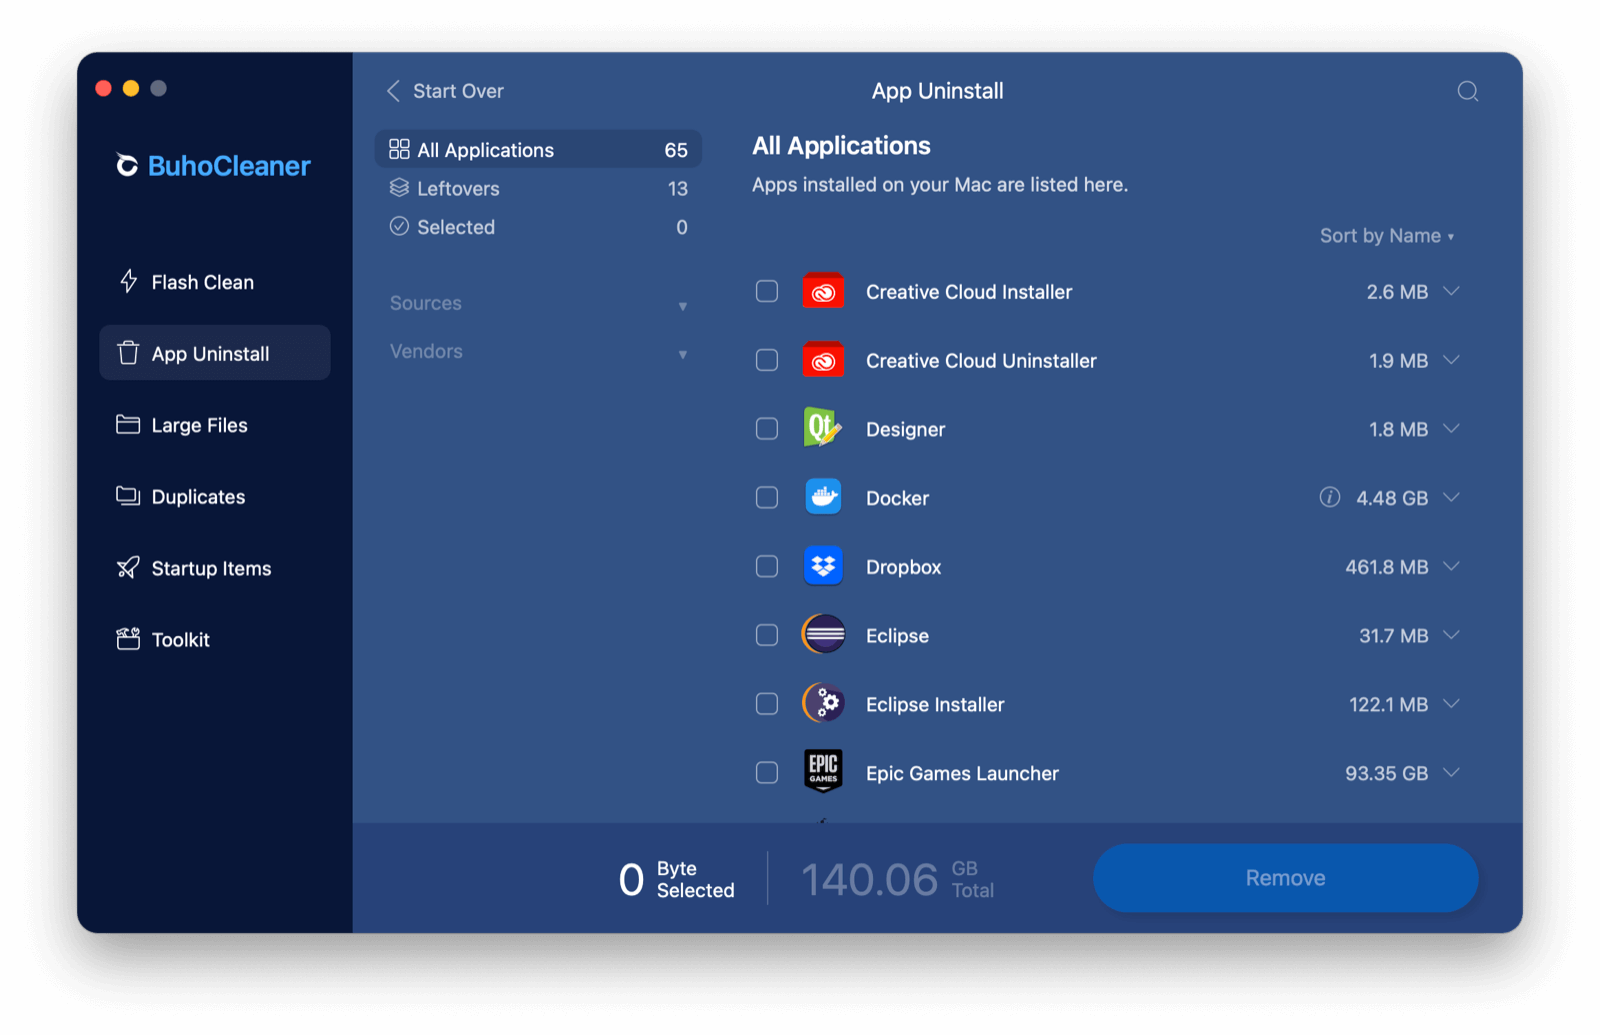
Sometimes simply quitting conflicting apps isn’t enough. Leftover files or background services can continue to interfere with XProtect. Using a tool like BuhoCleaner ensures the complete removal of apps and their leftovers.
- Download and open BuhoCleaner.
- Select App Uninstall from the sidebar.
- Scan and select apps to uninstall.
- Remove leftover files from the Leftovers tab.
4. Update Third-Party Apps
Outdated apps can unintentionally trigger repeated scans because their file structures may not be compatible with XProtect. Keeping apps updated reduces the chance of unnecessary CPU spikes.
- Open the App Store.
- Go to Updates.
- Update apps that are pending.
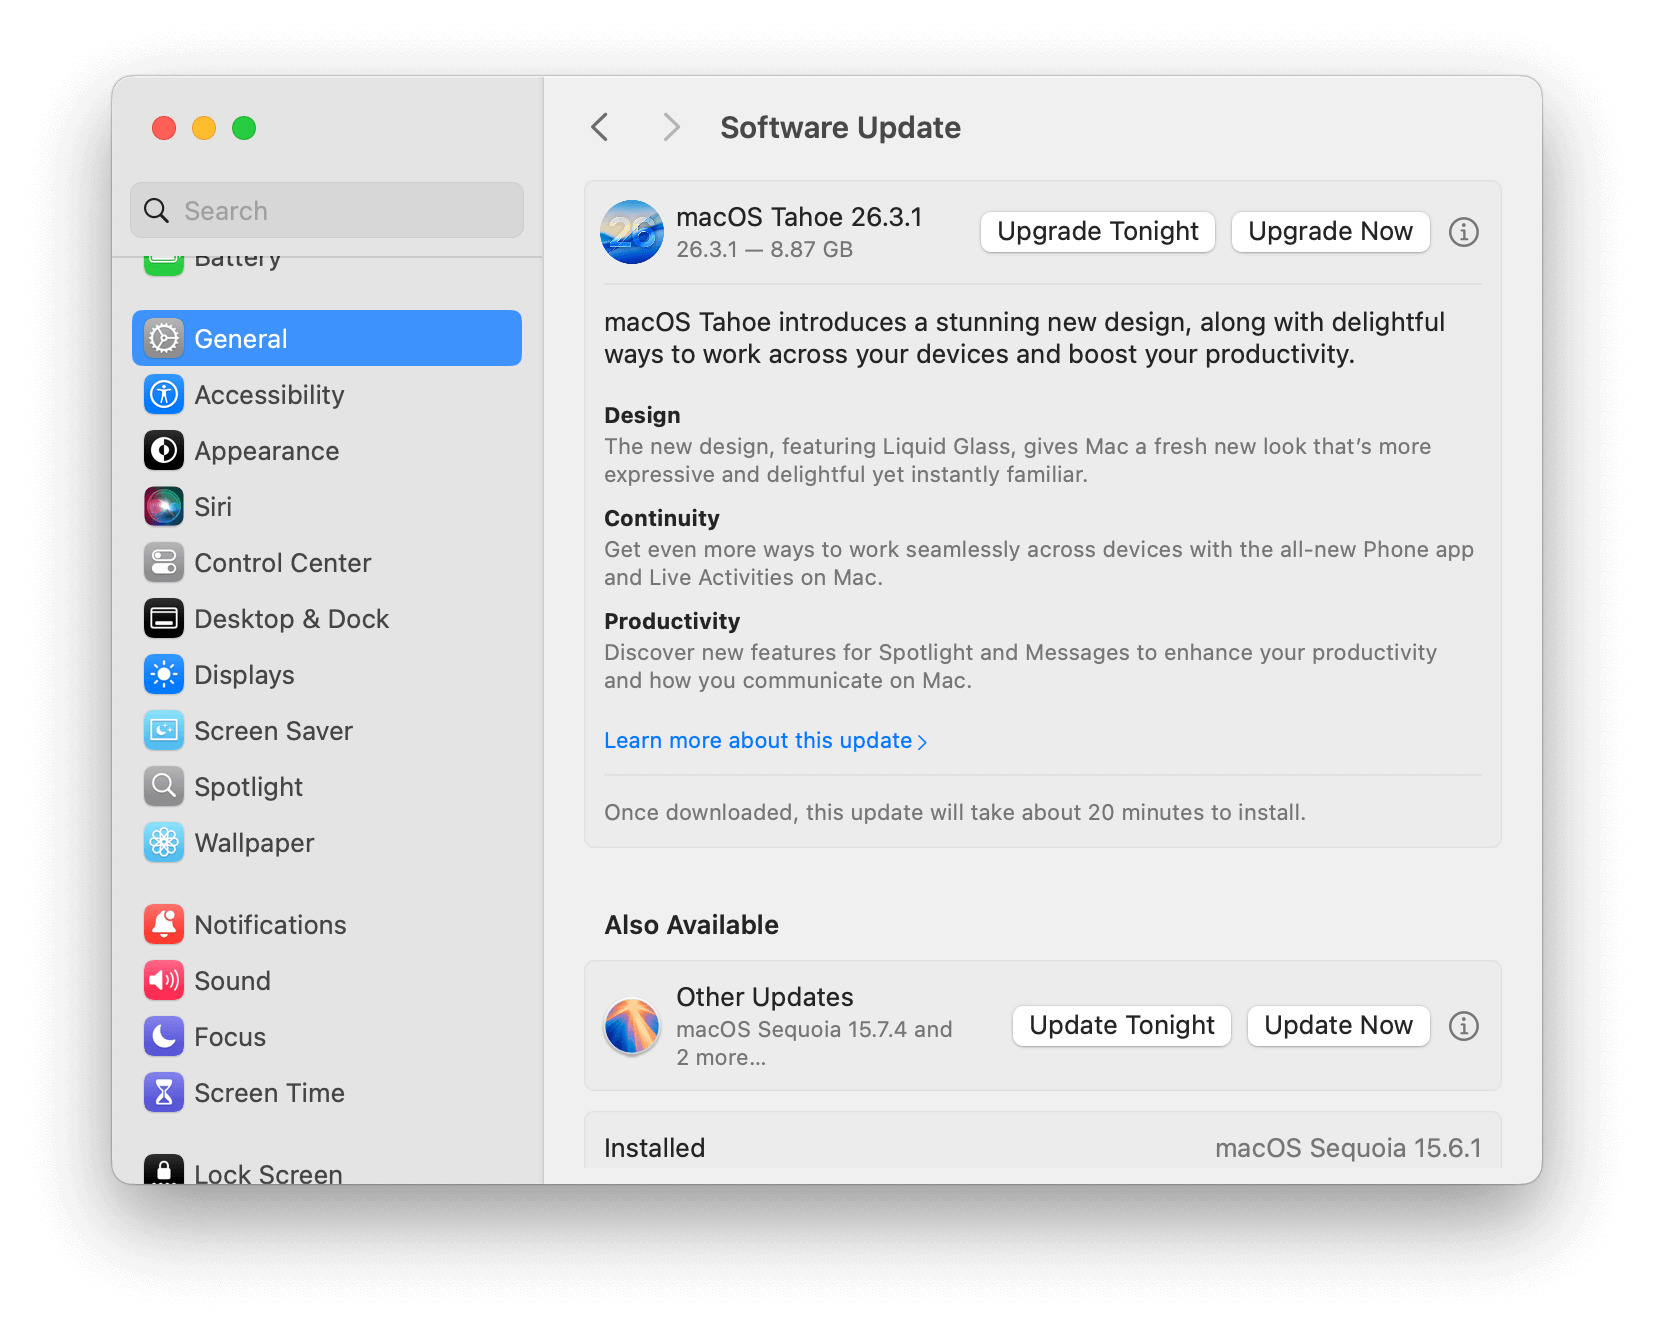
5. Update macOS and Security Definitions
XProtect relies on the latest malware definitions, which are included in macOS updates. Running an outdated macOS can make scans slower and more CPU-intensive.
- Open System Settings.
- Go to General > Software Update.
- If an update is available, click the Update Now/Upgrade Now button next to it.
- Follow the onscreen downloading and installation instructions.
6. Boot into Safe Mode
Safe Mode starts your Mac with only essential system processes and prevents third-party apps from running at startup. This can stop interference and help XProtect finish its scans without loops.
-
Apple Silicon Macs (M1/M2/M3/M4/M5):
- Shut down your Mac.
- Press and hold the power button until “Loading startup options” appears.
- Select your volume, hold Shift, and click Continue in Safe Mode.
- Log in.
-
Intel Macs:
- Shut down your Mac.
- Hold Shift immediately after startup until the login screen appears.
- Log in.
To exit Safe Mode, restart your Mac normally.
7. Reset SMC/NVRAM/PRAM
Low-level hardware settings, like power management or network configurations, can indirectly affect XProtect scanning. Resetting SMC (on Intel Macs) or NVRAM/PRAM can resolve these issues.
-
SMC Reset:
- Apple Silicon Macs: Shut down, unplug power for 30 seconds, plug back in, power on.
- Intel MacBooks: Shut down, press left Shift + Control + Option + Power for 10 seconds, release, then power on.
- Intel Desktops: Shut down, unplug for 15 seconds, plug in, wait 5 seconds, power on.
-
NVRAM/PRAM Reset (all Macs):

- Shut down or restart.
- Hold Command + Option + P + R until the second startup chime or Apple logo appears twice.
- Release keys and restart.
8. Detect Malware or Threats
XProtect spikes the CPU when scanning suspicious files. Use built-in or third-party malware scanners to detect threats, or manually check suspicious files in Activity Monitor.
Conclusion
In most cases, high CPU usage from XProtectService is temporary and caused by file or app scans. Starting with a restart, quitting conflicting apps, and updating software usually resolves the issue. For ongoing stability, removing unnecessary apps and clearing caches with BuhoCleaner can help maintain smooth Mac performance over the long term.
By following these steps, you can reduce CPU usage while keeping XProtectService active and your Mac secure.