

7 Fixes for "Time Machine Couldn’t Create a Local Snapshot"

In this post, we’ll find out what to do when Time Machine fails to create a local snapshot. Learn 7 proven ways to resolve the issue.
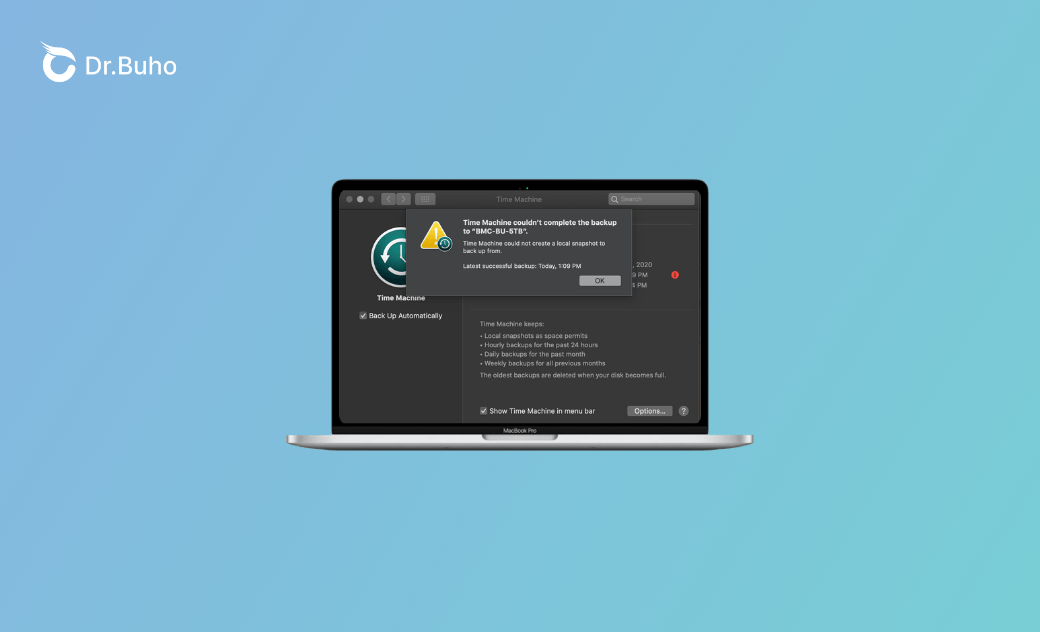
Recently, a Catalina user has been meeting the issue that Time Machine could not create a local snapshot to back up from. Time Machine HD is new, and it has 5 TB available, but Apple still says they can’t help unless they upgrade to Monterey. Then here comes the question: how much HD space does Time Machine need to make a backup?
In this post, we’ll discuss questions about the Time Machine backup, figuring out why it fails to create a local snapshot, and finding ways to let Time Machine back up again.
What Is a Local Snapshot in Time Machine?
A local snapshot in Time Machine is a backup of your Mac’s data. Instead of being stored on an external drive or network storage, it’s saved locally on your device. These snapshots are automatically created by macOS, allowing you to recover your files quickly and easily. Local snapshots are particularly useful for restoring recently deleted or modified files, and they can also help you roll back your system to a recent state when needed.
As for the frequently asked question - how much HD space does Time Machine need to make a backup? You can use a storage device with at least twice the storage capacity of your Mac. For example, if you’re backing up 7.5 TB of data, your Time Machine volume should ideally be 15 TB or more. If the Time Machine requires additional storage, your Mac will tell you.
Why Can’t the Time Machine Create a Local Snapshot?
Time Machine is a backup tool in macOS that provides a simple and effective way to back up your data regularly. It’s an important feature as you can recover lost or damaged files from these snapshots. It ensures that your critical data is always protected. However, there are times when Time Machine doesn’t create a local snapshot. If you’re worrying about the state of your backups and wondering why the Time Machine can’t back up, find the causes here:
- Local snapshots need storage space on your Mac’s internal drive. If your drive is nearly full, it fails to create new snapshots.
- Software glitches or bugs make Time Machine create local snapshots.
- Local snapshots may be corrupt, and a new snapshot cannot be created.
- Corrupted Time Machine preferences may lead to problems with local snapshots.
- Time Machine is also affected by disk errors or your account’s permissions.
- Time Machine can sometimes be interrupted by third-party software, such as maintenance or optimization software.
- Time Machine’s operation relies on the integrity of the system files.
- Occasionally, a hardware issue with your internal drive can cause Time Machine to stop making local snapshots.
- Some local snapshot problems can be attributed to improper Time Machine configuration settings.
How to Force a Time Machine to Back Up?
To force a Time Machine backup on your Mac, follow these steps:
- Launch it by clicking on the Time Machine icon on the menu bar.
- Choose “Back Up Now” in the dropdown menu.
- Time Machine will feature a progress bar to show your active backup.
- If you’d like to get a status check on the backup or access the backup history, open Time Machine by clicking the icon in the menu bar and choosing “Open Time Machine Settings.”
- Confirm that your backup disk (external hard drive or NAS, or Time Capsule) is connected and turned on.


How to Fix Time Machine Backup Fails on Mac?
In this part, we’ll introduce 7 ways to fix Time Machine’s failure to create a local snapshot.
Restart Time Machine
A simple reboot would clear temporary glitches and refresh the system’s processes regarding the Time Machine. When Time Machine is restarting, it will reload the backup process and enable the system to reinstall the local snapshots’ creation.
Turn Time Machine Off for a While
If you’re not in a hurry to create a local snapshot, you can also turn the Time Machine off for a while. This allows macOS to clear temporary files and processes. Meanwhile, you’ll give the system a chance to reset and reallocate resources. Once you turn Time Machine back on, it will attempt to create a new snapshot with a fresh start.
Free Up Storage Space
Despite temporary errors in your macOS, you should also focus on the internal space. In most cases, the backup issues result from insufficient storage space. You can try removing files from the system until you have enough room to create the snapshot.
Free up space by deleting unnecessary files, moving data to an external drive, or using a Mac cleaner like BuhoCleaner. This tool can help you get more storage space by eliminating junk files, cached files, large files, unwanted apps, or duplicate images and videos.
Here is how to use BuhoCleaner:
Step 1. Free download and install BuhoCleaner on your Mac.
Step 2. Launch BuhoCleaner and click the scan button. When the scanning process is finished, view the scan results and choose the files you want to delete.


Step 3. Click the Remove button to initiate the process.
Delete Local Snapshots via Terminal
To get more storage space, you can also delete existing local snapshots manually. Local snapshots are backups of your data stored on the same disk as your operating system. For a long time, they can accumulate and take up a lot of storage space. To delete local snapshots, you can use the Terminal commands and free up space on your disk. This action essentially resets the local backup environment, and Time Machine will function normally again.


- Locate Terminal in the Utilities folder within your Applications folder.
- Type the command in the Terminal window:
sudo tmutil thinlocalsnapshots /. - Type your Mac user password.
- When you see the backups, type the command:
sudo tmutil delete. - The system will automatically delete local snapshots to free up space.
Re-add the Backup Destination
Establish a fresh connection to the backup drive by re-adding the backup destination. It works when the issue is caused by corrupted or outdated backup configurations. Upon removing and then re-adding the backup destination, the Time Machine will enjoy a fresh start and create local snapshots successfully.

- Open System Settings by clicking on the Apple menu.
- Access Time Machine and locate the Time Machine settings window.
- Select the backup disk you want to remove and click the Minus (-) button.
- Click the “Add Backup Disk...” button to re-add your backup disk.
Check Disk Health
Disk issues like corrupted permissions or file system errors can also prevent Time Machine from creating a local snapshot backup. You can use Disk Utility’s First Aid feature to check and repair disk issues. It’s always important to ensure the disk is in a healthy state if you want to create a snapshot backup.


- Open Disk Utility by searching for it via Spotlight.
- Select the disk you want to check.
- Click the “First Aid” and confirm.
- Wait for the Disk Utility to scan the errors and repair them.
- Check the report to see whether the issues have been repaired.
Back up Local Snapshot Manually
If Time Machine fails to create a local snapshot immediately, you can manually initiate a backup of snapshots. By manually triggering a backup, Time Machine can actively create a snapshot backup, which can help remove any errors or glitches that might prevent automatic creation of local snapshots.


- Click on the Time Machine icon in the menu bar.
- Select the “Back Up Now” button in the drop-down menu.
- Wait for the backup to complete.
Conclusion
In summary, the “Time Machine couldn’t create a local snapshot” issue always results from insufficient storage space. From simple solutions like freeing up the storage space to more complex solutions like resetting Time Machine preferences, you can take 7 proven measures to fix the problem. By doing everything above, you can restore Time Machine functionality and maintain a good backup system for your Mac.
Clare has been captivated by the world of Apple products since the launch of the iconic iPhone in 2007. With a wealth of experience, Clare is your go-to source for iPhone, iPad, Mac, and all things Apple.


