This article shows how to safely test the macOS 27 Beta (macOS Golden Gate) by installing it on a separate APFS volume instead of replacing your main system. This allows you to try new features while keeping your stable macOS intact. You can easily switch between the beta and your primary system whenever needed.
Want to try the macOS 27 Beta (macOS Golden Gate) but don’t want to risk your main Mac?
That was my situation too.
Features like Apple Intelligence, the Siri AI app, and the new Liquid Glass interface make macOS Golden Gate tempting, but I couldn’t risk breaking my daily workflow.
So instead of replacing my system, I installed macOS 27 on a separate APFS volume. It shares storage with my main disk and doesn’t require fixed space.
Now I can test macOS Golden Gate freely and switch back to my stable macOS anytime I need.
Before You Start
Before downloading anything, make sure your Mac meets two requirements for macOS Golden Gate.
Confirm Your Mac Supports macOS Golden Gate
Apple Silicon Macs are supported for macOS Golden Gate, including:
- MacBook Neo (2026)
- MacBook Air (M1 and later)
- MacBook Pro (M1 and later)
- iMac (Apple silicon, 2021 and later)
- Mac mini (M1 and later)
- Mac Studio (2022 and later)
- Mac Pro (Apple silicon, 2023 and later)
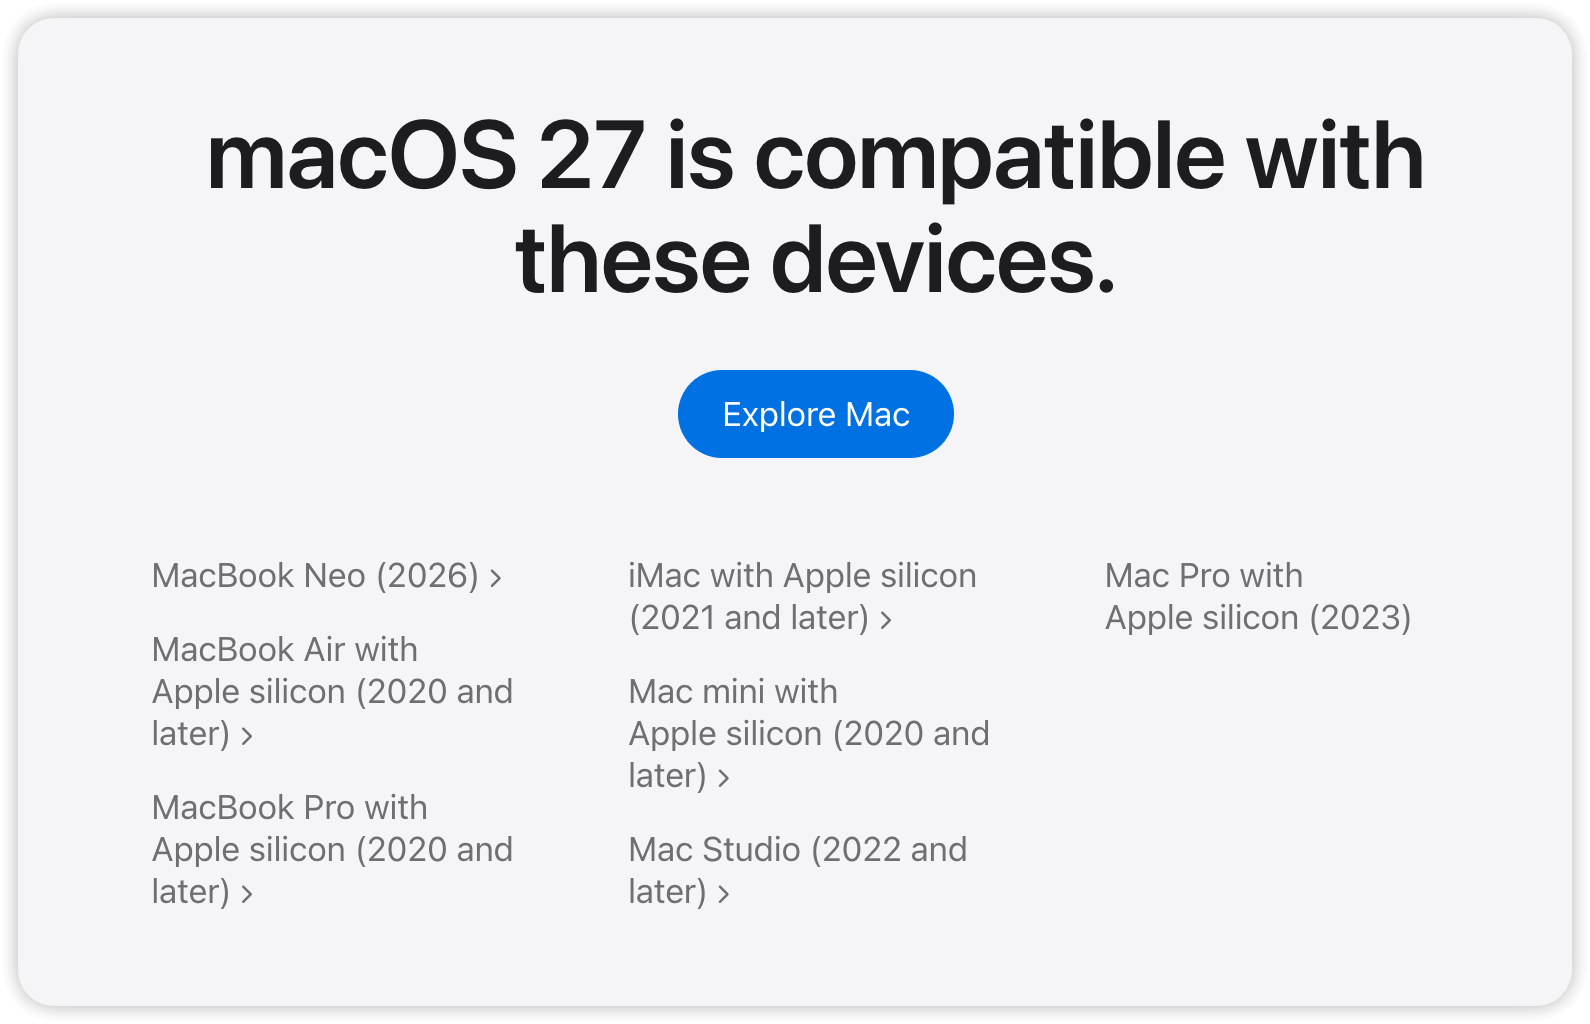
Intel Macs (including 2019–2020 MacBook Pro and iMac models) are not supported by macOS Golden Gate.
Make Sure You Have Enough Free Space
This is where many users run into trouble when installing macOS 27 Beta.
The installer itself is large, and you’ll also need room for:
- The macOS installation files
- The new APFS volume
- Future beta updates
- Temporary installation data
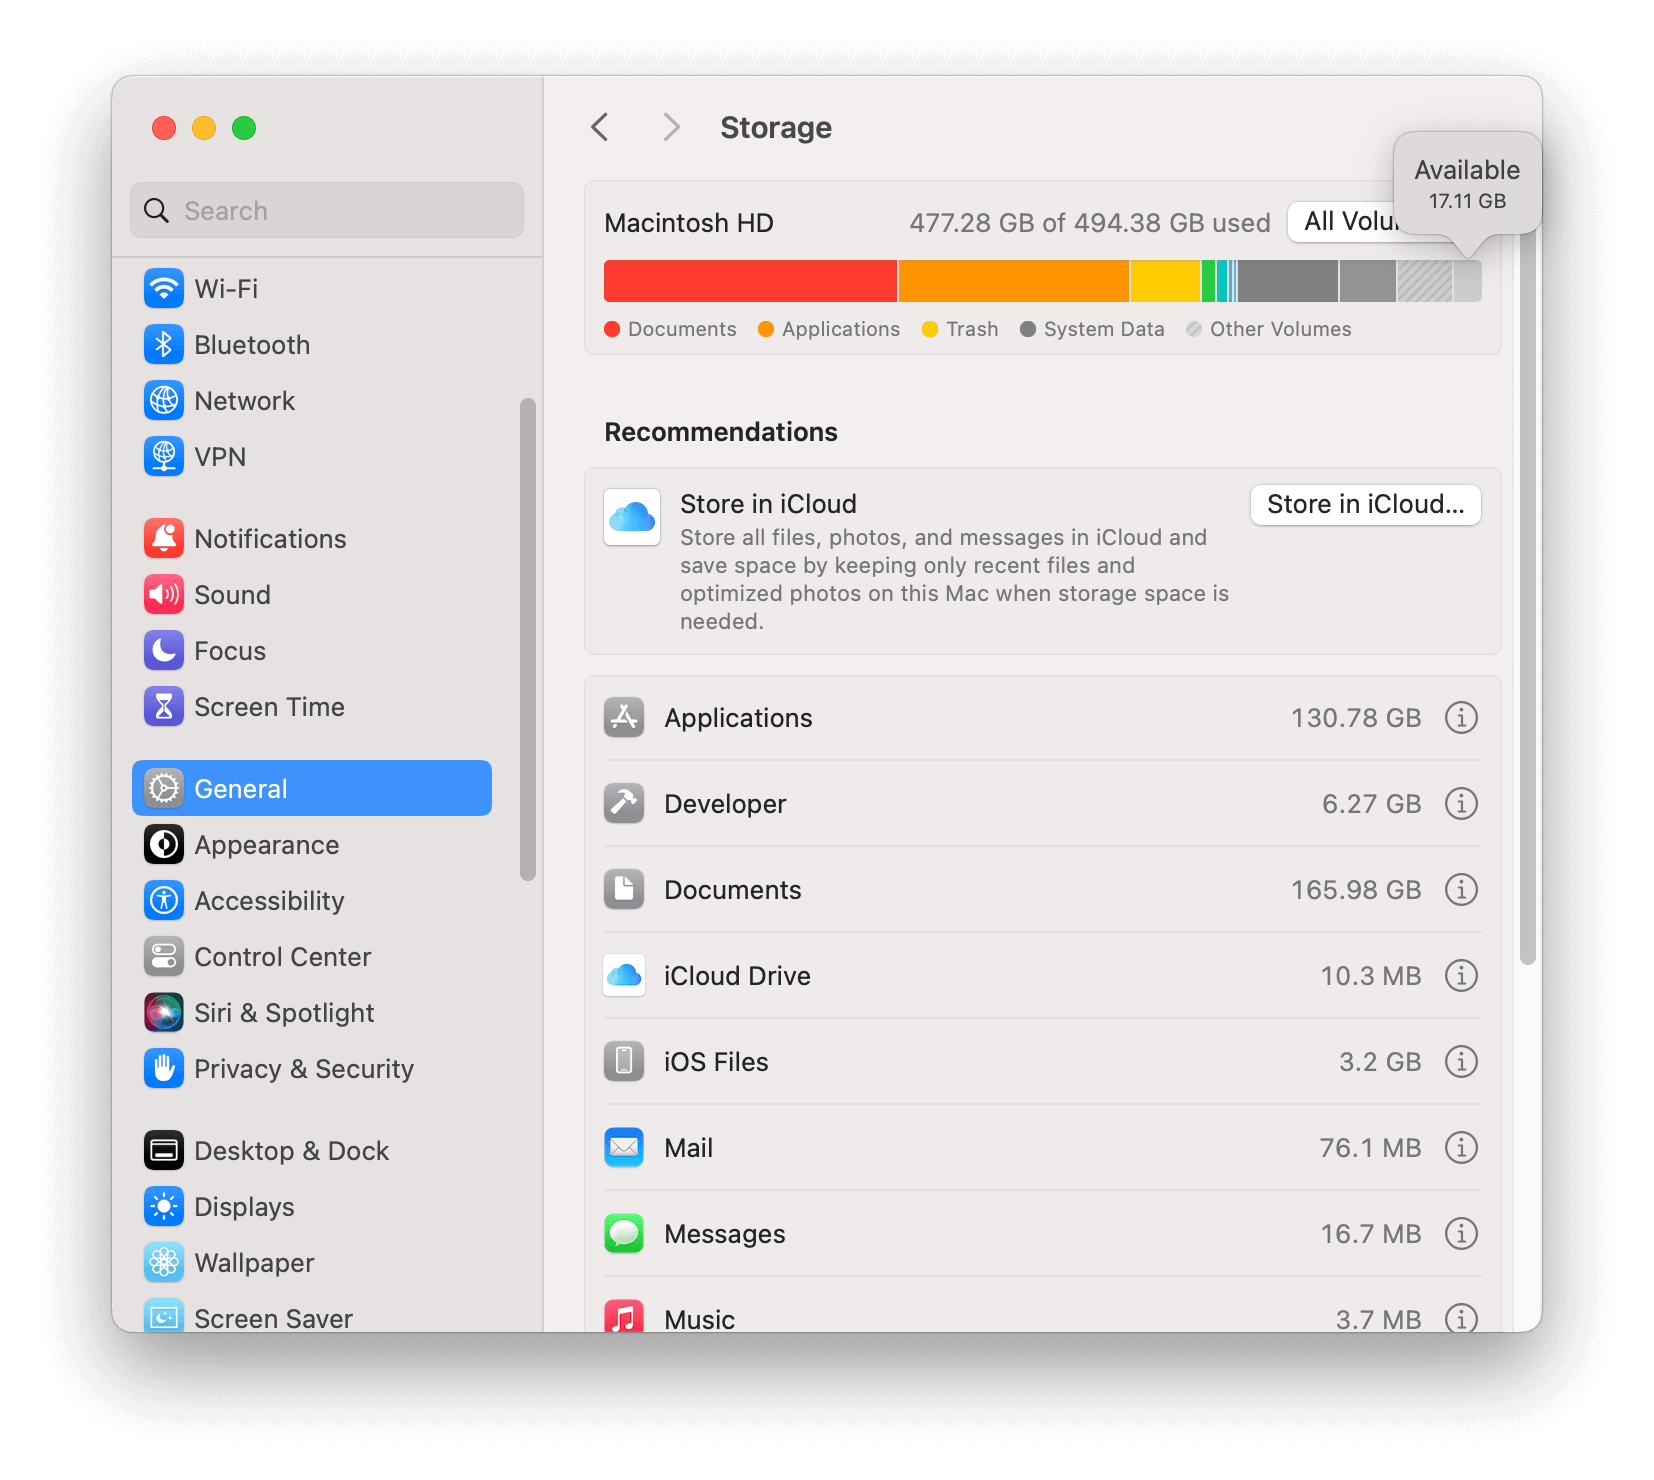
I recommend having at least 40 GB of free storage before starting.
To check your available storage:
Apple Menu > System Settings > General > Storage
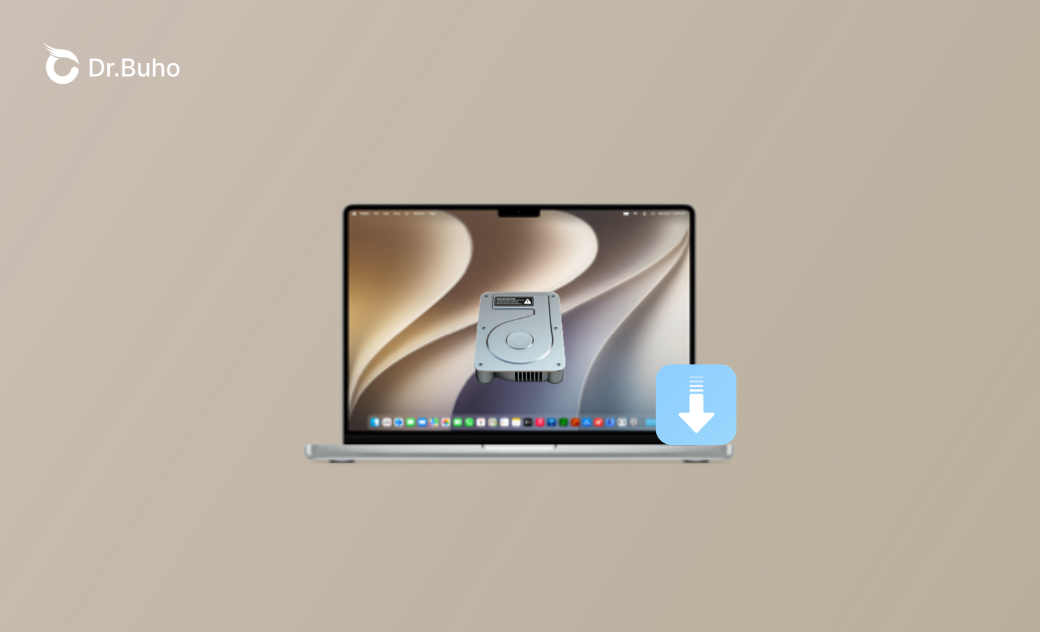
If you’re running low on space, it’s a good time to clean up old downloads, duplicate files, unused apps, and outdated cache files.
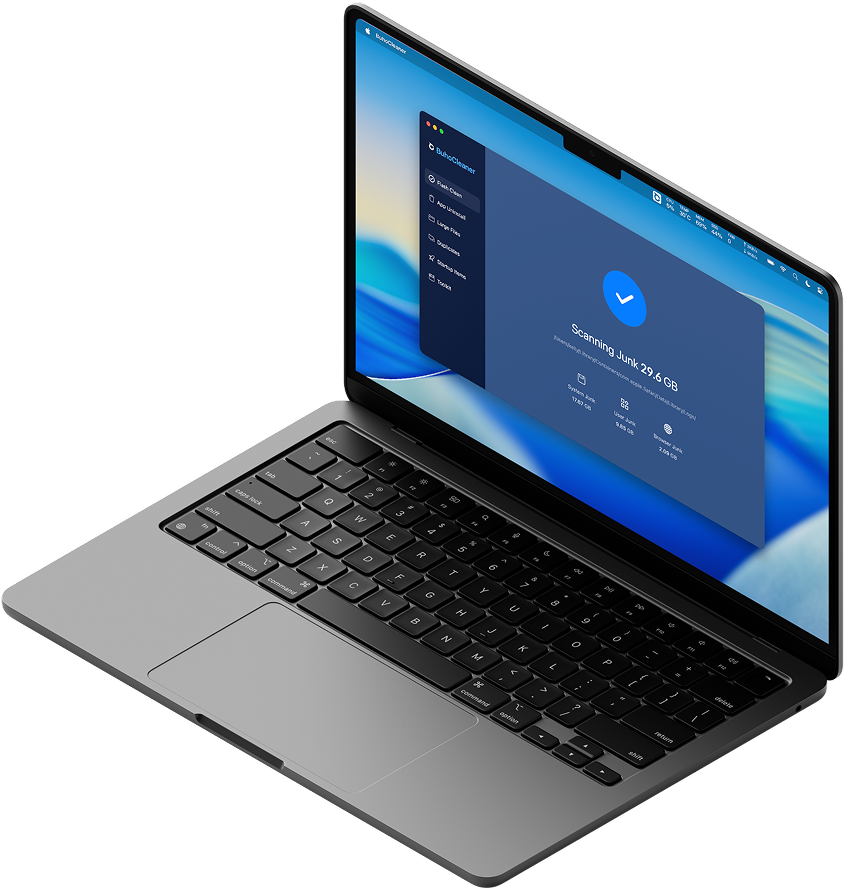
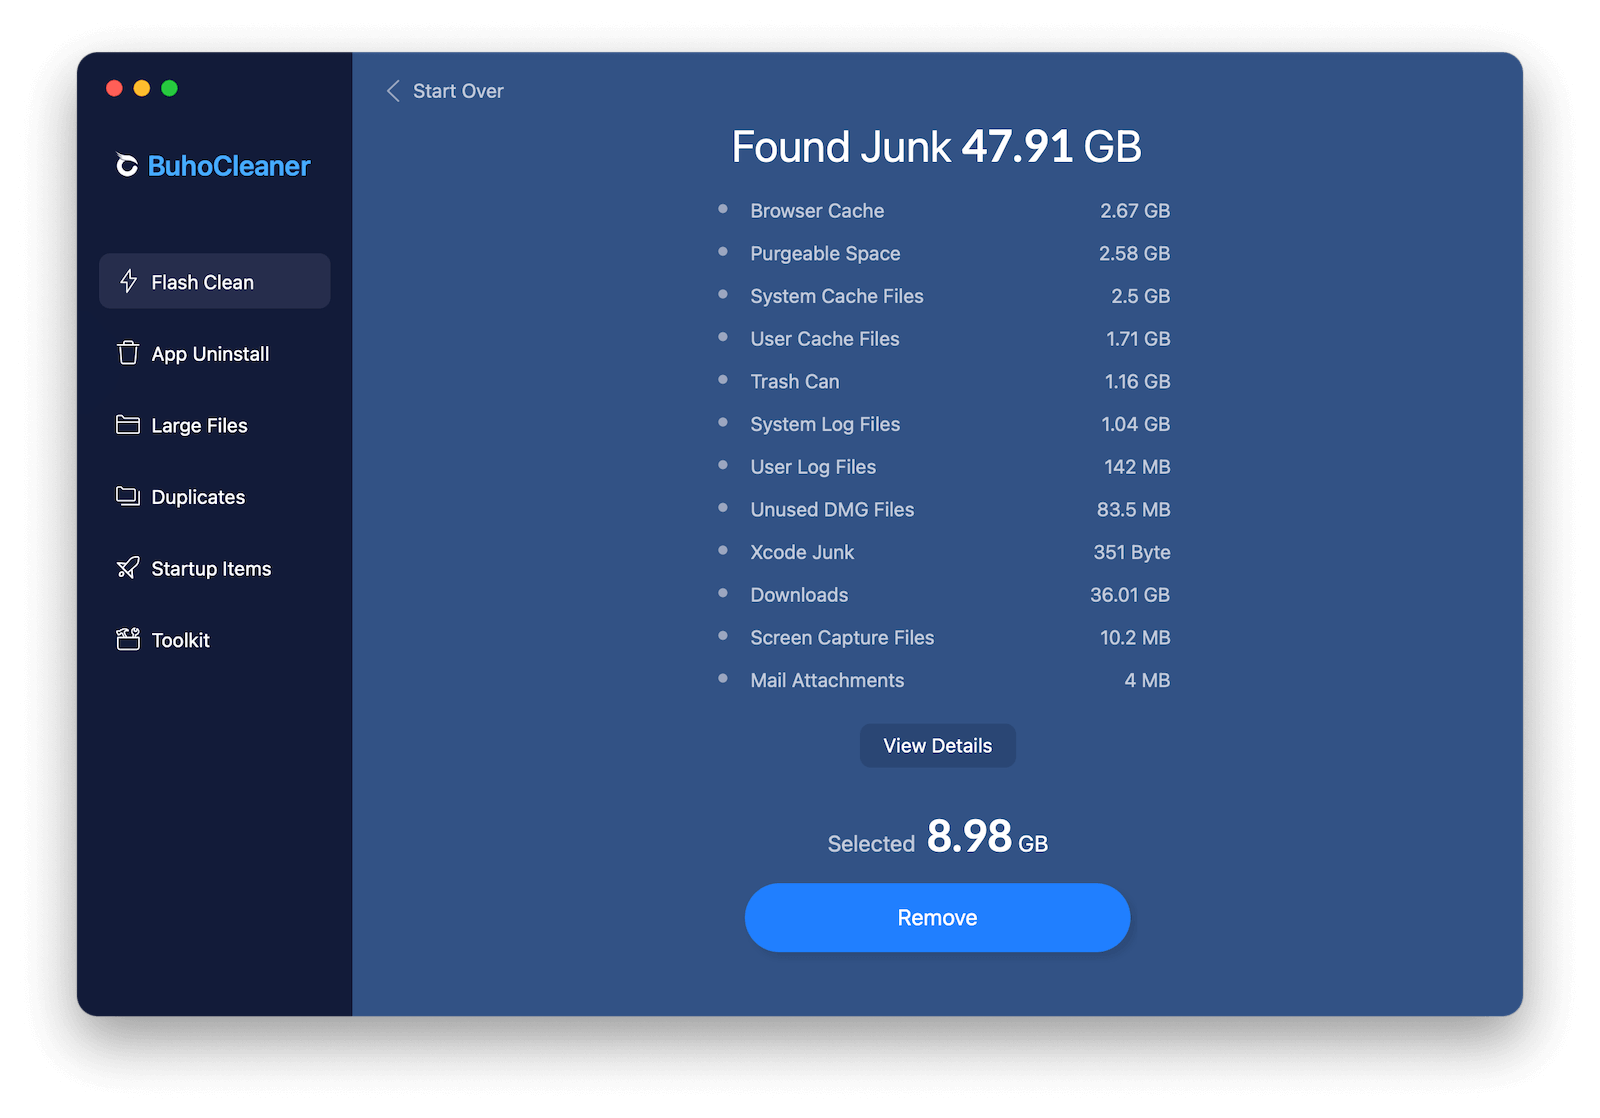
Before installing macOS 27 Golden Gate Beta, I used BuhoCleaner to quickly identify large files and remove unnecessary system clutter. It only took a few minutes and saved me from manually digging through folders.
The goal isn’t just to free up storage—it’s to avoid installation failures caused by insufficient disk space.
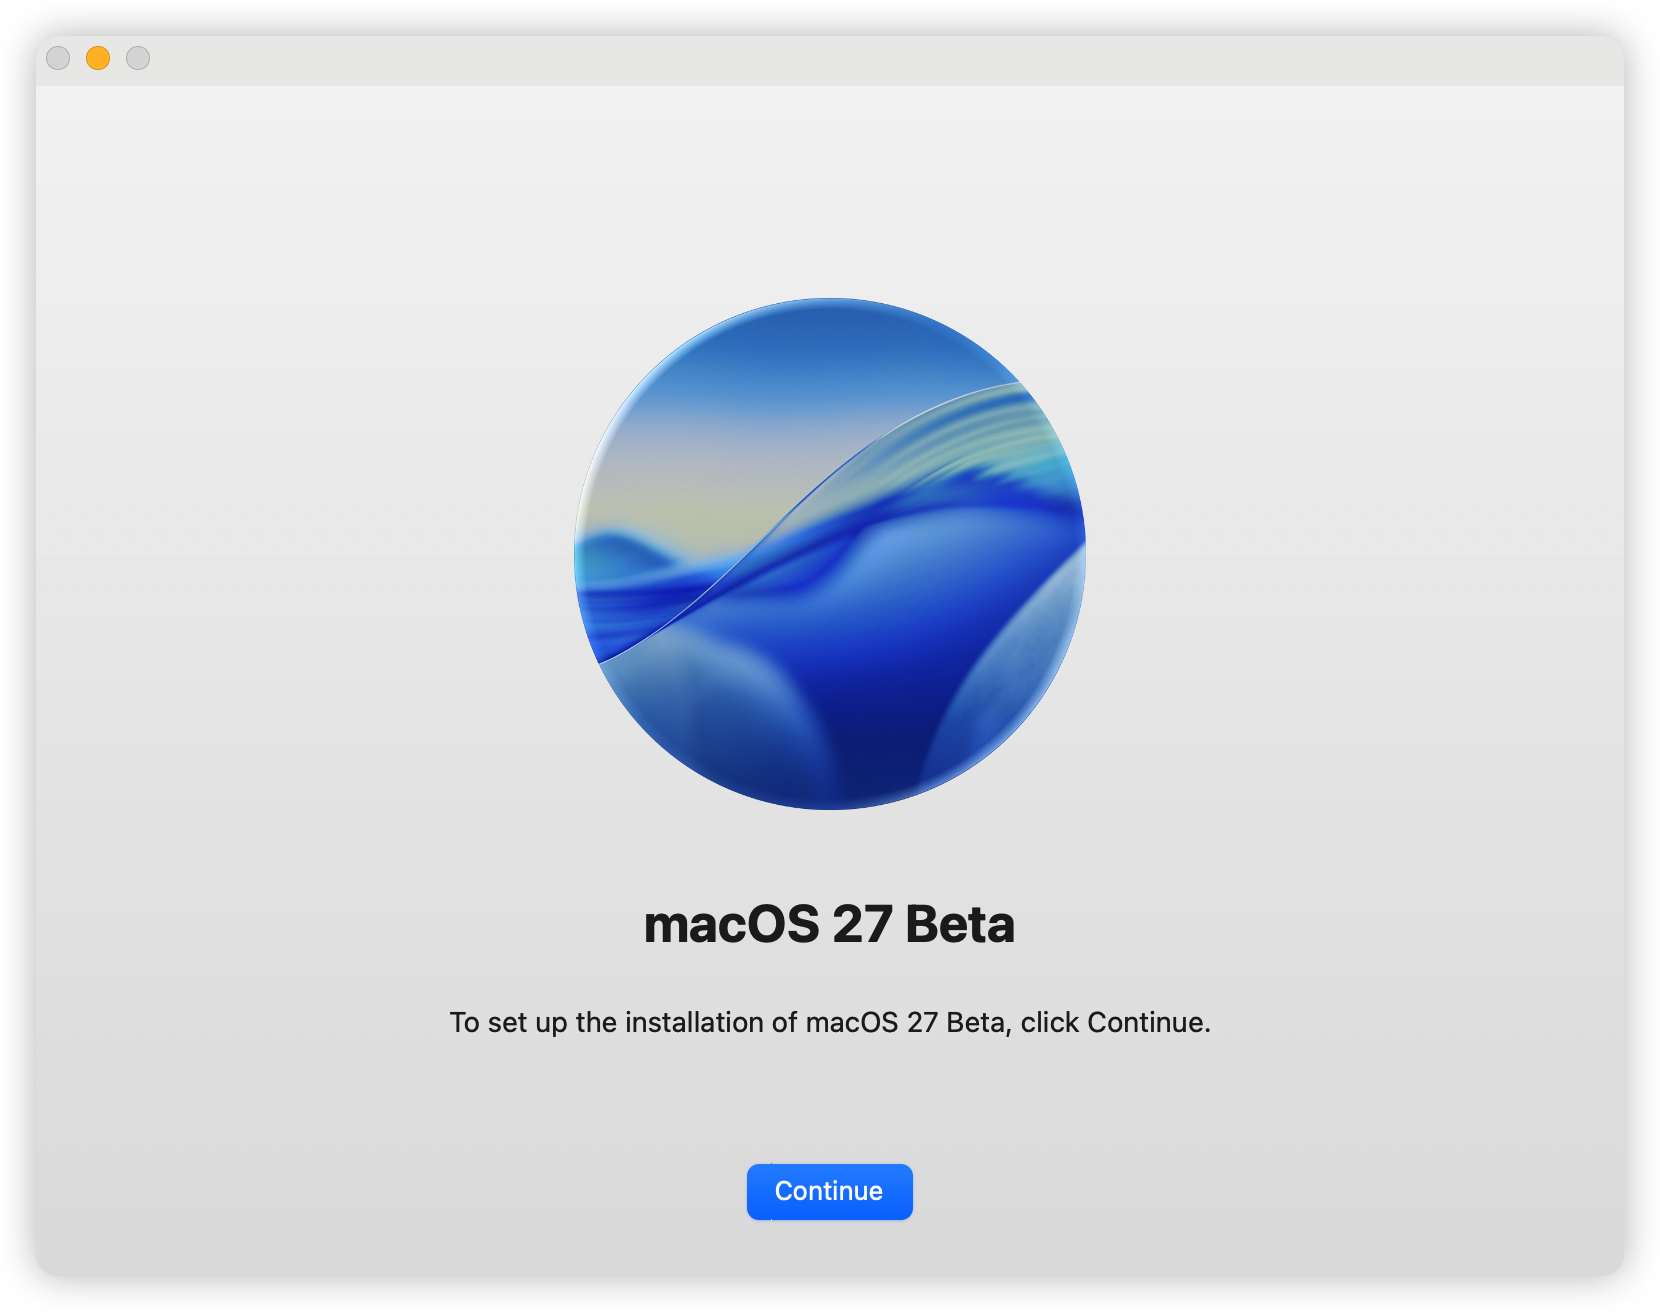
Download the macOS 27 Installer
Once you’ve confirmed compatibility and available storage, download the macOS 27 Beta installer.
👉🏻macOS Golden Gate 27 Developer Beta Installer
After downloading the package, run it to install the macOS installer app in your Applications folder.
Don’t start the installation yet. First, you’ll want to create a separate APFS volume.
Create an APFS Volume for macOS Golden Gate
This step is what keeps your current macOS installation safe.
- Open Disk Utility and click the + button to create a new APFS volume on your internal SSD.

- Give it a recognizable name, then click Add.

Unlike traditional partitions, APFS volumes automatically share free space with the rest of your drive, making them much more flexible.
Install macOS Golden Gate on the New Volume
Once the volume is ready:
- Launch the macOS Golden Gate 27 Developer Beta installer.
- Click Continue.
- Select Show All Volumes.
- Choose the APFS volume you created (macOS Golden Gate).
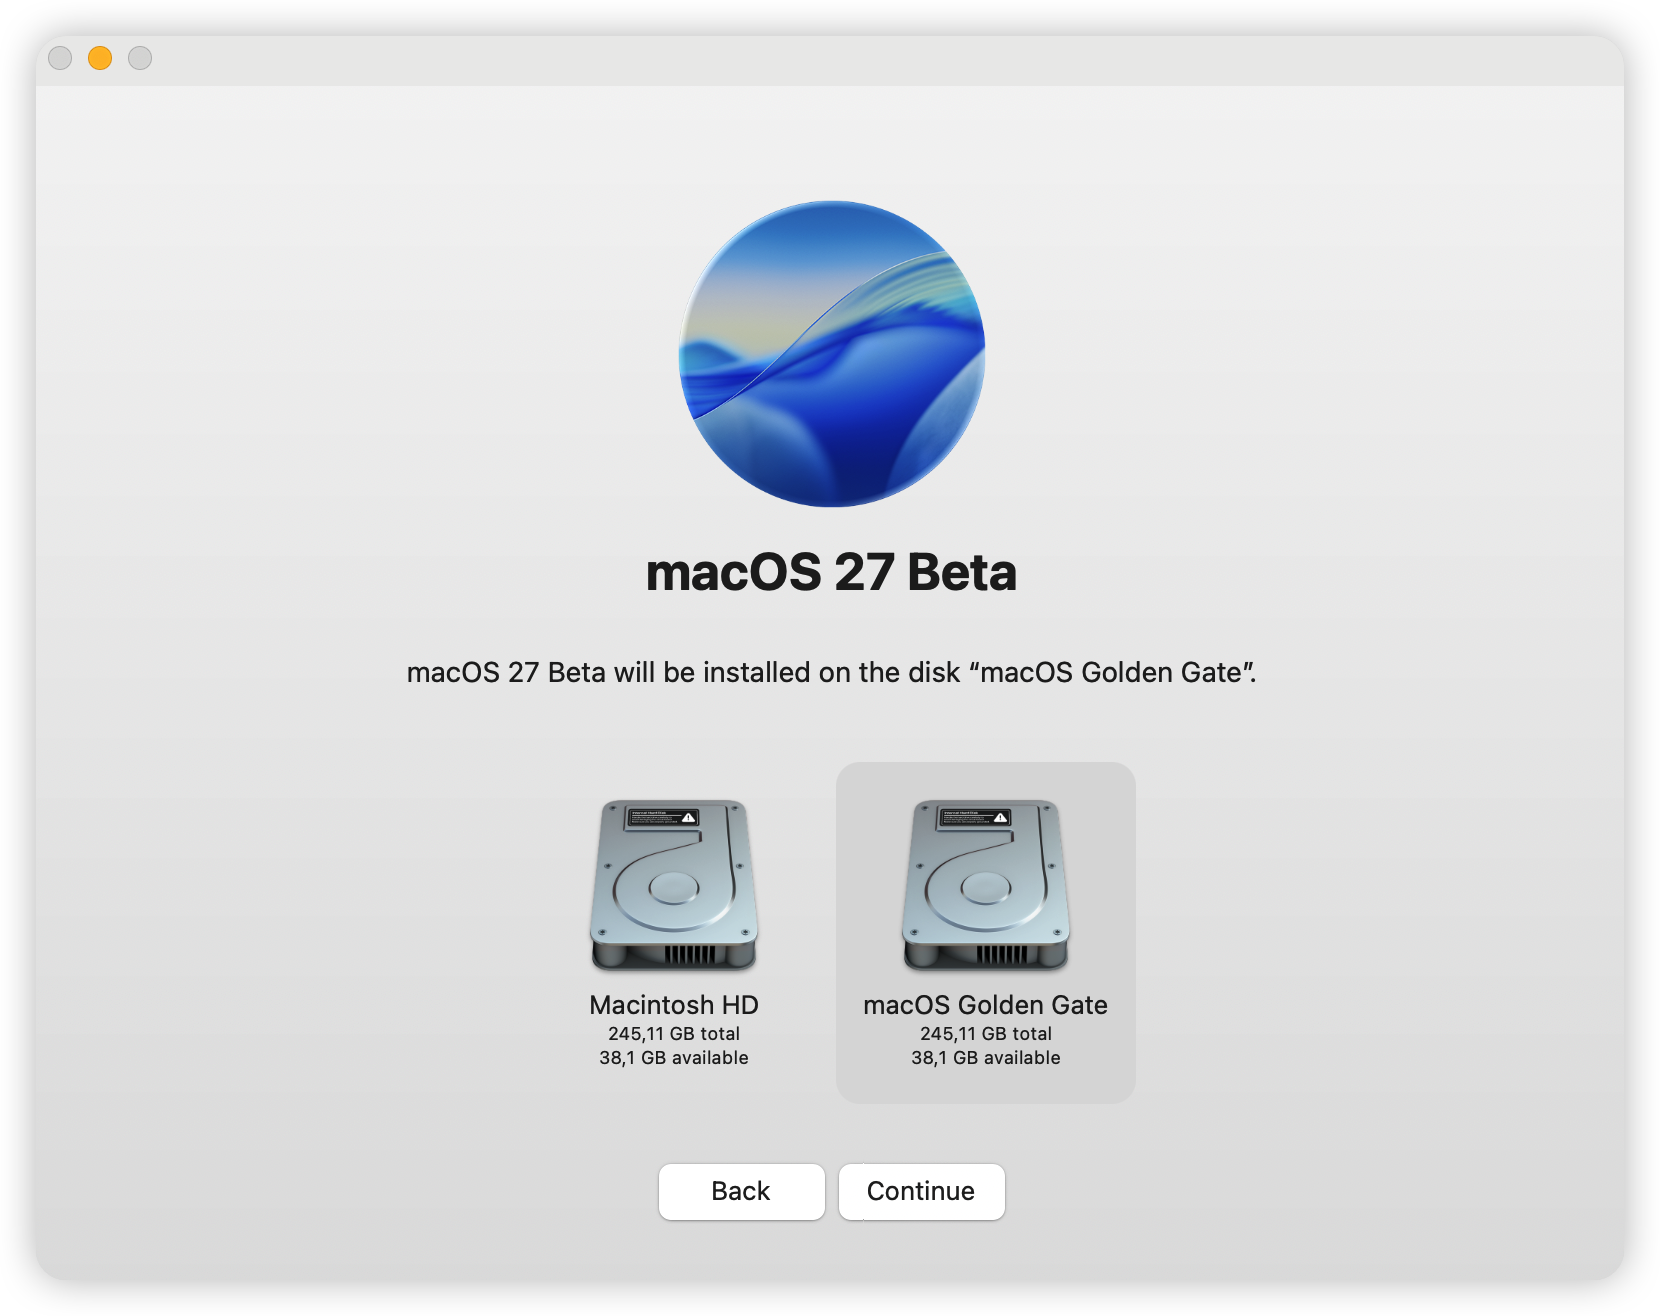
- Complete the installation process.
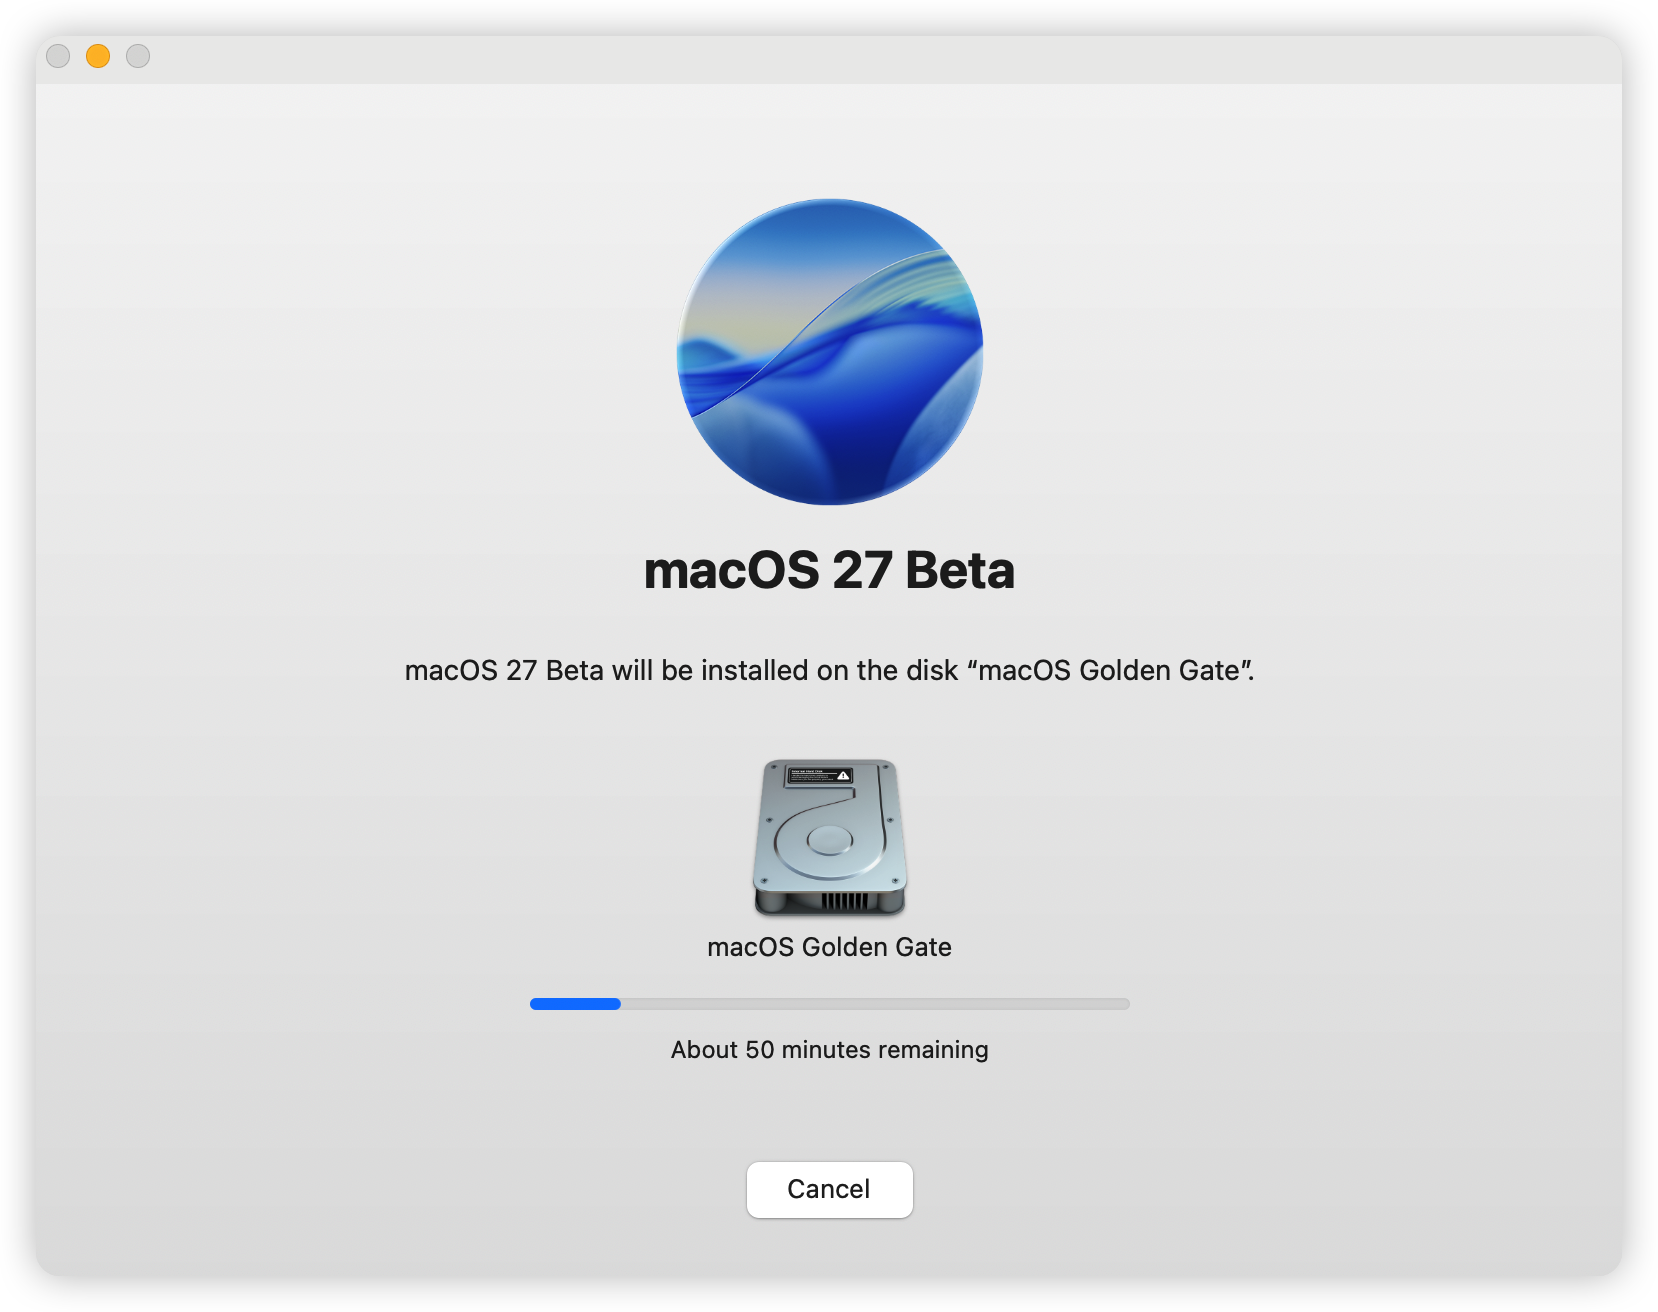
Depending on your Mac, installation may take anywhere from 30 minutes to over an hour.
During installation:
- Keep your Mac plugged in
- Don’t interrupt the process
- Avoid forcing a restart
When installation finishes, your Mac will automatically boot into macOS 27 Golden Gate.
Switching Between macOS Golden Gate and Your Main System
You have two ways to switch between macOS Golden Gate (macOS 27) and your main system.
Option 1: Use Startup Options (One-Time Boot Switch)
This method is useful when you only want to boot into another system once, or when your Mac isn’t set up to use a default startup disk.
- Shut down your Mac.
- Press and hold the power button until Startup Options appear.
- Wait for the available startup volumes to load.
- Select the system you want to boot into (for example, macOS Golden Gate or Macintosh HD).
- Click Continue.
Within a minute, your Mac will boot into the selected system.
Option 2: Use System Settings (Recommended for Daily Switching)
If you switch between macOS Golden Gate and your main system regularly, this method is more convenient and reliable because it sets your default startup system.
- Open System Settings.
- Go to General.
- Click Startup Disk.
- Unlock the settings using your password or Touch ID.
- Select the system you want to use, then click Restart.
From this point on, your Mac will automatically boot into the selected system until you change it again.
My Experience After One Week
After spending a week with macOS Golden Gate Developer Beta, my overall impression is positive.
The interface feels cleaner and more polished than macOS 26 Tahoe. The updated Liquid Glass effects look more refined, and system animations generally feel smoother.
That said, this is still an early beta of macOS 27.
Right after installation, Spotlight indexing and background processes noticeably increased CPU usage. My Mac ran warmer than usual, and battery life wasn’t quite as good as it is on my primary installation.
I also encountered a few minor UI bugs and occasional lag in some apps.
Nothing deal-breaking—but enough to remind me why I don’t recommend installing a beta on your main system.
Final Verdict
If you’re eager to try macOS Golden Gate, installing it on a separate APFS volume is the safest approach.
You’ll get access to all the new features without risking your primary macOS installation. If the beta becomes unstable, you can simply reboot into your regular system and keep working.
For developers, enthusiasts, and anyone curious about Apple’s latest software, it’s the best way to explore macOS Golden Gate while keeping your everyday workflow protected.