

macOS Update Stuck on “Less Than a Minute Remaining”? Fixed!

Wondering why you install a new macOS update, but it gets stuck on "Less than a minute remaining..."? Don't worry. Here, you will find the possible reasons and measures that can help you successfully install the new macOS.
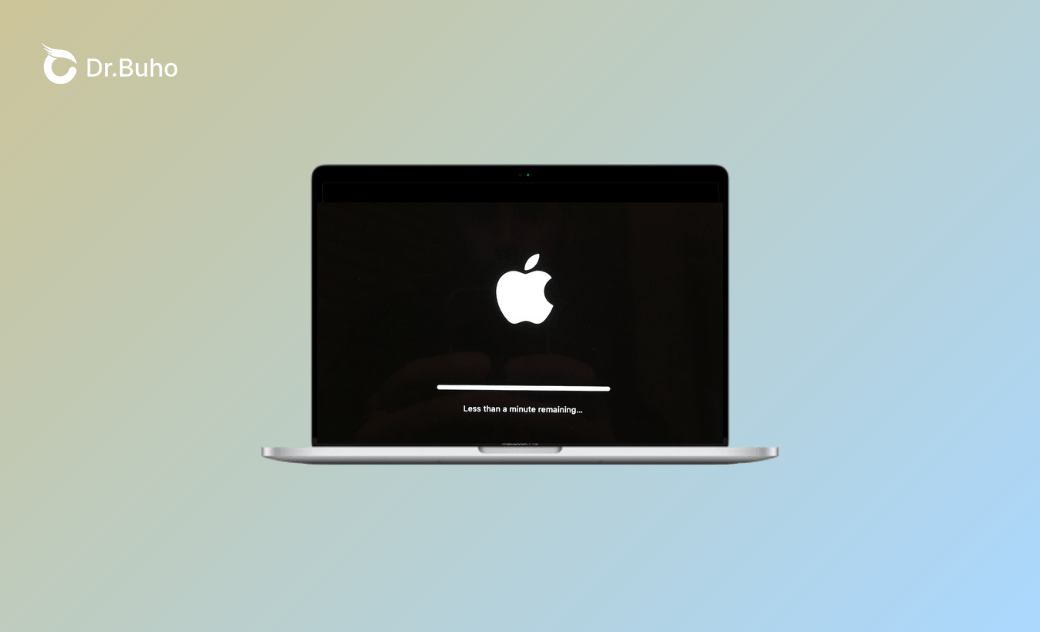
I was trying to install macOS Tahoe today, but my install has been stuck on “Less than a minute remaining...” for about half an hour now.
This message was from a user who sought to upgrade to macOS Tahoe. Every time Apple releases a new macOS version, users might encounter update issues. Among these issues, it’s more disappointing to be stuck at the last minute.
In some cases, it can recover and complete the installation within a few minutes, but more often, you need to take special actions to continue the process. Let's dive into the problem and explore the fixes.
Why Is My macOS Update Stuck on "Less Than a Minute Remaining"?
Here are the common reasons why your Mac is stuck on less than a minute remaining.
- There isn’t enough disk space.
- The installation file is corrupted.
- Background processes or external accessories may interfere with the update.
- Your Mac is overheating.
- Your Mac has a low battery level.
- There are errors with your disk.
How to Fix the “macOS Update Stuck at ‘Less Than a Minute Remaining’” Issue
Upgrading to recent macOS versions like Tahoe, Sequoia, Sonoma, or Ventura can sometimes take longer than expected. If your Mac has been stuck on the “less than a minute remaining” screen for too long, follow the steps below to troubleshoot and fix the issue.
1. Force Restart Your Mac
The first troubleshooting method is to force restart your Mac. Here's how:
- Press and hold the power button until the screen goes black.
- Wait about 10 seconds, then press the power button again to turn it back on.
- If you see the Apple logo and a progress bar, leave your Mac alone to let it complete the update.
- If your Mac starts up normally, check if the macOS update was successfully installed.
- If not, proceed to the solutions below.
2. Repair Your Disk
Disk errors can interfere with the macOS installation and cause it to get stuck.


To repair your disk:
- Open Disk Utility from the Applications > Utilities folder or Spotlight search.
- Select the disk or volume where you want to install the new macOS.
- Click "First Aid" in the toolbar.
- Click "Run" to check and fix potential disk errors.
3. Check System Conditions and Reinstall the Update
A successful macOS update requires a stable internet connection, at least 20 GB of free disk space, and sufficient battery or power supply.
Before reinstalling the update, go through this checklist:
- Make sure your internet connection is stable.
- Disable any VPN or security software that might interfere with the update.
- Disconnect any external accessories to prevent conflicts.
- Check available storage by going to "System Settings > General > Storage". If you’re low on space, try using BuhoCleaner, a handy Mac cleaning tool that helps you reclaim gigabytes of space in just a few clicks.


Once you’ve completed these checks, try reinstalling the update.
4. Reinstall macOS in Recovery Mode
If your Mac won’t restart properly or is stuck in a boot loop or black screen, reinstalling macOS in Recovery Mode can help.


- Put your Mac into recovery mode:
- If your Mac comes with an M1, M2, M3, or M4 chip:
- Shut down your Mac,
- Long-press the power button until you see the "Loading startup options."
- Click the gear icon, then click the "Continue" button.
- If your Mac is Intel-based:
- Shut down your Mac.
- Turn it on and immediately press and hold the Command + R keys.
- Release the keys when you see the Apple logo or a spinning globe.
- From the Recovery Mode menu, choose "Disk Utility" > "Continue", select your startup disk (usually Macintosh HD), and click "First Aid" to scan and repair disk issues.
- Go back to the macOS Recovery menu and select "Reinstall macOS" > "Continue".
- Follow the onscreen instructions to complete the installation.
How to Avoid the “macOS Update Stuck at ‘Less Than a Minute Remaining’” Issue Again
As you’ve seen, it’s frustrating when a macOS update gets stuck near the end. To help prevent this issue from happening again, follow these simple tips before installing future updates. Doing so should ensure a smoother installation experience.
Tip 1: Make sure your Mac is connected to a stable and reliable network. Tip 2: Free up enough storage space for the update. (BuhoCleaner is a great tool to help with this.) Tip 3: Back up your Mac using Time Machine or iCloud to protect your data. Tip 4: Ensure your Mac is plugged in and has sufficient power during the update. Tip 5: Consider running the update overnight, so you don’t have to wait impatiently.
Conclusion
It’s common to encounter the macOS update getting stuck at the last minute. In this post, we’ve outlined the possible causes and practical solutions to help you resolve the issue. We hope you find it helpful.
It’s also worth noting that whether you’re downloading or installing a macOS update, ensuring your Mac has sufficient storage space and is connected to a stable network is essential.
Checking your internet connection is simple — and freeing up space is just as easy if you have BuhoCleaner at your fingertips.
Clare has been captivated by the world of Apple products since the launch of the iconic iPhone in 2007. With a wealth of experience, Clare is your go-to source for iPhone, iPad, Mac, and all things Apple.


