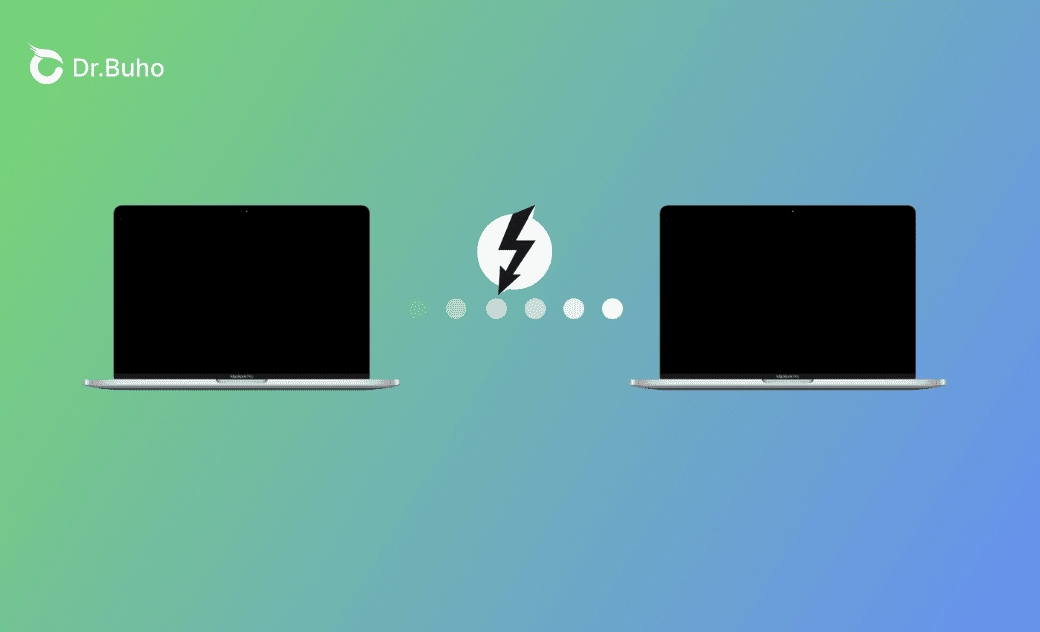
Thunderbolt Bridge on Mac | Connecting Two Macs and Sharing
This post explains what Thunderbolt Bridge is on Mac and how to connect Macs to share files and networks using it. Keep reading!
Although there are many ways to connect and share files or networks between two Macs, Thunderbolt Bridge is one of the most convenient and fastest methods.
In this post, you'll learn how to connect and use Thunderbolt Bridge on your Mac. Read on for the step-by-step guide.
What Is Thunderbolt Bridge on Mac?
Thunderbolt Bridge is a network interface used to connect two Macs for file transfers or internet sharing.
To use this feature, you'll need a Thunderbolt cable (with a lightning bolt symbol) and two Macs with Thunderbolt ports.
With Thunderbolt Bridge, you can easily share files and internet connections—especially large files at high speed—between two Macs.
Main Features:
- Networking two Macs
- High-speed data transfer
- Resource sharing
- Peer-to-peer connection
Although tools like Migration Assistant and Target Disk Mode can also transfer files, Thunderbolt Bridge is faster than both.
How to Use Thunderbolt Bridge on Mac
Now that you have a basic understanding of Thunderbolt Bridge, let’s walk through how to set it up to transfer files or share a network between two Macs.
Here’s how to connect Thunderbolt Bridge:
- Connect the two Macs using a Thunderbolt cable.
- On both Macs: Go to Apple menu > System Settings > Network > Thunderbolt Bridge > Details > TCP/IP > Configure IPv4 > Manually, then enter a unique IP address on each Mac.
- Make sure File Sharing is enabled: Go to Apple menu > System Settings > General > Sharing > File Sharing.
- If Thunderbolt Bridge isn’t listed: Click the three dots > Add Service > Select Thunderbolt Bridge from the Interface dropdown > Create.
Once connected, Thunderbolt Bridge will display a self-assigned IP if not configured correctly.
- On the Mac receiving the files:
Open Finder > Click the Go menu > Connect to Server > Enter the server address > Click Connect > Enter your name and password > Click Connect again > Select the volumes you want to mount.
- Find and drag the files you want to transfer to the desktop or any desired location on your Mac.
How to Fix Thunderbolt Bridge Not Connected on Mac
If Thunderbolt Bridge isn’t working, try the following:
- Ensure your Mac supports Thunderbolt over USB-C.
- Connect the two Macs directly, not through a USB-C hub.
- Use the Apple Thunderbolt 3 (USB-C) Cable instead of a regular USB-C charging cable.
- If one Mac uses Thunderbolt 2, use a Thunderbolt 3 to Thunderbolt 2 adapter along with a Thunderbolt 2 cable.
How to Remove the Thunderbolt Bridge Interface on Mac
If there's an unnecessary Thunderbolt Bridge interface on your Mac, you can remove it easily.
Here’s how:
- Open System Settings.
- Go to Network > Select the Thunderbolt Bridge you want to delete > Click Delete Service > Delete.
Alternatively, you can deactivate the interface by clicking Make Inactive.
Bonus: How to Free Up Space Before Transferring Files on Mac
Before transferring files, it's a good idea to clean up your Mac. A quick and effective way to do this is by using BuhoCleaner, which can remove unnecessary files in just a few minutes.
Here are the key features of BuhoCleaner:
- Quickly clean junk files, large files, and duplicate files
- Uninstall apps completely without leftovers
- Manage startup items easily
- Analyze overall disk space usage
Conclusion
Now that you've reached the end of this post, do you feel more confident using Thunderbolt Bridge on your Mac?
Give it a try and enjoy fast, peer-to-peer file transfers between Macs.
Clare has been captivated by the world of Apple products since the launch of the iconic iPhone in 2007. With a wealth of experience, Clare is your go-to source for iPhone, iPad, Mac, and all things Apple.
