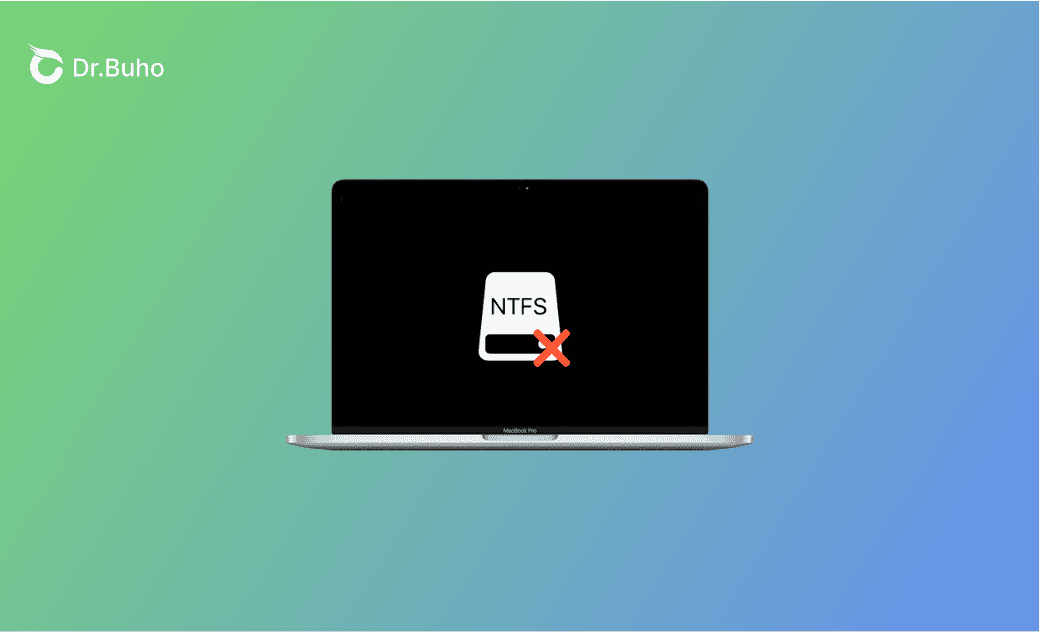
NTFS for Mac Not Working on macOS Tahoe? 5 Quick Fixes!

If your NTFS for Mac doesn't work on macOS Tahoe, refer to this guide to understand the possible reasons behind the problem and discover effective solutions.
Some users have reported that their NTFS for Mac isn't functioning properly after upgrading or updating to macOS Tahoe.
If you're facing the same problem, worry not. We'll guide you through why your NTFS for Mac may not be working on macOS Tahoe and provide you with some solutions. Let's find them out.
Why Isn't NTFS for Mac Working on macOS Tahoe?
The main reason your NTFS for Mac is not functioning on macOS Tahoe is likely due to its incompatibility with the new operating system.
Other possible causes include incorrect system settings and connection issues.
How to Fix the "NTFS for Mac Not Working" Issue on macOS Tahoe
If you're encountering issues with NTFS for Mac on macOS Tahoe, follow these steps for resolution.
1. Update Your NTFS for Mac
If your NTFS for Mac ceases to function following the macOS Tahoe upgrade, it's advisable to update NTFS for Mac to a version that is compatible with macOS Tahoe.
2. Check Connections
Make sure your NTFS drive is properly connected to your Mac. Faulty or poor connections can hinder NTFS for Mac from effectively reading and writing content on your NTFS drive.
See what to do if your external drive is not showing up on your Mac.
3. Check System Settings
NTFS for Mac tools need the appropriate permissions to write to your NTFS drive. Ensure that you have granted the necessary permissions by following these steps:
- Click the Apple menu and select System Settings.
- Navigate to Privacy & Security to grant Accessibility, Full Disk Access, and System Extensions permissions to your NTFS for Mac.
- Restart your Mac for the changes to take effect.


4. Restart Your Mac
Often, after installing an NTFS for Mac tool, a restart is necessary to ensure its smooth operation. Simply click the Apple menu and select Restart to see if your NTFS for Mac functions properly afterward.
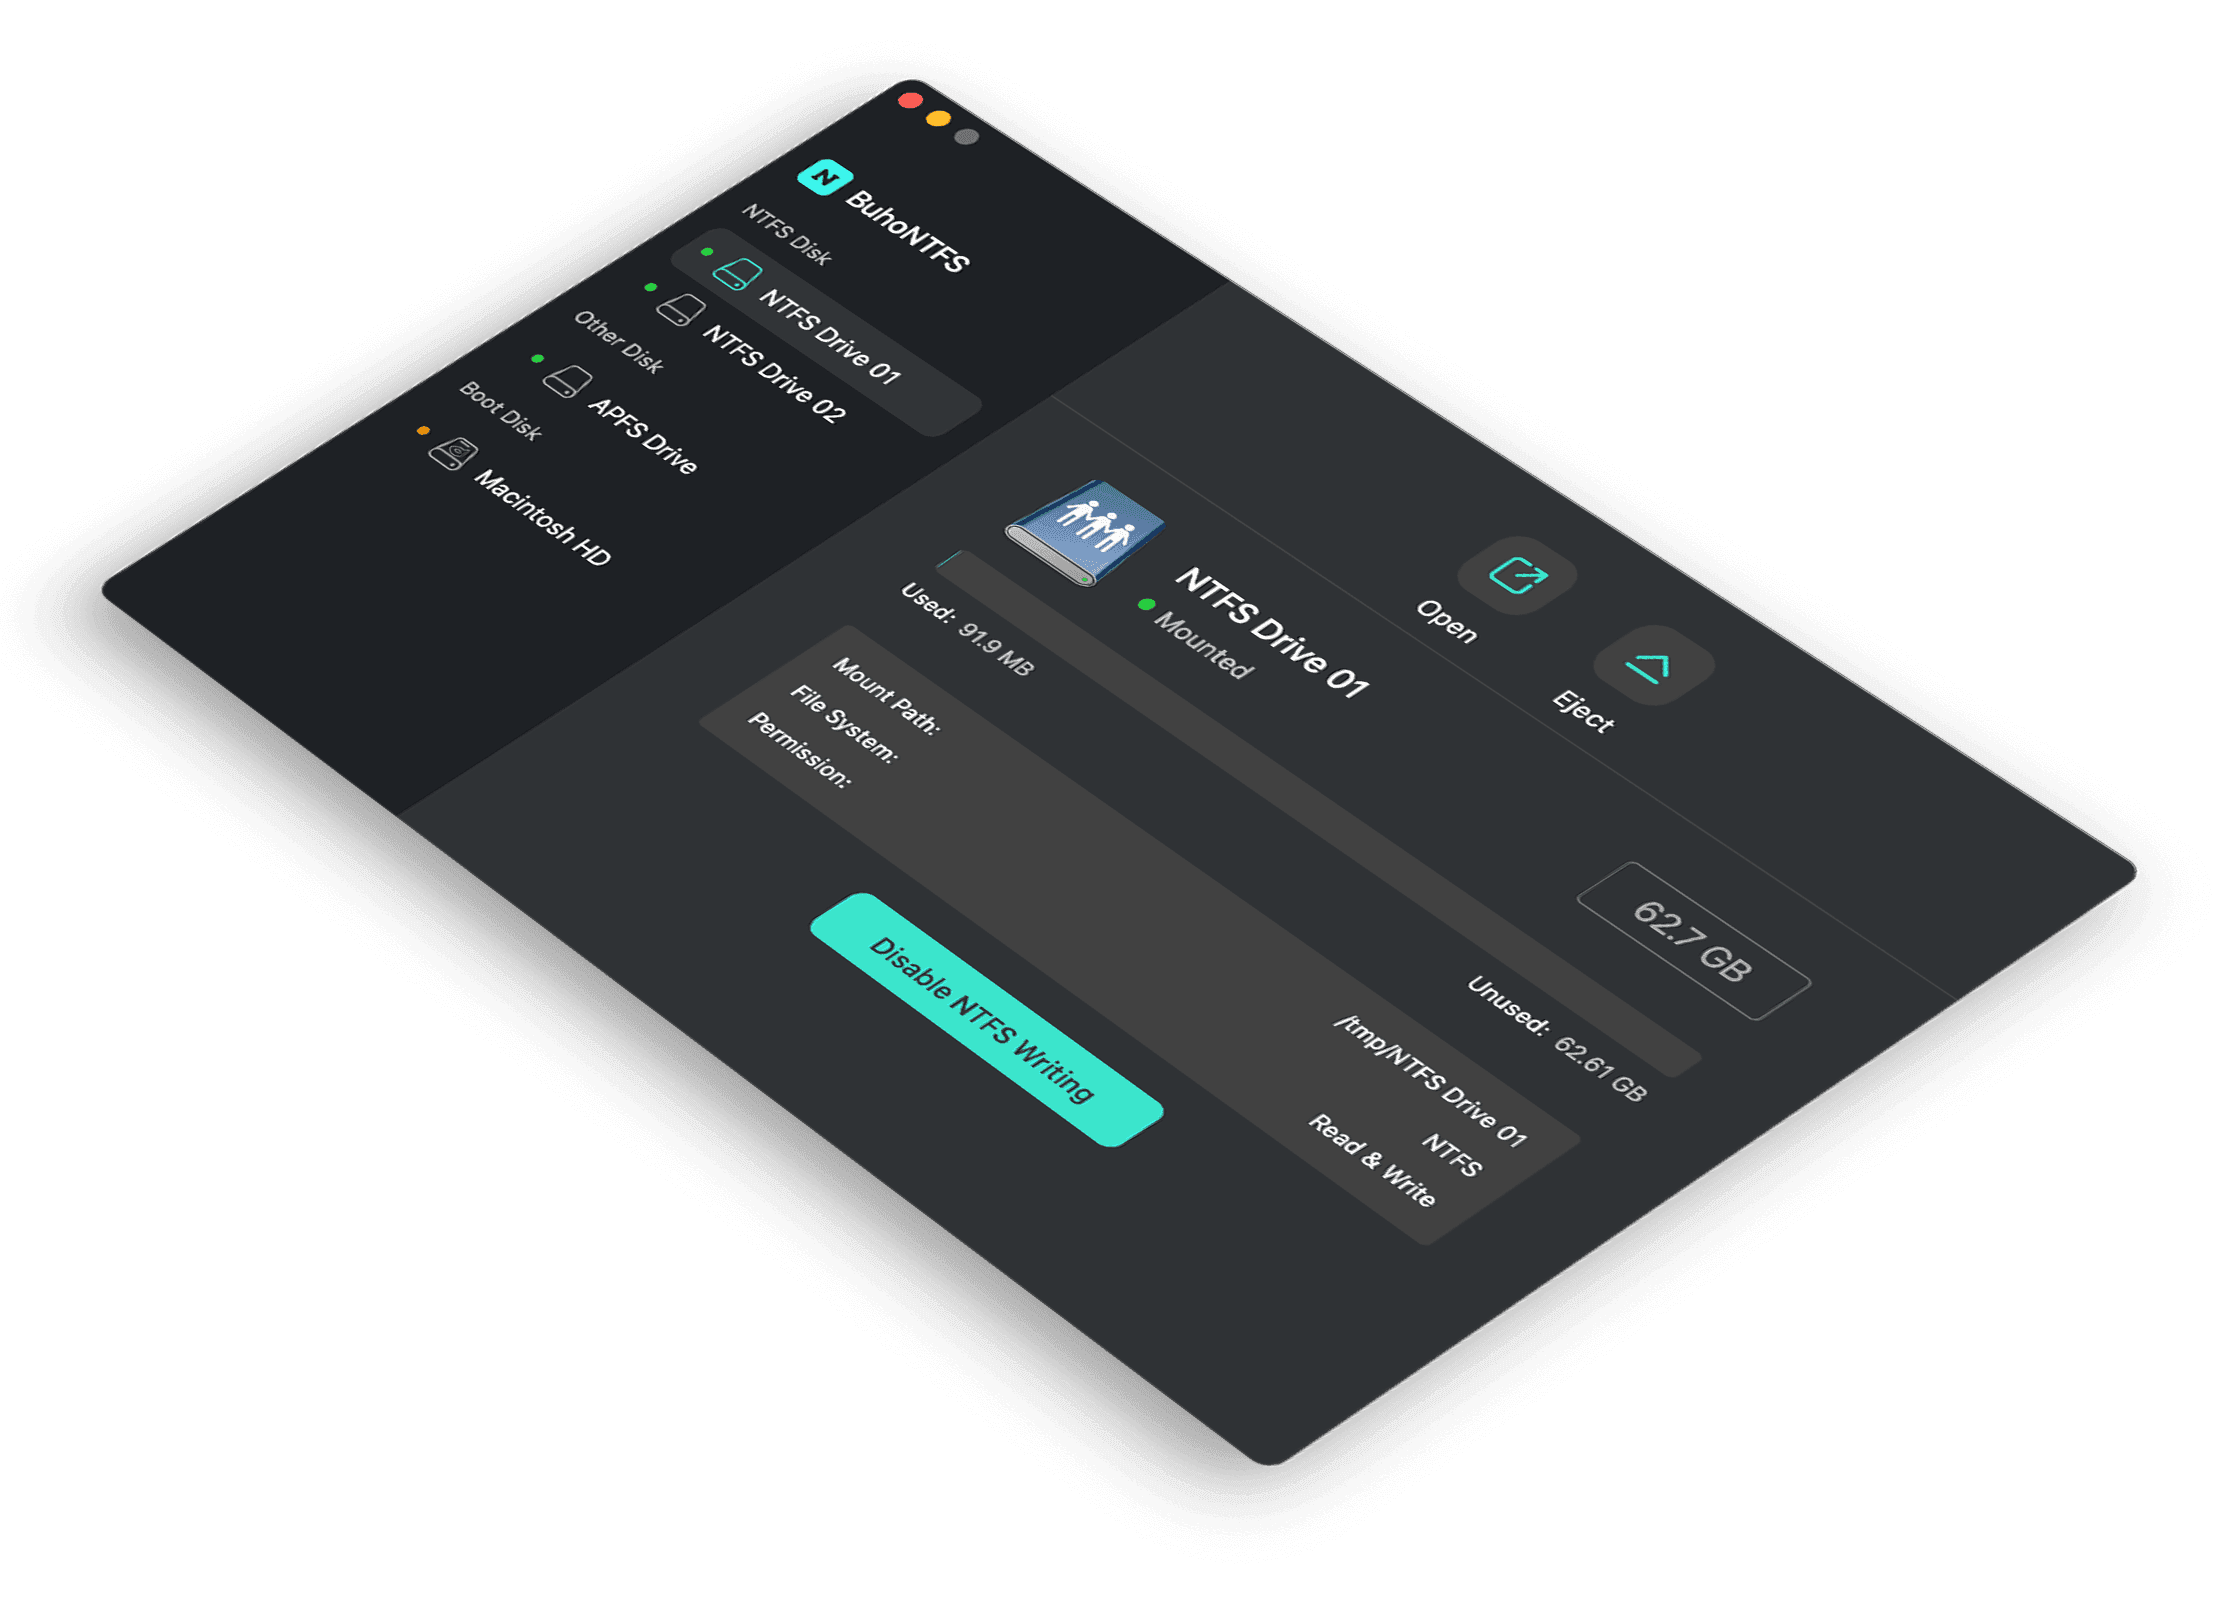
5. Use Another NTFS for Mac Tool
If none of the aforementioned methods proves effective, try alternative NTFS for Mac software. Below is a list of popular NTFS for Mac tools that enable reading and writing on NTFS drives. Choose the one that best suits your requirements:
- BuhoNTFS
- NTFS Tool
- macFUSE
- Paragon NTFS for Mac
- Tuxera NTFS for Mac
- iBoysoft NTFS for Mac
- EaseUS NTFS for Mac
Conclusion
We hope that by following these steps, your NTFS for Mac will work properly, allowing you to read and write to NTFS drives on your Mac seamlessly.
If your Mac runs slowly after a macOS Tahoe update, consider using the top-rated Mac cleaner, BuhoCleaner to optimize and speed up your system.
For additional Mac cleaning tips, refer to our guide on "How to Clean Up a Mac Hard Drive".
Jerome is a passionate enthusiast of all things Apple. He is expertise in crafting tech-related articles, with a portfolio of more than 100 articles covering various Apple products like the iPhone, iPad, and Mac.