

- Upgrade macOS Tahoe
- Downgrade macOS Tahoe
- macOS Tahoe Issues
How I Installed macOS Tahoe 26.5 on a Separate Volume/Partition

Here’s how I installed macOS Tahoe 26.5 on a separate APFS volume without messing up my main macOS.
Apple officially announced macOS Tahoe at WWDC on June 9, 2025. The moment I saw the new Liquid Glass design and all the new features, I was immediately curious. I just had to try it out.
But here’s the thing—I really didn’t want to risk messing up my main macOS. I only have one Mac, so installing it on a second device wasn’t an option. Instead, I figured out the safest route: installing it on a separate APFS volume right on my Mac.
If you’re thinking of doing the same, I’ll show you exactly how I did it step by step.
Step 1. Check if Your Mac Is Compatible with macOS Tahoe
First things first: I made sure my Mac is on the macOS Tahoe supported list.
- MacBook Air with Apple silicon (2020 and later)
- MacBook Pro with Apple silicon (2020 and later)
- MacBook Pro (16‑inch, 2019)
- MacBook Pro (13‑inch, 2020, Four Thunderbolt 3 ports)
- iMac (2020 and later)
- Mac mini (2020 and later)
- Mac Studio (2022 and later)
- Mac Pro (2019 and later)


Step 2. Make Sure Your Mac Has Enough Storage Space
This part is also important. The full macOS Tahoe installer is over 15GB, and the installation process needs even more space. So, before downloading the macOS Tahoe installer, I checked my available storage.
- Click the Apple menu and go to System Settings.
- Click General > Storage.
- Look at the Available section at the end of the storage bar.


As you can see, my Mac was low on storage space (as usual). I could’ve gone through my files one by one to clean things up, but honestly, who has time for that?
Instead, I opened BuhoCleaner, a Mac cleaner I’ve been using for a while and really trust. I did a quick scan, and within seconds, it showed me exactly what I could delete. A couple of clicks later, I’d cleared a good chunk of space.


Still not enough? No problem. I used BuhoCleaner’s Large Files feature and found some huge files I didn’t even remember I had.


Click the button below to try it out yourself.
Related Article: How to Fix "Not Enough Space to Install macOS Tahoe" Error
Step 3. Download the macOS Tahoe 26.5 Public Installer
With enough space cleared, I was ready to grab the installer.
Now, if you’re wondering—no, the App Store doesn’t offer the full installer. I used a reliable third-party website (mrmacintosh.com), and here's the direct download link:
After downloading the .pkg file, I ran it, and it gave me the “Install macOS Tahoe” app in my Applications folder. This is the app you’ll use to install macOS Tahoe.


Now for the fun part—installing it on a separate volume!
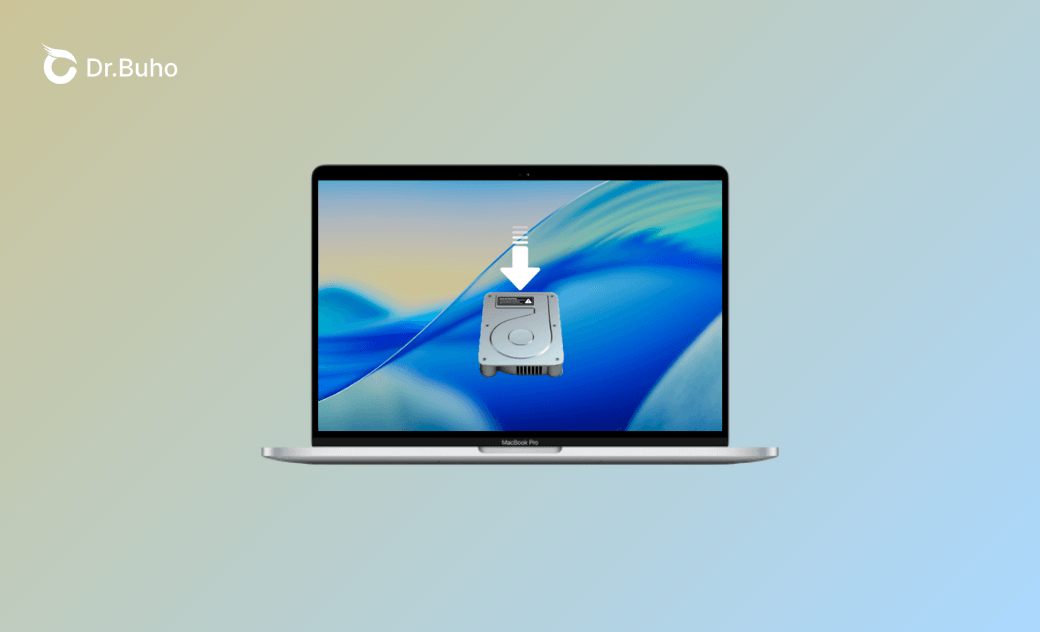
Step 4. Install macOS Tahoe 26.5 on a Separate APFS Volume
Create a Separate APFS Volume
You don’t want to mess with your main system, so let’s give macOS Tahoe its own space:
- Open Disk Utility (just search for it with Spotlight).
- Click the “+” button in the toolbar.
- Name the new volume something like macOS Tahoe, then click "Add".
- Once it’s done, click "Done".


Install macOS Tahoe 26.5 on the New Volume
- Open the "Install macOS Tahoe" app from Applications or Spotlight.
- Click "Continue" > "Agree", then confirm your action.
- Select your disk and "Continue".
- If required, pick your user account and click "Install".
- Wait for the installation process to finish. Your Mac will restart when it’s done.
- When your Mac restarts, set it up and enjoy macOS Tahoe.


What Do I Think of macOS Tahoe?
So… I had high hopes. But to be honest, I was a bit let down. The new Liquid Glass design looks cool at first, but it doesn’t feel polished. And the Launchpad is gone. The system feels laggy, especially when I open, click, or drag an app.


I’m really glad I installed it on a separate volume on my Mac. That way, I can just boot back into my usual macOS whenever I want without any hassle (see how to change the startup disk on your Mac).
Final Thoughts
If you’re curious about macOS Tahoe but don’t want to risk your main setup, I highly recommend installing it on a new volume or even an external drive.
Already installed it and now thinking of going back to macOS Sequoia or something earlier? Don’t worry; here's a detailed guide for that too.
Clare has been captivated by the world of Apple products since the launch of the iconic iPhone in 2007. With a wealth of experience, Clare is your go-to source for iPhone, iPad, Mac, and all things Apple.


