How to Find, Open, Show Hard Drive on Mac (Tahoe/Sequoia)

This post teaches you how to find and open an external or internal hard drive on a Mac. If you want to show hard drives on the Mac desktop for quick access to files, you can find the solution below.
How to Find, Open, and Show a Hard Drive on Mac
Step 1. Connect the Hard Drive to Your Mac
Connect the external hard drive to your Mac via USB or Thunderbolt.
For MacBook Pro/Air, you may need a USB-C to USB adapter.
After connecting, the drive should be recognized and mounted by your Mac within a few seconds.
Step 2. Find and Open the Hard Drive on Your Mac
If the drive icon appears on the desktop, double-click it to open it. Otherwise, click the Finder icon in the Dock to open Finder.
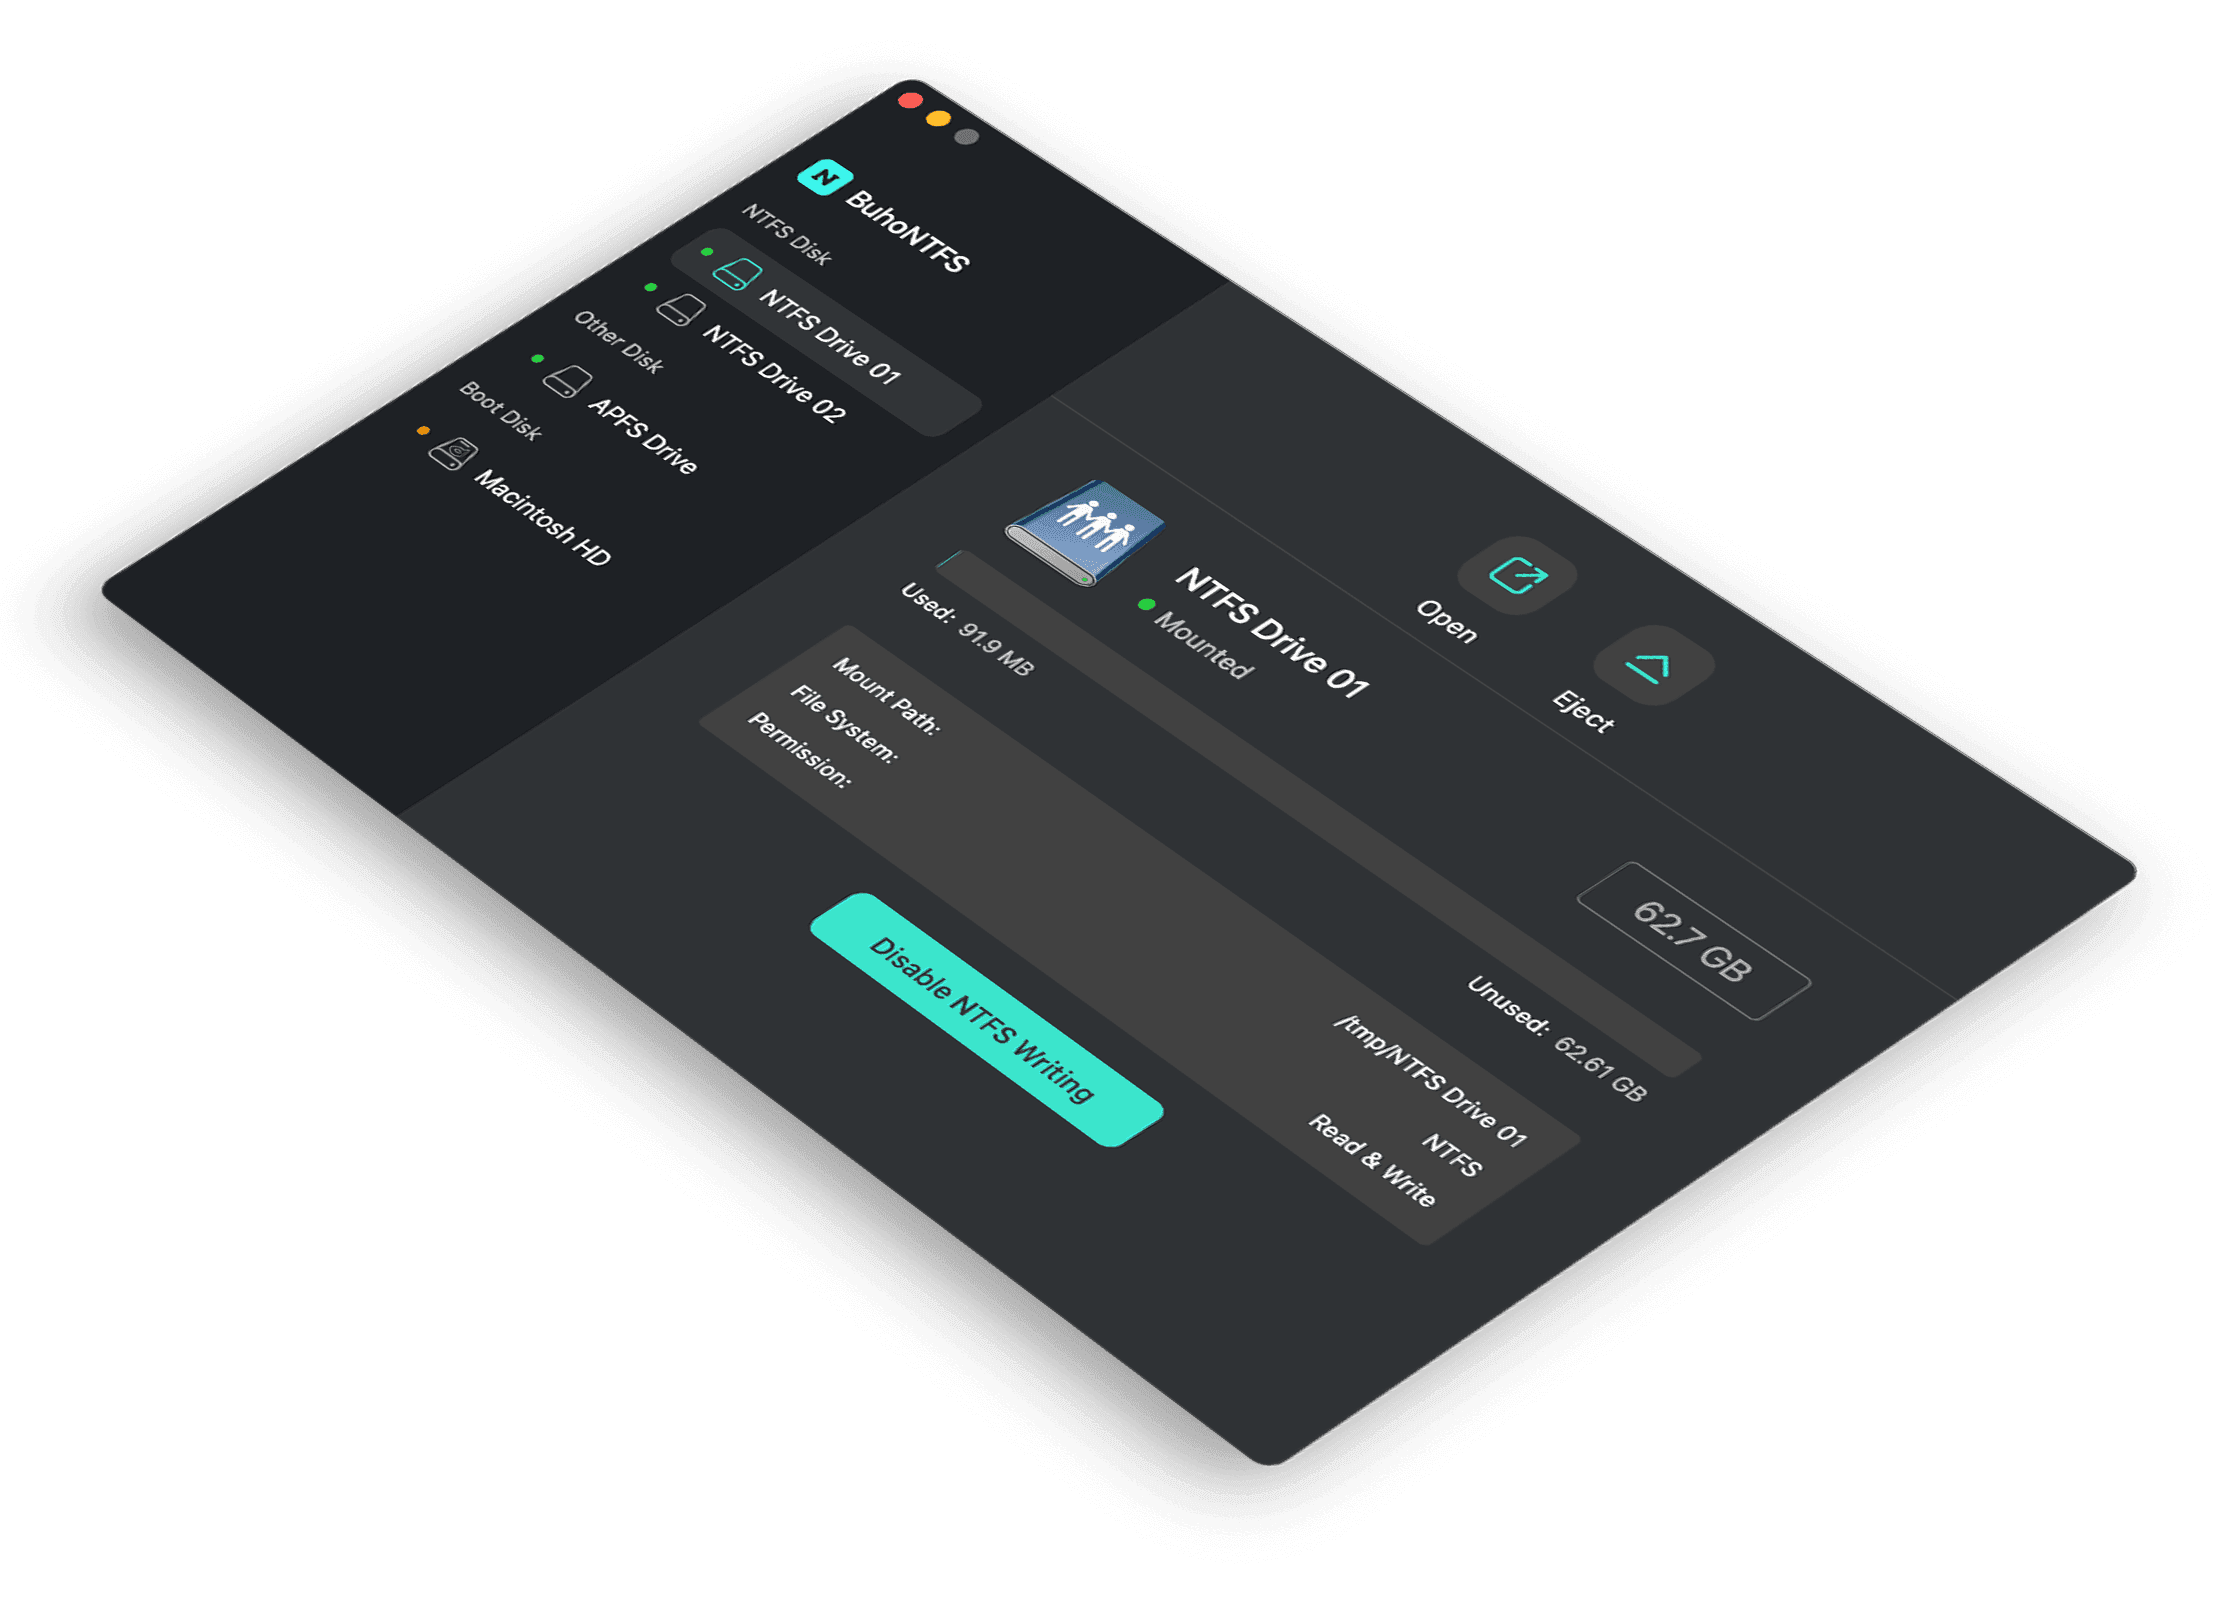
In the Finder sidebar, you can view all devices connected to your Mac, including hard disks, external drives, CDs/DVDs, iPhones/iPads, and connected servers.
Find the target external hard drive under the Locations section in the left panel. It may appear with its name or as “Untitled” if it hasn’t been renamed. Click it to open and access its files.
Step 3. Show Hard Drives on the Mac Desktop
To display hard drives on your Mac desktop, click Finder in the menu bar and select Settings.
Under the General tab, tick Hard disks and External disks to show internal and external drives on the desktop (Mac Ventura).


For Mac Monterey and earlier, go to Finder > Preferences > General, then check Hard disks and External disks under “Show these items on the desktop.”


Fix External Hard Drive Not Showing Up on Mac
If your external hard drive is not showing up on Mac, try these 5 tips:
Tip 1. Restart Your Mac: A simple restart can fix many issues. Click the Apple menu > Restart, then check if the hard drive appears.
Tip 2. Check Connections: Improper connections may prevent the drive from showing. Make sure it is properly connected, eject drives safely before unplugging, try a different USB cable or port, or test the drive on another Mac.
Related: How to Safely Eject USB from Mac to Avoid Data Corruption
Tip 3. Repair the Disk: The drive may be corrupted. Open Disk Utility via Spotlight, select the drive, and click First Aid to repair it.
Tip 4. Convert the Disk Format: You may try converting the drive to another format, such as NTFS to exFAT, FAT32, or APFS. Related: Best Format for Mac External Hard Drive
Tip 5. Format the hard drive: If the drive cannot be repaired and is inaccessible, reformat it in Disk Utility by clicking Erase and following the instructions. Note: Formatting will erase all data, so consider using data recovery tools first.
Conclusion
This post explains how to find and open external or internal hard drives on a Mac, how to show them on the desktop, and tips for fixing external drives that don’t appear. Hope it helps!
Cassie has been writing about technology for her entire career life - over 5 years. She enjoys diving into how Apple products work and then breaking it down in a way anyone can understand.