

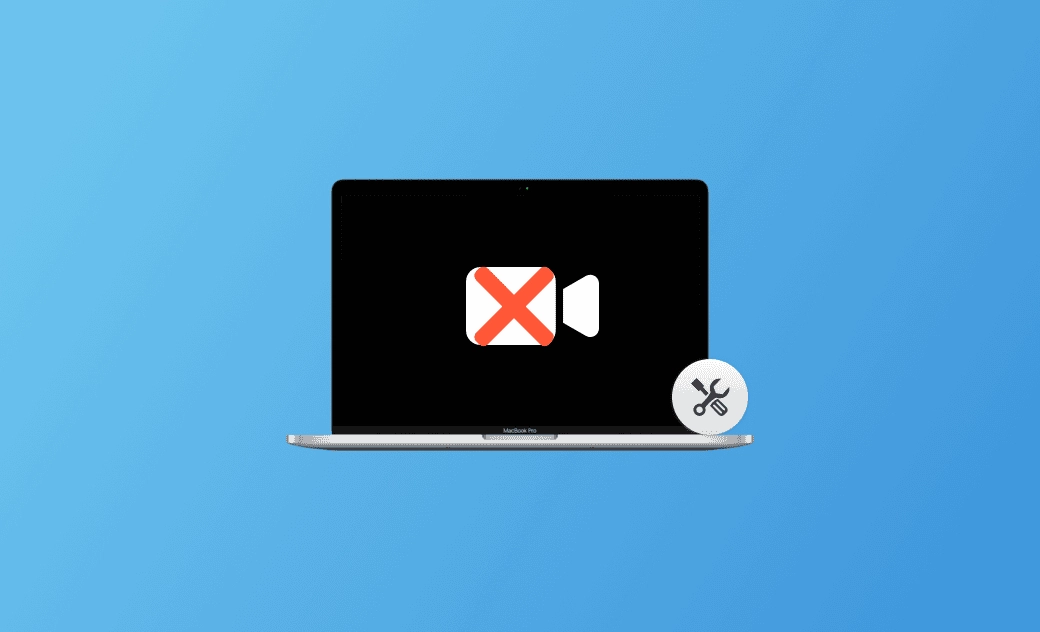
Mac Camera Not Working after Tahoe Update? 11 Quick Fixes

Is your Mac camera not working properly after the macOS Tahoe update? In this guide, we'll explore the common reasons behind this issue and provide troubleshooting methods. We hope one of them resolves your problem.
Mac users rely on their built-in cameras for various tasks, from video conferencing to capturing memories. However, it can be frustrating when the camera stops working after the macOS Tahoe update.
If you're facing this problem and don't know what to do, then check out this blog post. We'll walk you through the reasons behind the issue and provide you with eleven effective methods to resolve it. Whether you're facing camera problems with FaceTime, Chrome, Safari, or other applications, we've got you covered.
Without further ado, let's dive right in.
Why Is My Mac Camera Not Working After Tahoe Update?
Before we learn the solutions, it's essential to understand why your MacBook camera doesn't work properly. Below are some of the main reasons.
- You do not have permission to use the camera.
- Third-party apps interfere with the camera.
- There is a problem with your macOS.
- Your macOS or the app you are using is out of date.
- Your camera does not use modern system extensions.
- There is a hardware problem caused by physical damage or loose connections.
Now that we've identified the potential causes, let's find out how to get your MacBook camera back in action.
How to Fix the "Mac Camera Not Working After Tahoe Update" Issue
Method 1. Grant App Camera Permissions
The first troubleshooting method for the MacBook camera not working issue is to check which apps can use your built-in camera.
To do so,
- Click the Apple menu and select System Settings > Privacy & Security.
- Click Camera in the right menu, and you will find the applications that have access to the camera.
- Toggle on the applications you're using (e.g., FaceTime, Google Chrome, Safari) to have access to your camera.


Method 2. Restart Camera-Related Processes
You can also quit and restart your camera-related processes to check if the problem is resolved.
Here's how:
- Open the Activity Monitor via Finder > Applications or Spotlight.
- Find the processes that are using your camera, select them, and click the X button in the toolbar to quit them.
- Relaunch the app you want to use the camera with.


Method 3. Restart Your Mac
A simple reboot can often resolve minor glitches with macOS software. In fact, no matter what problem you encounter on your Mac, you can always restart your Mac to see if that helps.
Simply click the Apple menu and select Restart to see if the camera starts working.
Method 4. Check App Camera Settings
If you're having problems with your webcam when making video calls using apps like FaceTime, Zoom, Google Meet, or Skype, be sure to check your in-app camera settings first. Confirm that your camera settings are accurate and that you have selected the correct camera for the app you are using.
Method 5. Check Screen Time Settings
Another way to resolve the camera not working issue is by checking your Screen Time settings.
Screen Time is a feature introduced in macOS Catalina and later versions. It allows you to set time limits for apps to prevent excessive usage.
To address camera problems, make sure your camera is turned on and that the app uses your camera when you have time available.
- Click the Apple menu and select System Settings.
- Click Screen Time > Content & Privacy.
- Click App Restrictions and ensure the Allow Camera option is toggled on.
- Return to the Screen Time menu and click App Limits. If you need to use your camera with an app in the list, make sure the app is off or not selected.

Method 6. Check for Conflicting Apps
Some applications may conflict with your camera, causing your Mac to not function properly. What you need to do is identify and quit them. If it happens to be malware, it’s best to use a professional Mac app uninstaller like BuhoCleaner to completely remove it from your Mac.
Method 7. Start Mac in Safe Mode
Safe Mode is a diagnostic startup mode in macOS designed to help users troubleshoot and resolve software-related issues. If you suspect that third-party software or drivers are interfering with your camera, booting your Mac in Safe Mode can be a valuable troubleshooting step.
Here's how to fix the camera not working by booting your Mac in safe mode:
For an Apple Silicon Mac:
- Shut down your Mac.
- Long-press the power button and release it when you see the startup options screen.
- Press and hold the Shift key and click Continue in safe mode.
For an Intel-based Mac:
- Restart your Mac and immediately press and hold the Shift key until you see the login window.
- Log in to your Mac. (You may be asked to log in again.)
Method 8. Keep Apps Updated
It's also important to keep your apps up to date, as there might be known camera issues with your current versions.
To update an app downloaded from the App Store, do the following:
- Open the App Store.
- Click Updates in the sidebar.
- Update your app from there.
If you have an app downloaded from the internet, visit the official website of the app and download the latest version directly from your browser.
Method 9. Reset the SMC on Your Mac
SMC stands for System Management Controller. It is designed to help control and manage hardware elements essential for the proper function of your Mac.
Whenever you encounter issues related to power management, hardware sensors, cameras, or peripheral devices on your Mac, resetting the SMC can sometimes resolve these problems. Here is a screenshot of when you should reset the SMC on your Mac. For more details, refer to this Apple Support guide.


Method 10. Restore Legacy Camera and Video Device Settings
According to Apple, starting from macOS Sonoma 14.1, only cameras and video output devices that use modern system extensions are supported on macOS. This means that you may encounter issues with your camera and video outputs on macOS Sonoma 14.1.
To continue using your camera and video output devices, you can restore the legacy settings on your Mac in Recovery Mode.
Follow these steps:
- Restart your Mac in recovery mode.
- Click on Options > Options.
- Access the Utilities menu, then select Terminal.
- In the Terminal, run the following command:
system-override legacy-camera-plugins-without-sw-camera-indication=on - If necessary, complete any additional steps as prompted.
- Quit the Terminal and restart your Mac in normal mode.
system-override legacy-camera-plugins-without-sw-camera-indication=off.Method 11. Update macOS
Sometimes, a camera not working issue can occur after a macOS update. This is due to errors in the system software. In such cases, the best troubleshooting step is to update your macOS.
Follow these steps:
- Click the Apple menu and select System Settings > General > Software Update.
- If there is an update available, download and install it by following the onscreen instructions.
Bonus Tip: How to Quickly Uninstall Unwanted Apps from Your Mac
As mentioned earlier, third-party apps can interfere with your camera. If you want to remove these unwanted apps in bulk, BuhoCleaner is an ideal tool to try.
BuhoCleaner is one of the top app uninstallers for Mac. It's specifically created to delete apps in bulk, even stubborn ones. With just a few clicks, you can effortlessly remove any unwanted apps.
Here's how it works:
- Download, install, and launch BuhoCleaner.
- Click App Uninstaller, and you will find all installed apps on your Mac.
- Select the ones you no longer need, then click the Remove button.


Conclusion
Experiencing camera not working issues with your Mac can be frustrating, but fortunately, there are various methods to resolve these problems. In the content above, we've provided you with eleven troubleshooting tips. We hope that at least one of them will work for you. If none of these tips succeed in fixing your camera issue, please consider reaching out to Apple Support to assess whether any underlying hardware issues are causing your camera not to function properly.
By the way, the BuhoCleaner we mentioned in the article is worth a try. If you haven't tried it yet, check it out for yourself. It won't disappoint you.
Robert is a tech-savvy fan who loves all things Apple. As a hobbyist of gardening and meditation, he is also a seasoned writer covering a wide array of Apple products, like iPhone, iPad, iOS, and more.


