How to Format USB/External Hard Drive to APFS on Mac – 3 Ways

APFS is the default file system used by macOS High Sierra (10.13) and later macOS versions. If you want to format a drive to APFS to use it on your Mac, you can check the 3 ways below.
How to Format USB/External Hard Drive to APFS on Mac
1. Format Drive to APFS with Disk Utility
To format a USB drive or external hard drive to APFS (Apple File System) format on Mac, you can use the built-in Disk Utility app to easily realize the task.
- Connect the USB or HDD to your Mac computer. Back up any important data to another device since formatting will erase all data on the drive.
- Press Command + Space to launch Spotlight. Search for “Disk Utility” to open the Disk Utility application.
- In Disk Utility, select the target drive from the sidebar. Click the Erase button at the top toolbar.
- Next to Format, select APFS format from the drop-down menu. Select GUID Partition Map scheme. Optional change a name for your drive.
- Click the Erase button to start the formatting process. Wait for the process to complete. Then the USB drive or external hard drive is now in the APFS file system and is ready to use on Mac computers.


2. Format Drive to APFS on Mac with Terminal
Another way to format USB or external hard drive to APFS is to use Mac Terminal. Check how to do it below.
- Connect the drive to your Mac.
- Go to Applications > Utilities > Terminal to open Terminal on Mac. You can also launch this app via Spotlight.
- In Terminal, type the following command
diskutil listand press Enter. This command will list all detected disks and volumes on your Mac. Find the drive you want to format and note down its identifier. It should be “/dev/diskX” (X is a number). - Type
diskutil unmountDisk /dev/diskXcommand and press Enter to unmount the drive to ensure that it is not in use. Replace “/dev/diskX” in the command with the exact identifier of the drive. - Next, you can type the command
diskutil eraseDisk APFS "DriveName" /dev/diskX. Replace “DriveName” with the name you want to give to the drive. Replace “/dev/diskX” with the exact drive identifier. Press Enter. - Type “Y” and press Enter when it asks you to confirm the action. It will start formatting the drive to APFS.
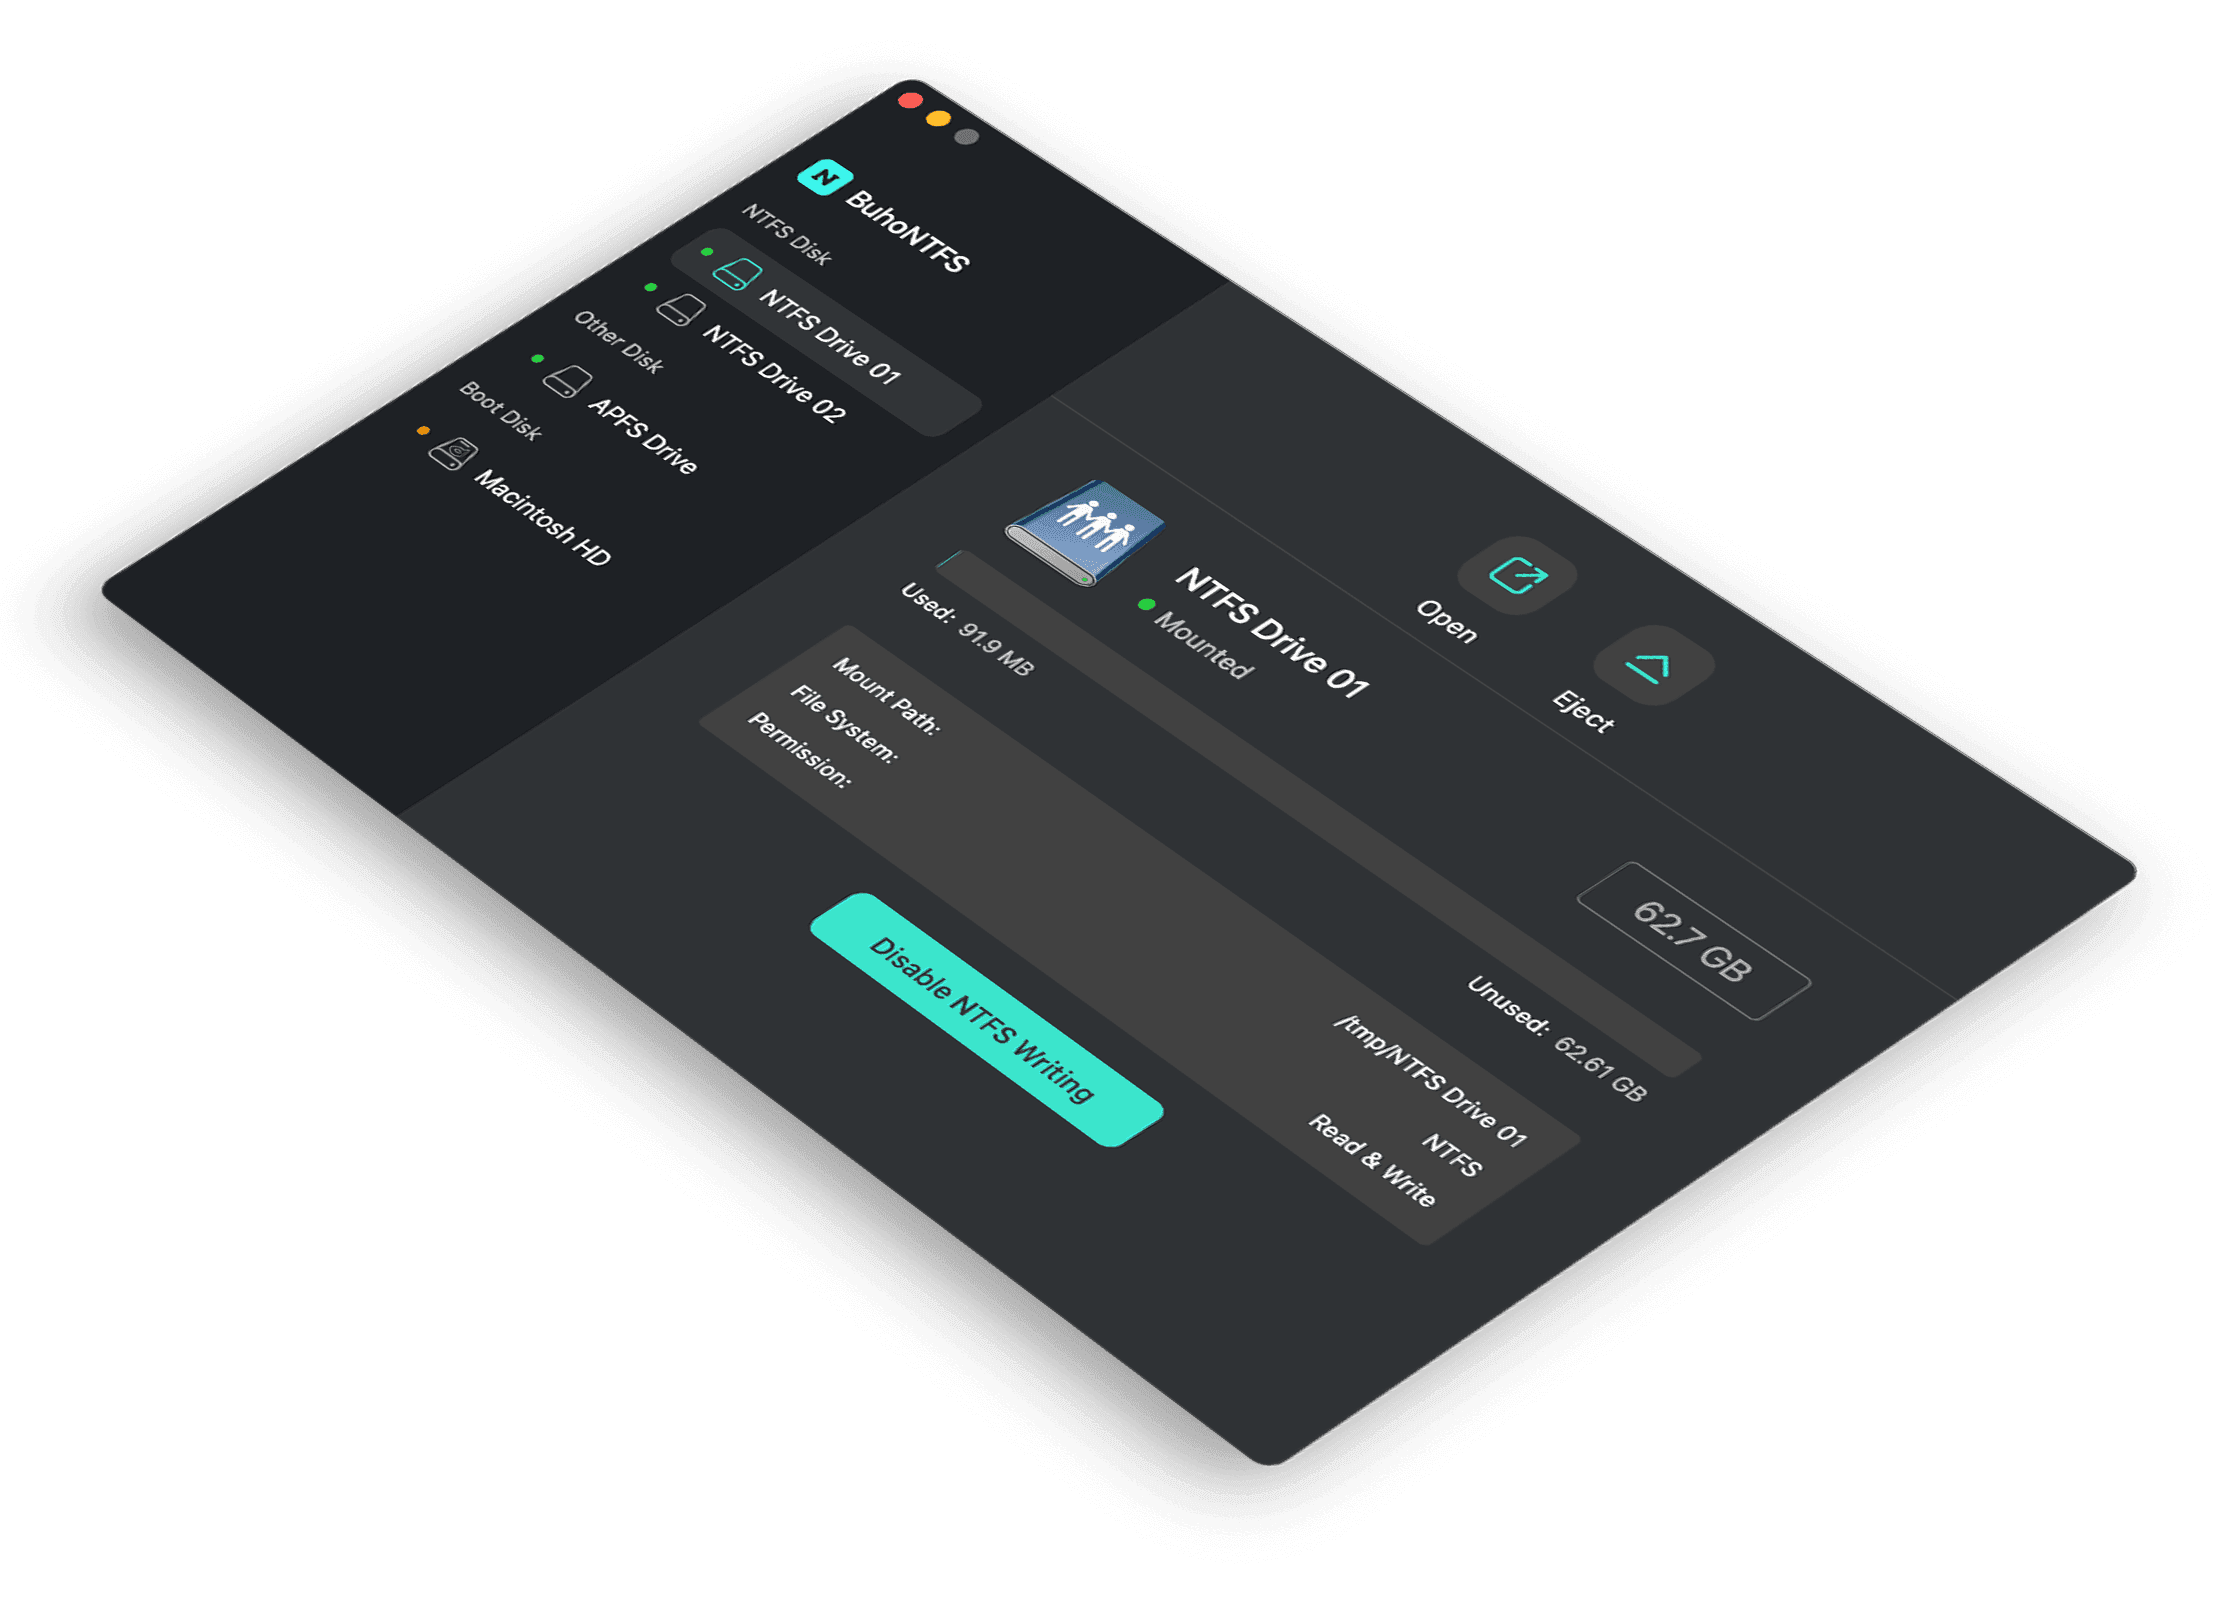
3. Format USB/HDD to APFS with Third-Party Apps
You may also find some third-party applications online that let you format a drive to APFS format. You may try some disk partition managers for Mac. Still, some professional NTFS for Mac software programs may also provide an option to let you format USB to APFS.
More Info about APFS File System
APFS is compatible with macOS High Sierra (10.13) and later. APFS is not natively supported by older versions of macOS, so if you plan to use the drive with older systems, you may consider formatting the drive to exFAT or HFS+ (Mac OS Extended). Still, exFAT provides better compatibility across different operating systems.
Besides, if you want to use Time Machine to backup and restore data on your Mac, you should also format the drive to APFS. Time Machine is only compatible with APFS drives and compatible with Big Sur and later.
Bottom Line
This post introduces 3 ways to help you format USB or external hard drive to APFS format on Mac. For more Mac or iPhone tips, you may visit Dr.Buho’s official website.
Cassie has been writing about technology for her entire career life - over 5 years. She enjoys diving into how Apple products work and then breaking it down in a way anyone can understand.