Summary: In this post, you will learn how to clean install macOS Sonoma with a bootable USB or without a USB.
When installing macOS Sonoma, performing a clean install may give you a more stable and smooth performance. It will remove all data from the old OS and give your Mac a new, fresh start. This post mainly introduces how to clean install macOS Sonoma 14 on your Mac. Check the step-by-step guide below.

How to Clean Install macOS Sonoma with a Bootable USB
You should back up your Mac before you start the clean install of macOS Sonoma.
Step 1. Download macOS Sonoma Installer File
macOS Sonoma was officially released on September 26, 2023. You can easily find and download the macOS Sonoma installer file from the Mac App Store.
Step 2. Prepare a USB for macOS Sonoma Clean Install
- Connect a USB (at least 16 GB) to your Mac computer. Copy all data from your drive to another device since it will be formatted.
- Open Disk Utility. Select the target USB drive from the left panel. Click Erase at the top toolbar.
- Choose the Mac OS Extended (Journaled) file system and format the USB to get it ready for creating the bootable USB installer for macOS Sonoma.
Step 3. Create the macOS Sonoma Bootable Installer
- Next, connect the USB to your Mac.
- Open the Terminal app on your Mac. You can use Spotlight to search for it.
- In Terminal, type the command:
sudo /Applications/Install\ macOS\ Sonoma.app/Contents/Resources/createinstallmedia --volume /Volumes/MyVolume. Replace “MyVolume” with the real name of the USB drive. Press Enter to create the installation media for macOS Sonoma 14.
Step 4. Perform the Clean Install of macOS Sonoma
- Connect the bootable USB installer to your Mac.
- Press the Power button to start your Mac and immediately press the Option key. For Apple Silicon Macs, press and hold the Power button to access the startup options screen.
- Select the bootable drive that contains the macOS Sonoma installer and follow the instructions to perform the clean install of macOS 14 on your Mac.
How to Clean Install macOS Sonoma without USB
If you have already installed macOS 14 on your Mac and want to perform a clean install, you can follow the steps below.
- Back up your Mac using Time Machine or other methods.
- Boot your Mac into Recovery Mode.
- For Intel-based Macs, press the Power button and press and hold the Command + R keys.
- For Apple Silicon Macs, press and hold the Power button, click Options, and click Continue.
- In the macOS Recovery window, select Disk Utility and click Continue.
- Select your Mac’s internal disk, Macintosh HD, and click Erase to wipe your Mac.
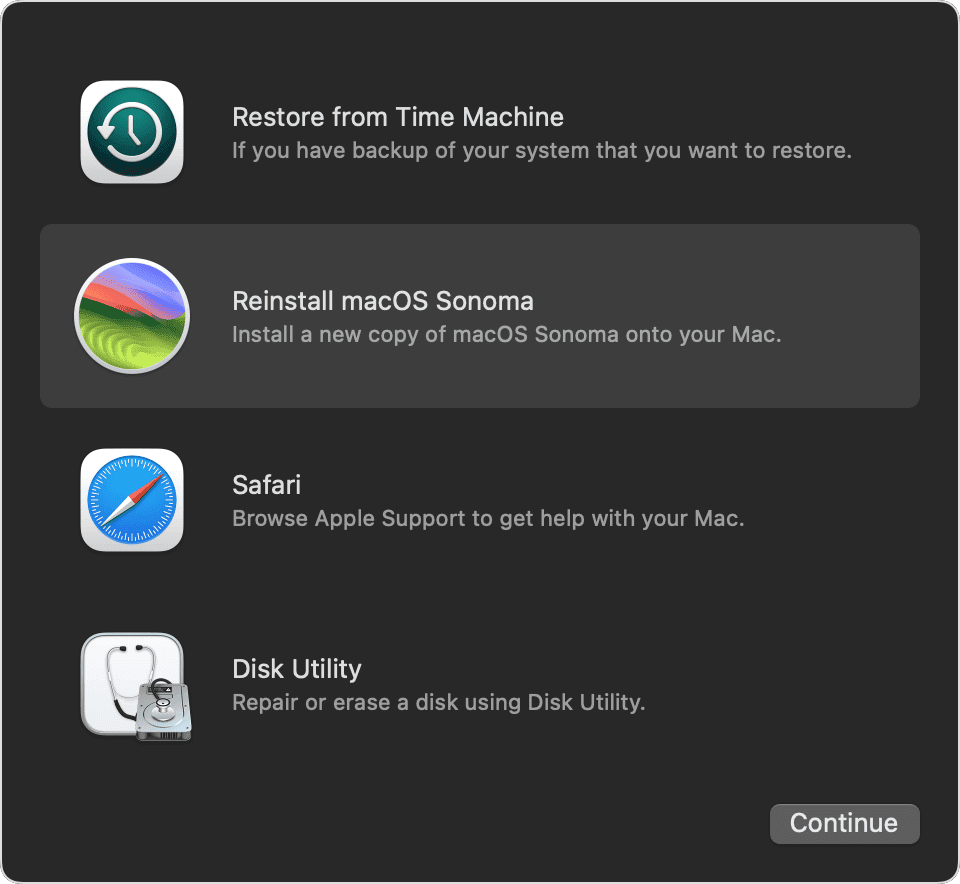
- Back to the macOS Recovery screen and select Reinstall macOS Sonoma to start the macOS Sonoma clean install process.
Alternative to macOS Sonoma Clean Install
If you want to keep all data instead of performing a clean install of macOS 14, you can choose to directly upgrade to macOS Sonoma. Check the simple steps below.
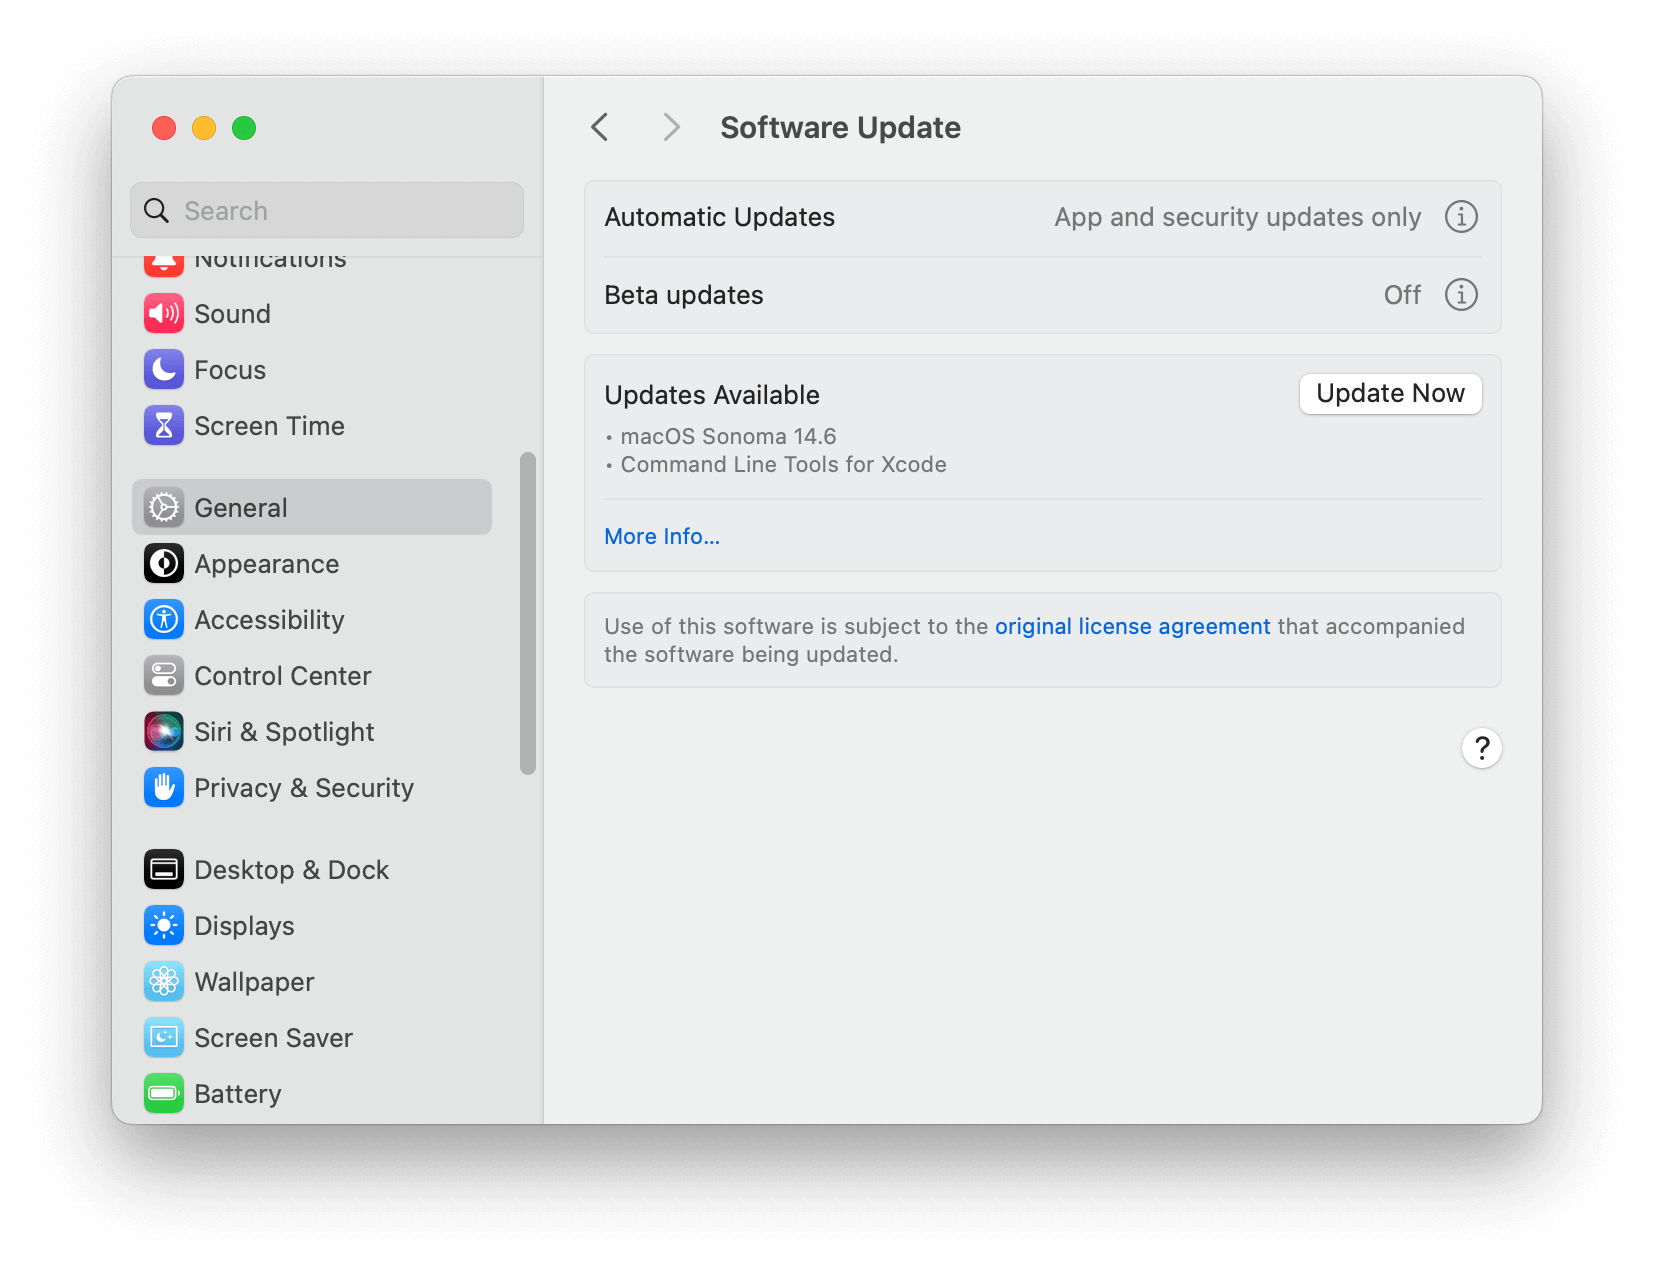
- Click Apple menu > System Settings > General > Software Update. Let your Mac automatically check for updates.
- If macOS Sonoma is available for your Mac, click Upgrade Now to download and install macOS Sonoma on your Mac.
Bottom Line
In this post, you’ve learned how to clean install macOS Sonoma 14 with and without a USB. Hope it helps.
To free up space for installing the new Mac OS, you may use BuhoCleaner – a professional Mac cleaner program. It helps you remove junk data and clean your Mac from various aspects.