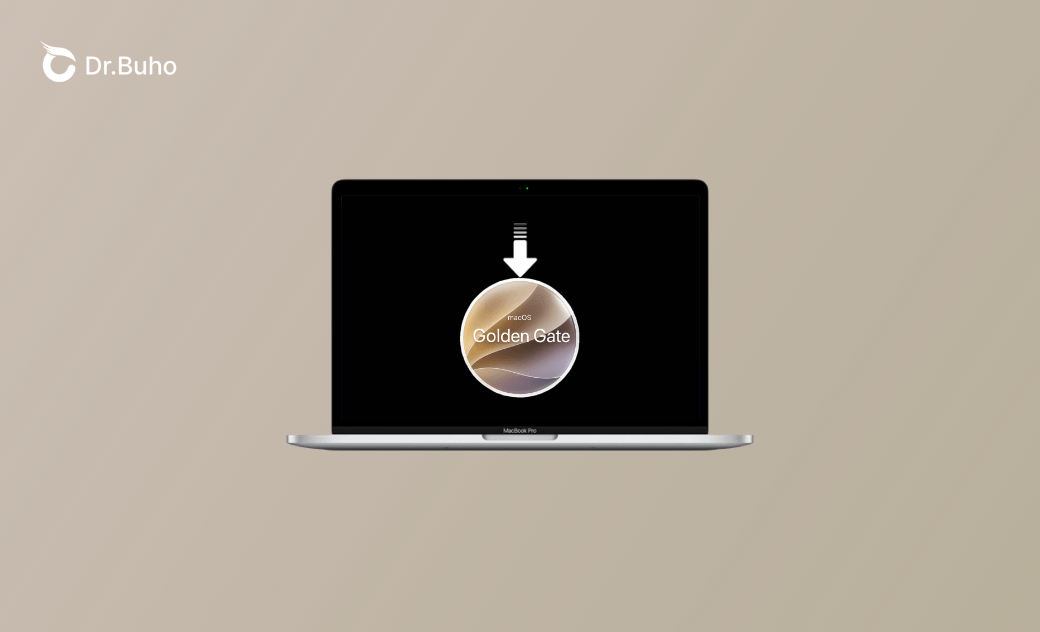
Download and Install macOS Golden Gate: 3 Best Ways

Want to upgrade your Mac to macOS Golden Gate 27? Check compatibility, free up space, back up, then install whichever way you prefer.
macOS Golden Gate brings the new Siri AI with a dedicated Siri app, a refined Liquid Glass design you can tune with a transparency slider, and noticeably faster app launches and AirDrop transfers.
This guide covers how to download and install macOS Golden Gate in three ways: Software Update, Terminal, or a full installer. Whichever you pick, a little preparation goes a long way: check compatibility, free up space, and back up before you start. Do that, and the upgrade itself takes about thirty minutes of mostly waiting.
Before You Install macOS Golden Gate
Three things decide whether your upgrade goes smoothly: compatibility, storage, and a backup.
Check Compatibility First
macOS Golden Gate supports Apple Silicon Macs only. That means:
- MacBook Air (M1 and later)
- MacBook Pro (M1 and later)
- Mac mini (2020 and later)
- iMac (2021 and later)
- Mac Studio (2022 and later)
- Mac Pro (2023 and later)


If your Mac is on an Intel chip, Golden Gate will not appear in Software Update at all, and no amount of free space will change that. macOS Tahoe is the last version that supports Intel Macs.
Free Up at Least 40 GB of Space
The macOS Golden Gate installer is roughly 15 to 17 GB, but macOS needs extra room to unpack and stage the update. Plan for 40 GB free, not 20.
To check your free space: click the Apple menu > System Settings > General > Storage, and look at the free space number at the top.
If you're under 40 GB, clean up before the update arrives. The usual suspects are Downloads, the Trash, old iPhone backups, and caches; a cleaner like BuhoCleaner can find the hidden stuff in one scan if you don't want to hunt by hand.


Back Up with Time Machine
Major upgrades are routine, but a backup is what makes them routine instead of risky.
Connect an external drive, open System Settings > General > Time Machine, add the drive, and start a backup.
Method 1: Install with Software Update (Recommended)
This is the simplest option, and for most people it's the only one they need.
- Open System Settings > General > Software Update.
- When macOS Golden Gate appears, click Upgrade Now.
- Let your Mac download the installer (15 to 17 GB, depending on your macOS and Mac model), then follow the on-screen steps.
- Your Mac restarts several times. Some stages show a black screen while the system updates; that's normal. Allow 30 to 60 minutes total.
If the update doesn't appear, your Mac probably isn't compatible, or you're not enrolled in the channel that offers it. On a compatible Mac with enough space, Software Update is the most reliable route.
Method 2: Install with Terminal
Software Update installs the upgrade and discards the installer afterward, so it never leaves you with a reusable installer file. If Software Update isn't showing the upgrade, or you want the full installer to keep for other Macs, Terminal downloads it directly:
- Open Terminal (Spotlight → type "Terminal").
- Run:
softwareupdate --fetch-full-installer --full-installer-version 27.0
- Wait for the download to finish. When it's done, Terminal may say "Install of macOS Golden Gate finished," which means the installer finished downloading, not that the system was installed. The app appears in your Applications folder as "Install macOS Golden Gate.app."
- Launch it:
open "/Applications/Install macOS Golden Gate.app"
- Follow the on-screen instructions.
This method is useful when you want the full installer file on disk, for example to install on several Macs or to create a bootable USB later.
Method 3: Install with InstallAssistant.pkg
The same full installer also ships as a package file that links directly to Apple's servers. Mr. Macintosh maintains a database of these links for every macOS release:
macOS Golden Gate Full Installer Database
- Download the InstallAssistant.pkg for macOS Golden Gate 27.
- Double-click the .pkg to run it. This places "Install macOS Golden Gate.app" in your Applications folder.
- Open the installer from Finder > Applications.
- Install on your main drive, or on a separate APFS volume if you want to test Golden Gate without touching your current system.
If You Installed the Golden Gate Beta
If you've been running the beta, you don't need to erase your Mac to get the final release. The official version upgrades in place, and your files, apps, and settings come along.
- Open System Settings > General > Software Update.
- Next to "Beta Updates," click the i button and turn beta updates off. This tells your Mac to stop offering beta builds.
- The final version appears in Software Update as a normal update. Click Upgrade Now and install it like any other update.
FAQ
1. Why isn't macOS Golden Gate showing in Software Update?
Either your Mac isn't compatible (Intel Macs never see it), or the update is rolling out in phases. Confirm compatibility, then wait a day or two; it often appears shortly after release.
2. Can I downgrade macOS Golden Gate to Tahoe if I don't like it?
Yes, you can downgrade macOS Golden Gate to Tahoe, but downgrading usually means erasing the disk and restoring from a backup, so keep a Time Machine backup before upgrading.
3. Can I move from the macOS Golden Gate beta to the final release without losing data?
Yes. Turn off beta updates as described above, then install the final version over the beta. Everything is preserved.
Clare has been captivated by the world of Apple products since the launch of the iconic iPhone in 2007. With a wealth of experience, Clare is your go-to source for iPhone, iPad, Mac, and all things Apple.